In our world of instant gratification- Amazon NOW, Microwaves, clothing stores, et cetera, it seems as if many forget that it can sometimes take an extended period of time to complete major undertakings, like quilts. While there are many new tools of the trade to help shorten the time it may take in some cases, it can still be a lengthy process. In my case, I have a full time job, an active social life, as well as pets and a house to care for. Additionally, I choose to use more traditional methods of quiltmaking, so my quilts take longer as well to complete. Recently, I finished a quilt I had been working on for some time, so I thought I would go through what actually happens from the beginning of a quilt to the end of a quilt to show everything that goes into it.
This particular quilt was made for a Niece that was born a few years ago. When I found out that her mom was expecting, I started right away to find a pattern, and decide colors, size, and other aspects. The mom and dad had decided to not announce if they were having a boy or a girl until birth, so that also can sometimes put a crimp in your style for what you want to make. In this case, as I am a primarily scrappy quilter, it wasn’t bad for me. So off to my vintage books I went.
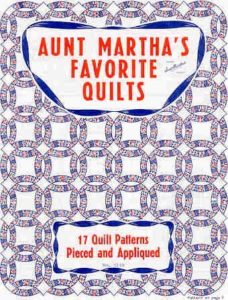
I found the quilt pattern I chose in Aunt Martha’s Favorite Quilts. These booklets of quilt patterns, released originally in the 60s, were prints of patterns that the Tillotson family had produced for a dime a piece in the 30s and also advertised in newspapers around the country. There are several Aunt Martha’s books you can still purchase today, and they are full of great patterns. You can get them from this site, here
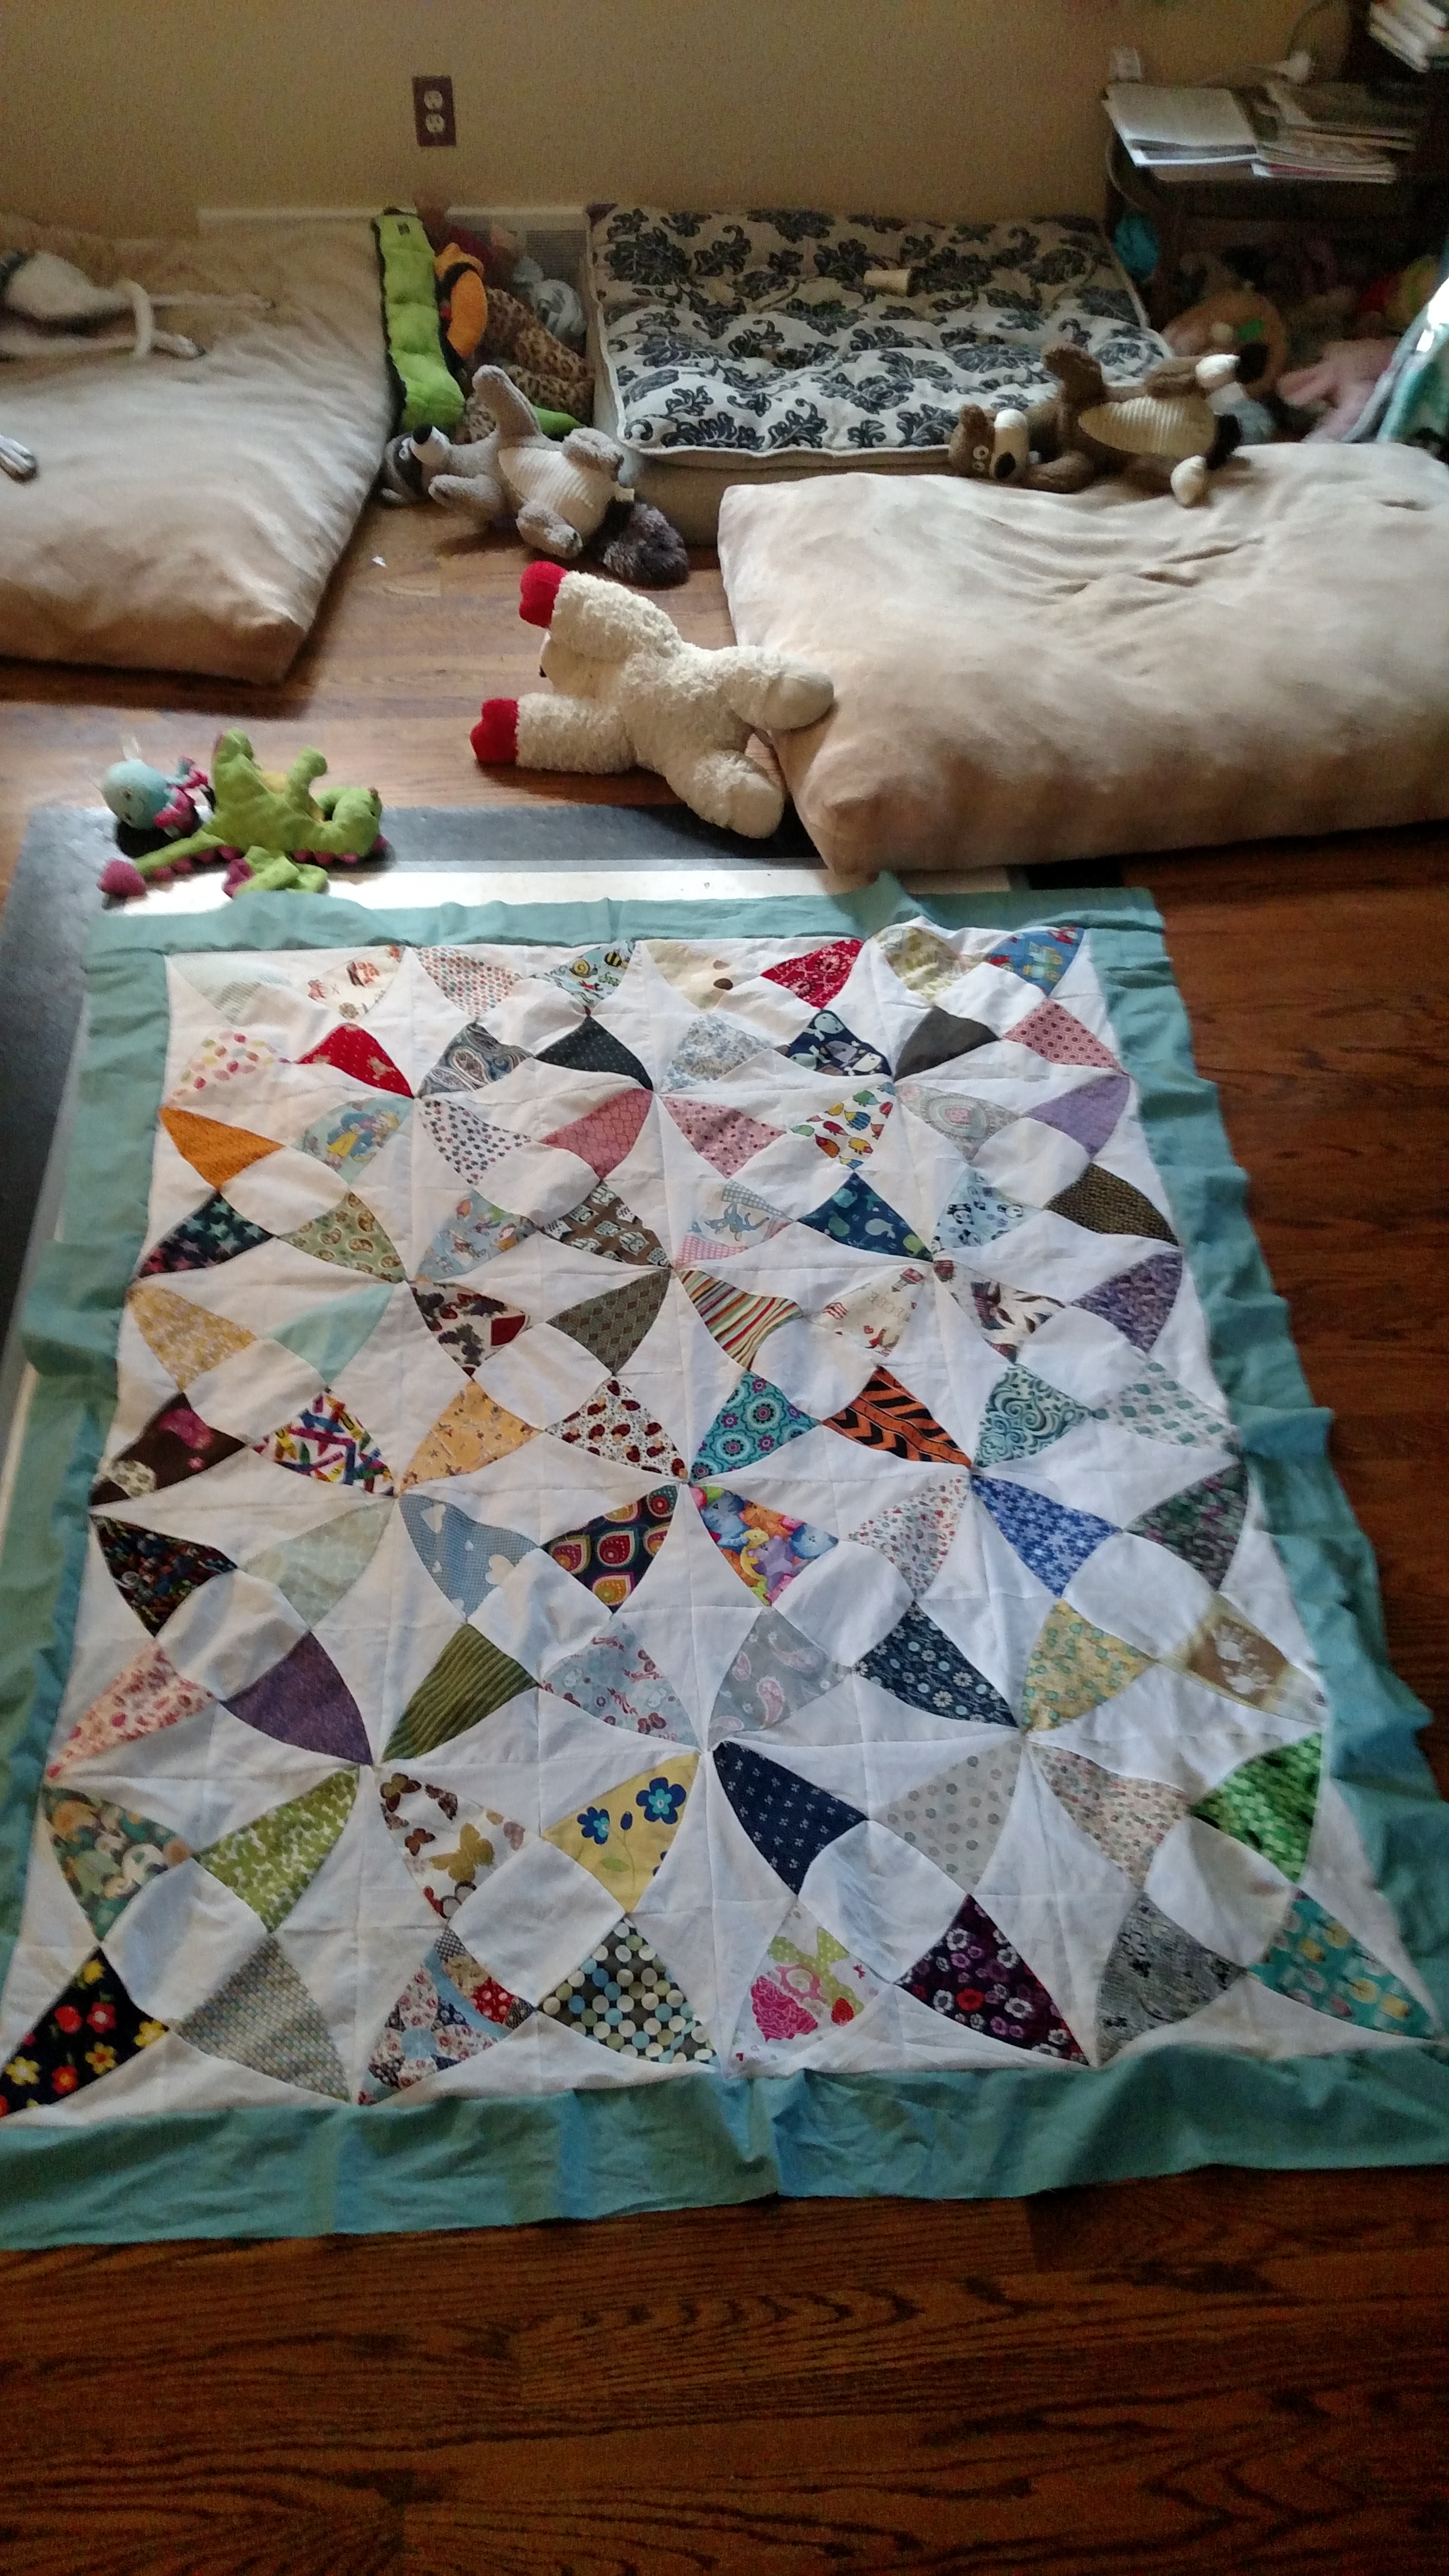
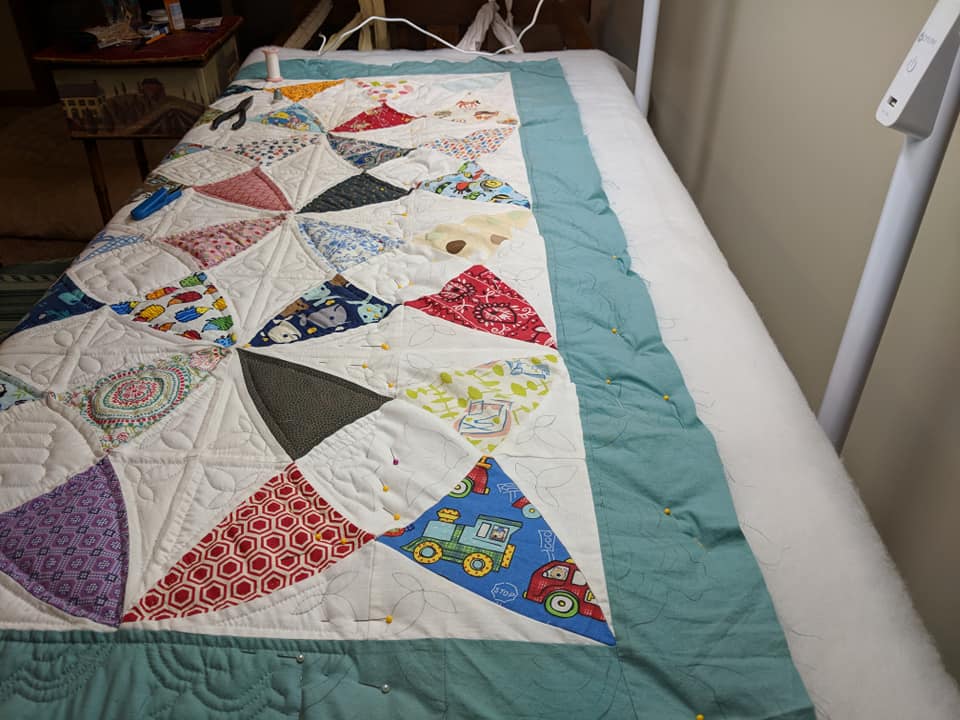
The design I chose was called “The Great Circle.” Its a large design made of rounded triangles and squares, that when looked at as a whole, becomes great circles. Its a fascinating pattern, but also allowed for lots of white space for quilting, and allowed me to do another unique thing for my Niece- an “I-Spy” type quilt.

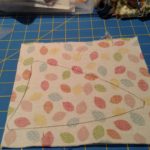
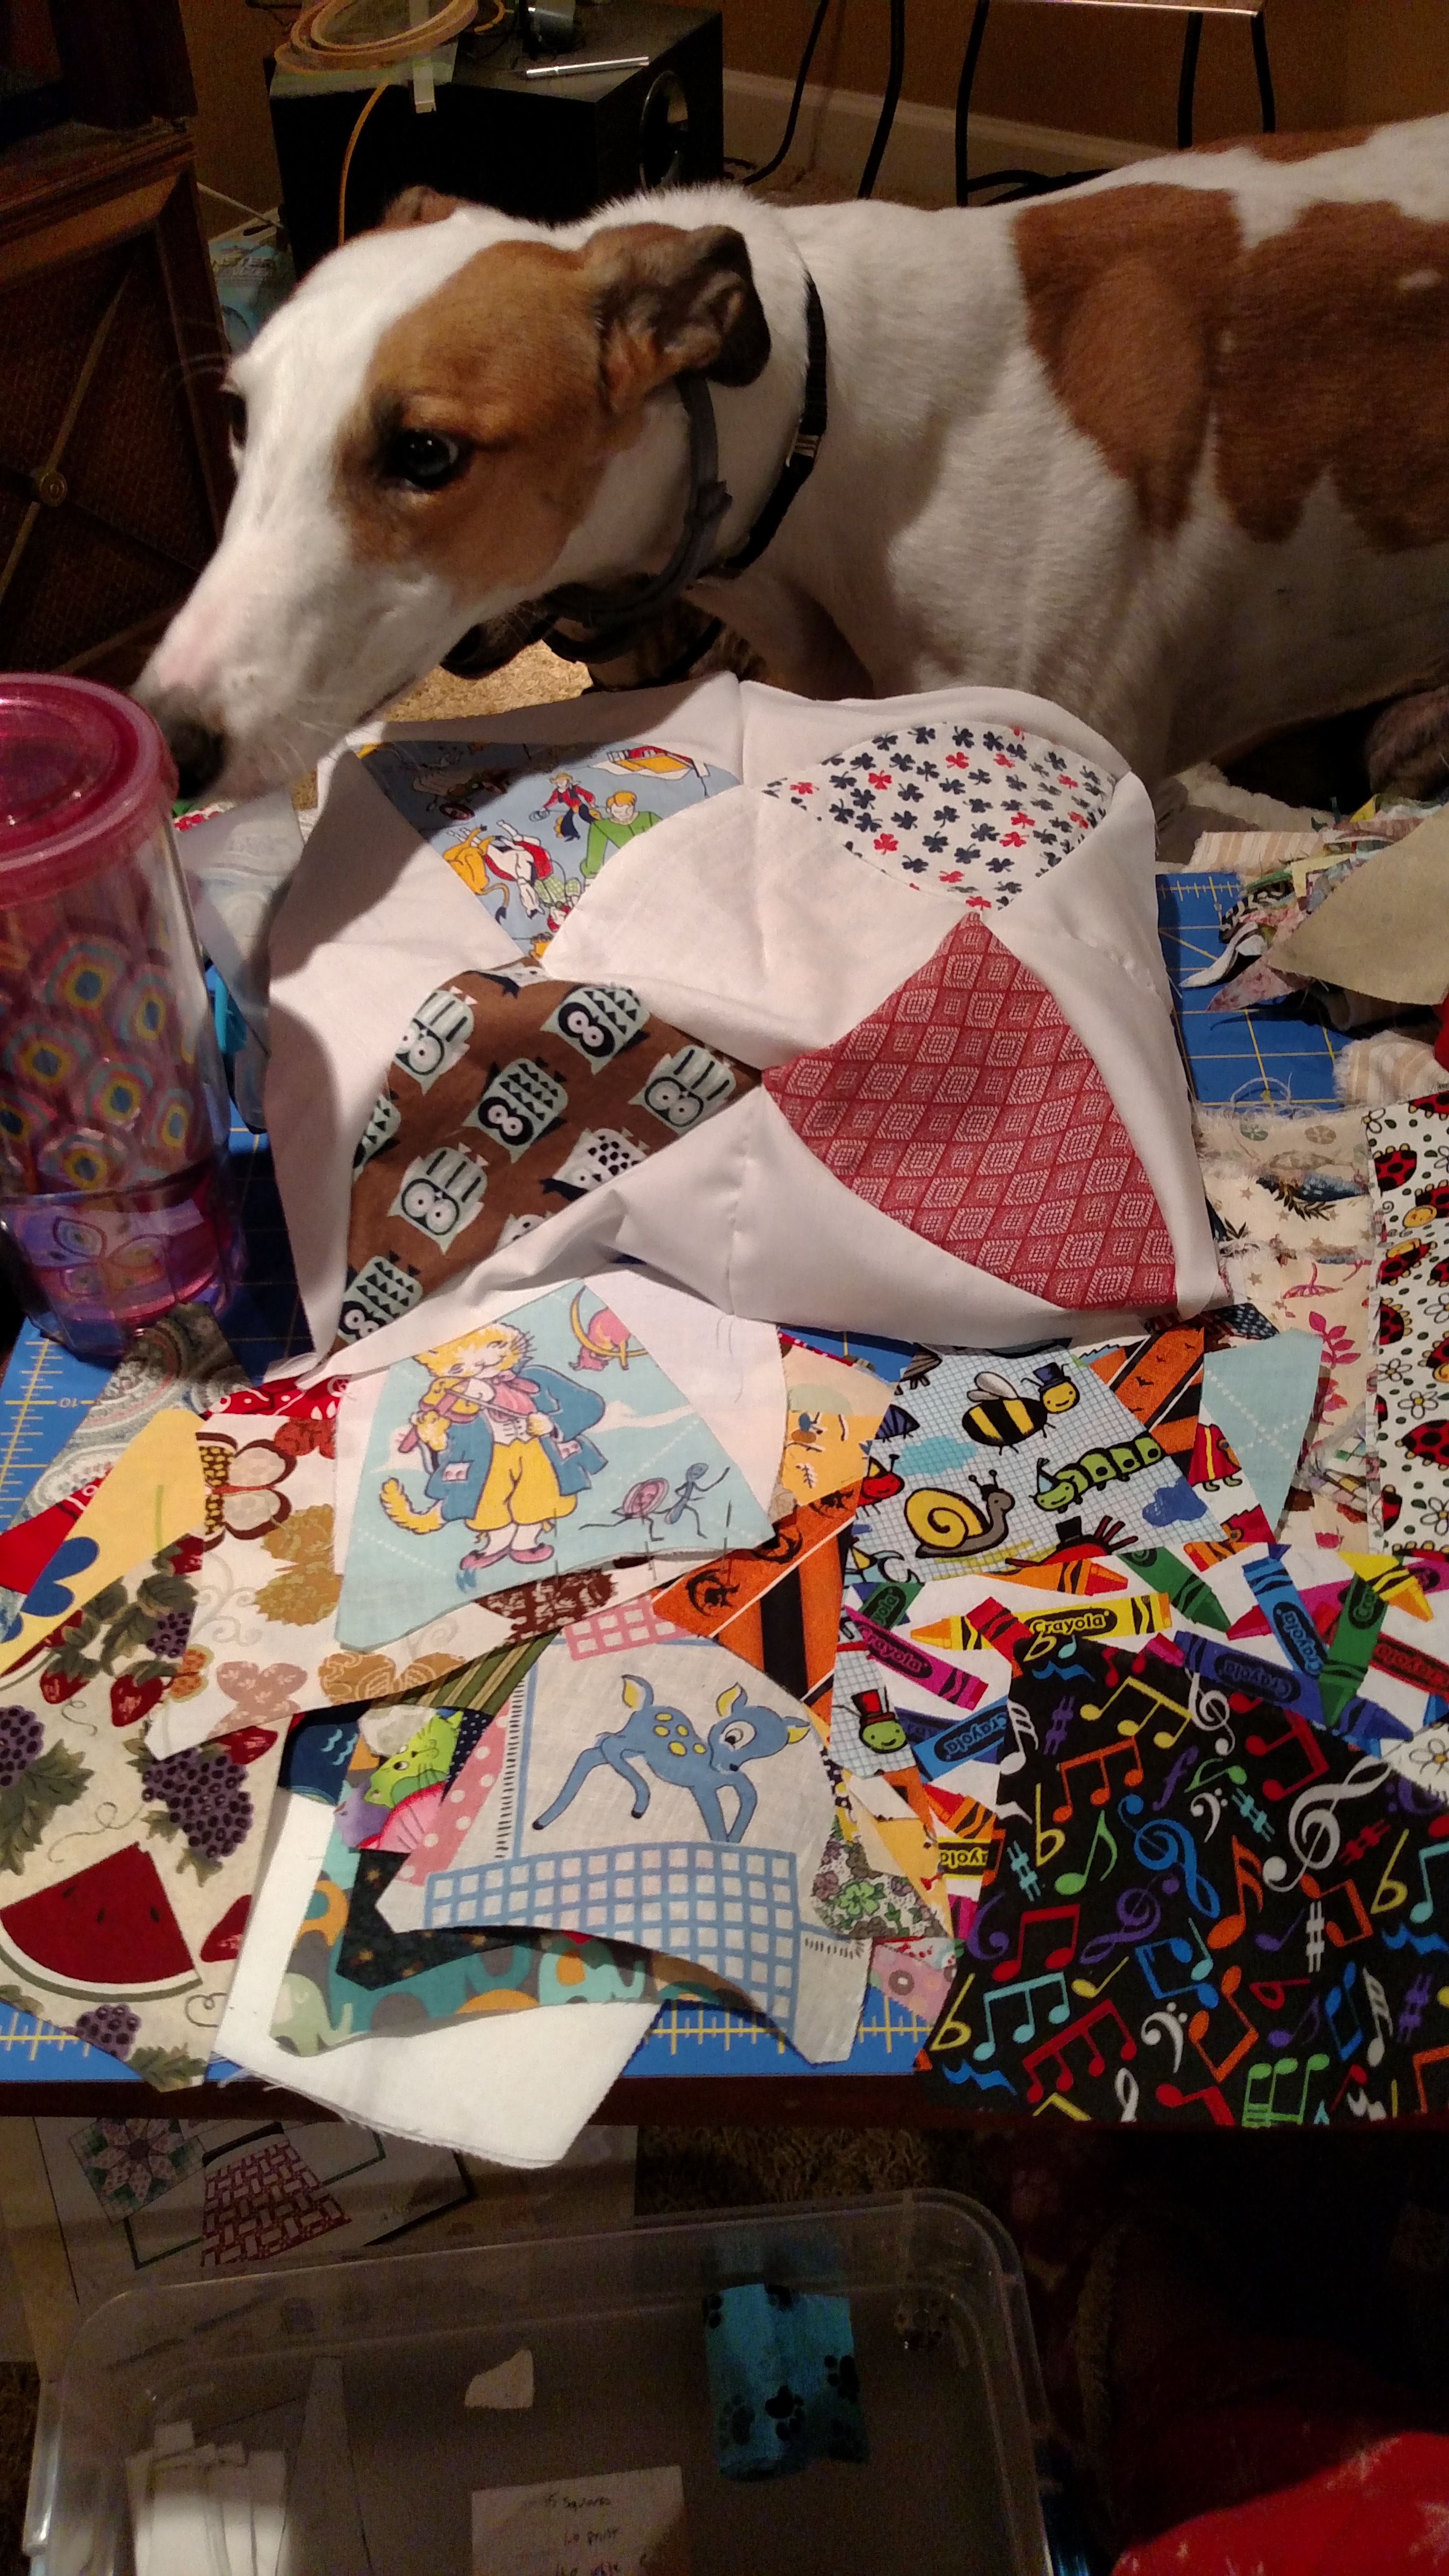
An I-Spy quilt is a quilt designed where fabrics are chosen with prints of items. These can be animals, popular culture figures, insects, and so much more. This allows the quilt to be used to play the ever fun game “I-Spy” So that not only is it a warm covering to keep you warm, or a cover for a blanket fort, it also can be used to improve vocabulary, and keep a toddler occupied on long drives. I chose a variety of prints that I wouldn’t normally purchase- including insects, crayons, musical notes, teddy bears, and more for this quilt. For the border, I chose a turquoise- a fairly neutral color, but also one of my personal favorites. Bleached muslin would round out the pattern, which would allow me a lot of space for quilting designs, and also make the prints stand out individually.
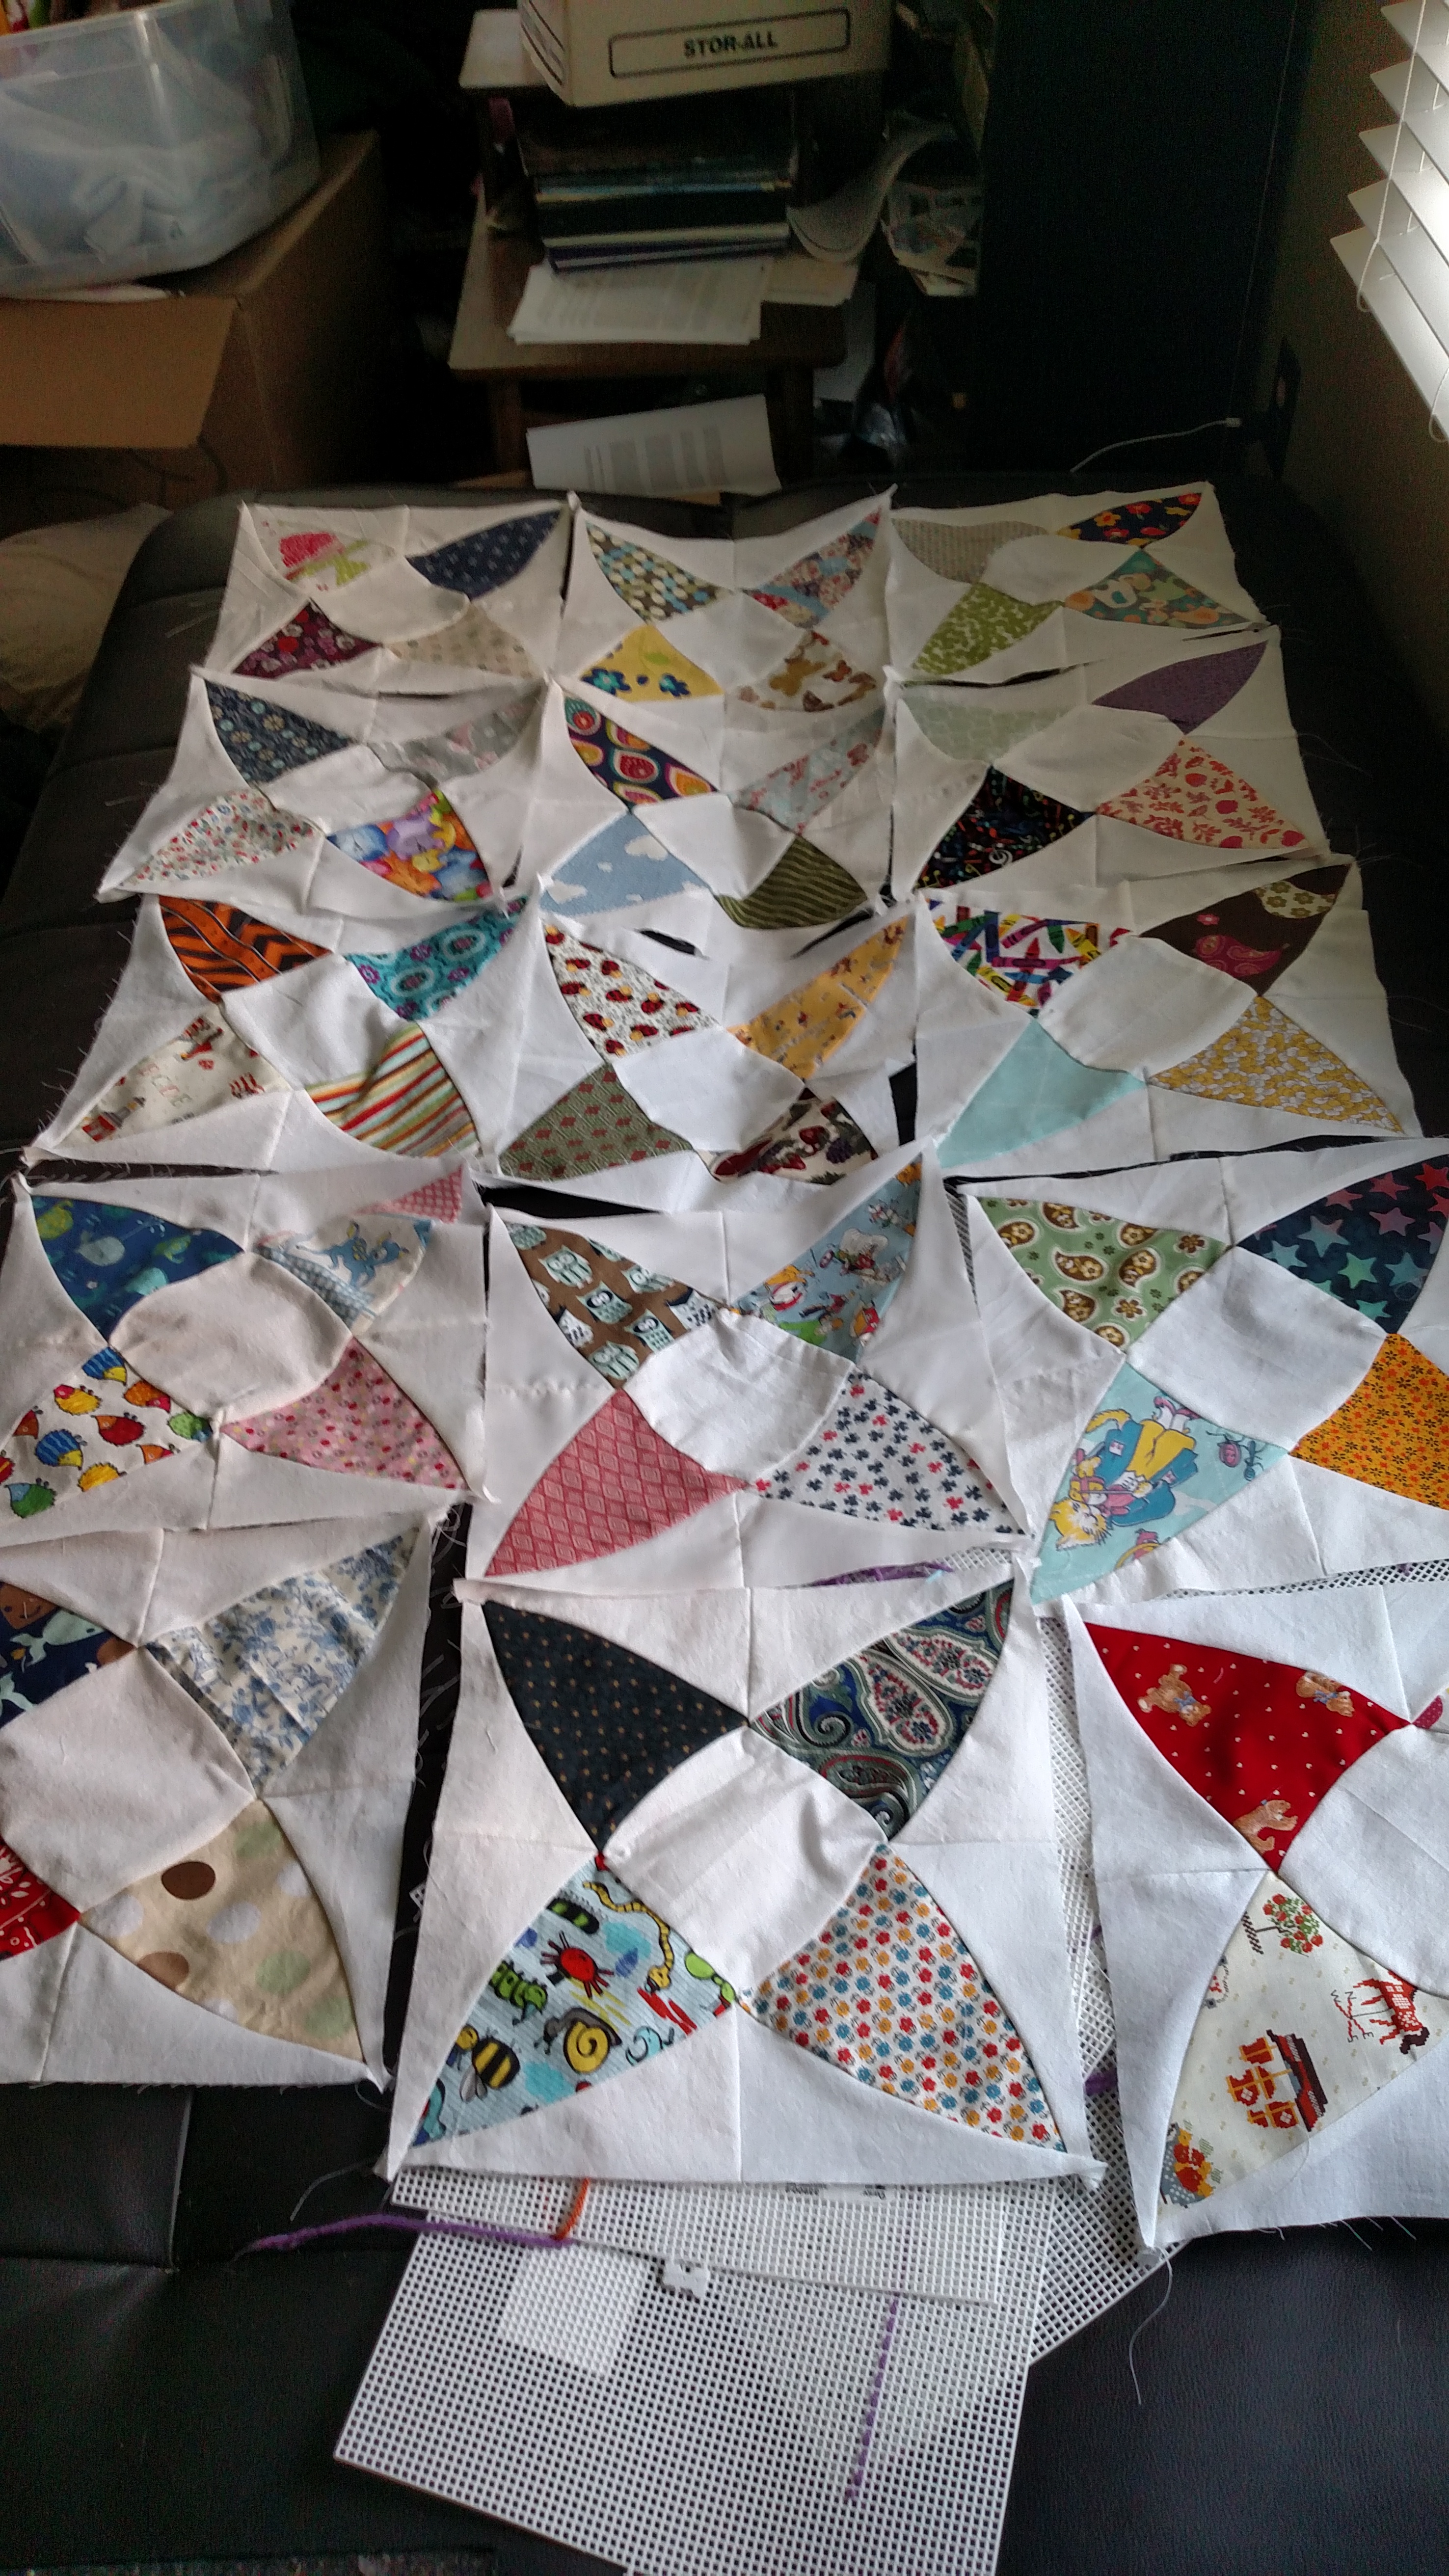
The next step, is of course, cutting out all those pieces. I make templates of the pattern out of vinyl sheeting. This allows me to keep a consistent pattern, and gives me the pattern to use again if i decide I like the style. Also, I find vinyl holds up better than paper or cardboard. After cutting the vinyl, I use a pencil to trace around the vinyl template on the fabric. If the fabric is dark, I have a white marking pencil.
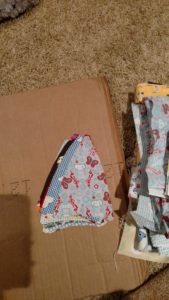
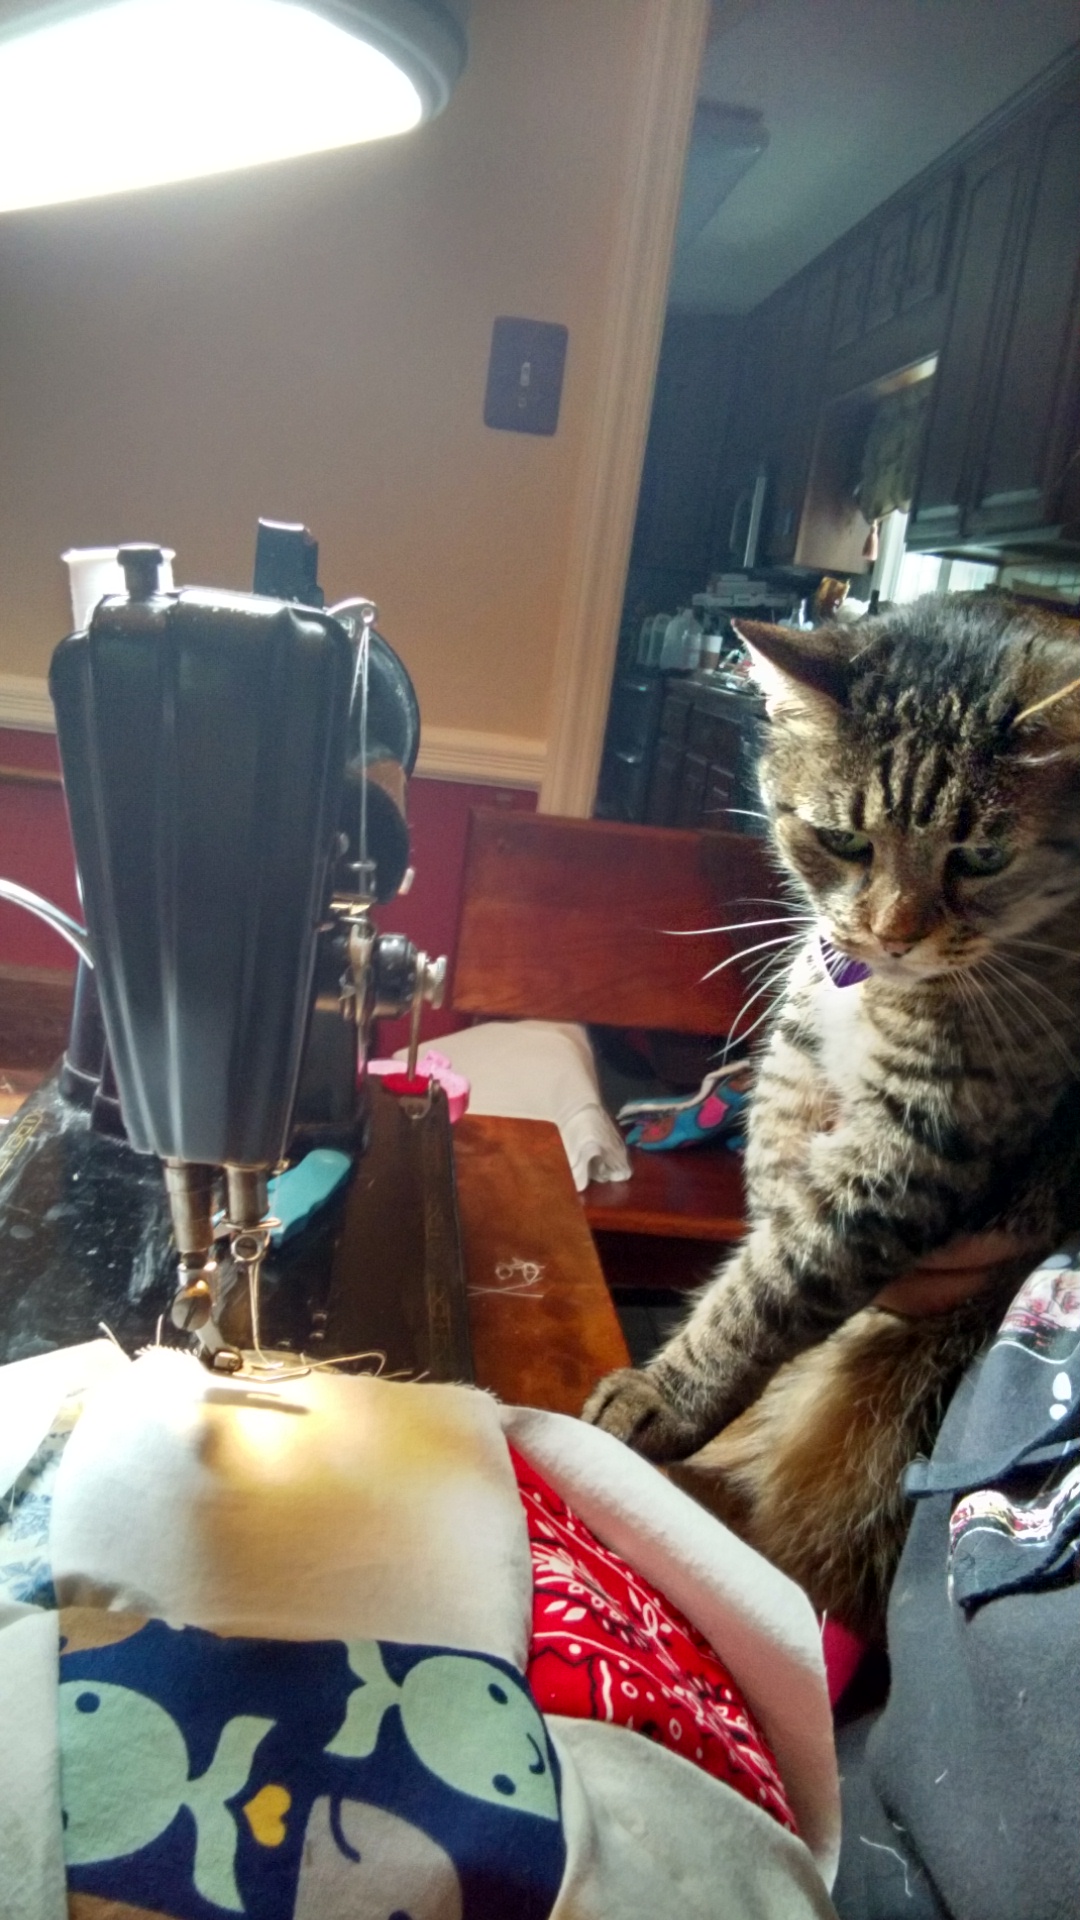
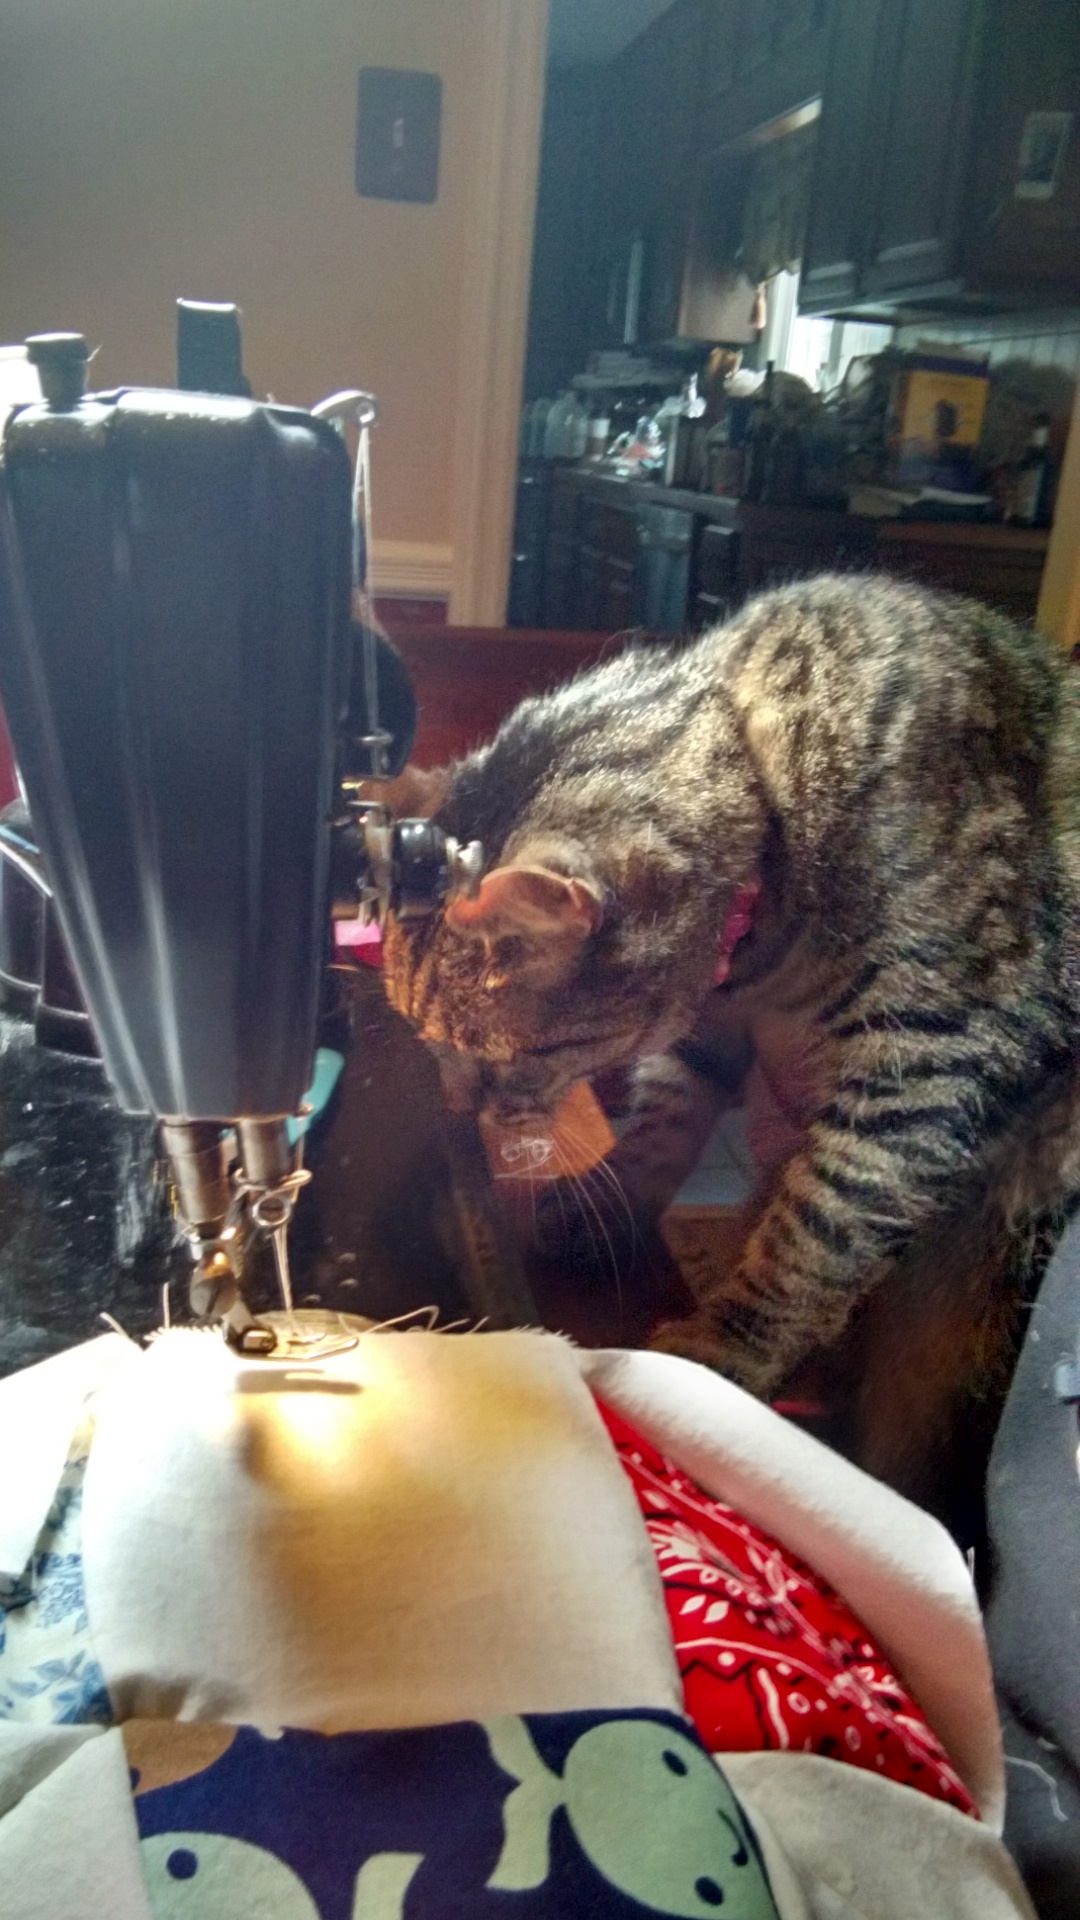
After cutting all the pieces, which takes awhile, even when doing it at night while watching television or during conference calls, then its time to start assembling. This is sewing the blocks, and making sure they all line up and look good side-by-side. Of course, I always have extra helpers (like Fireball, my cat, and Holly, one of my Greyhounds) making sure I’m performing quality work.


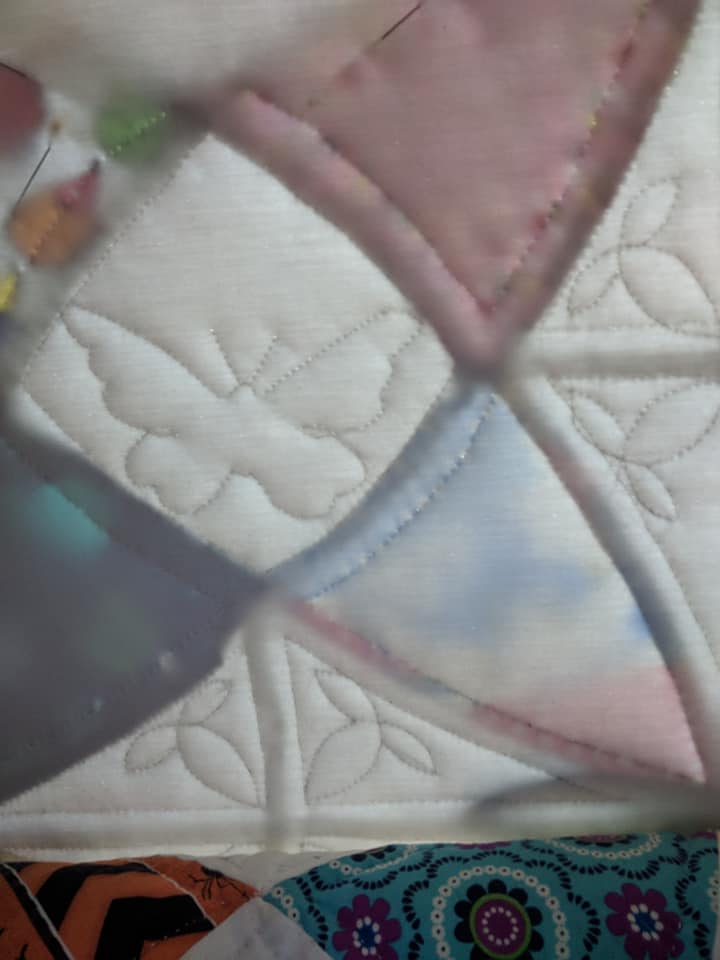
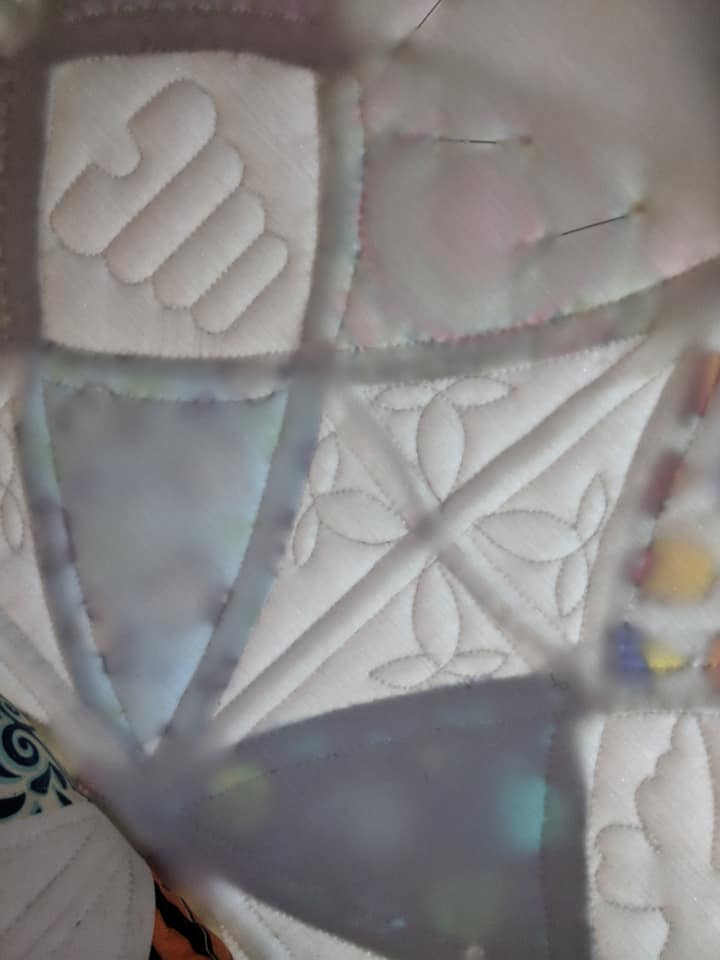
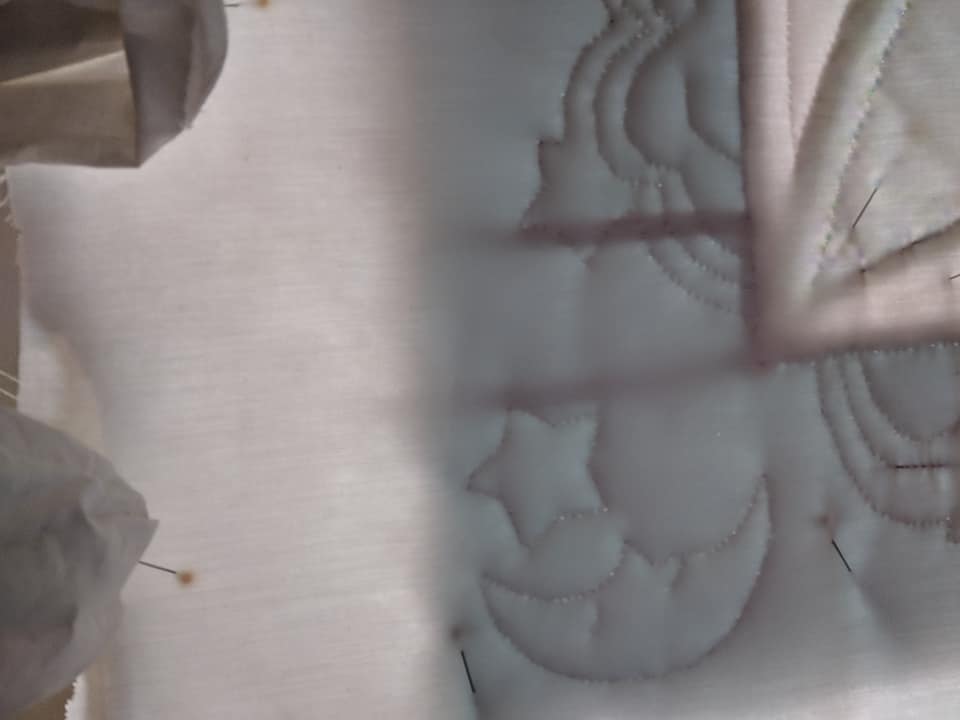
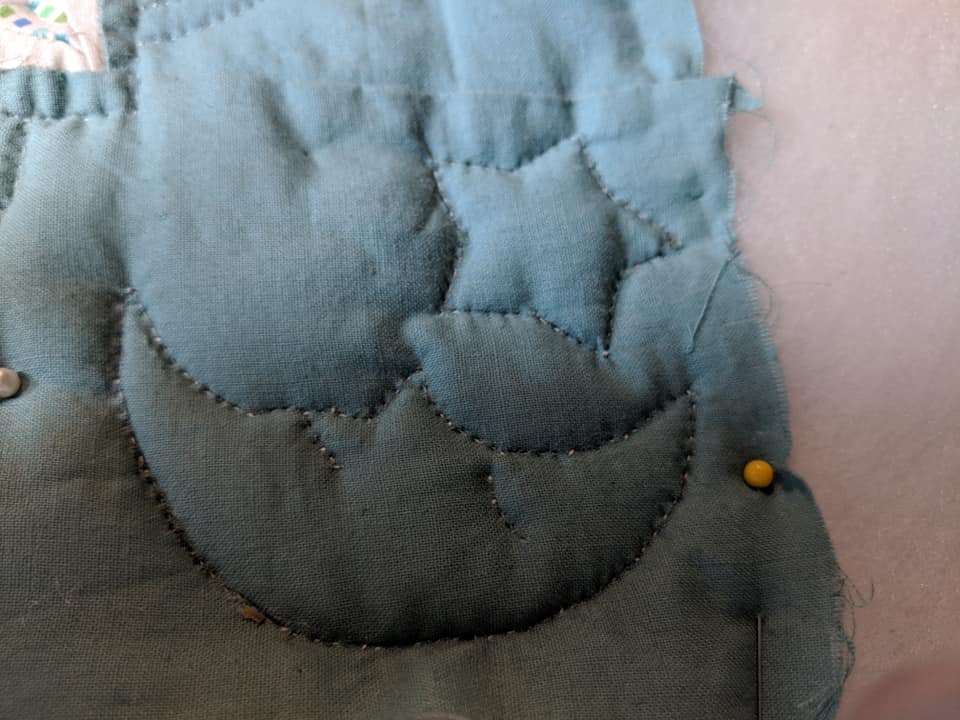
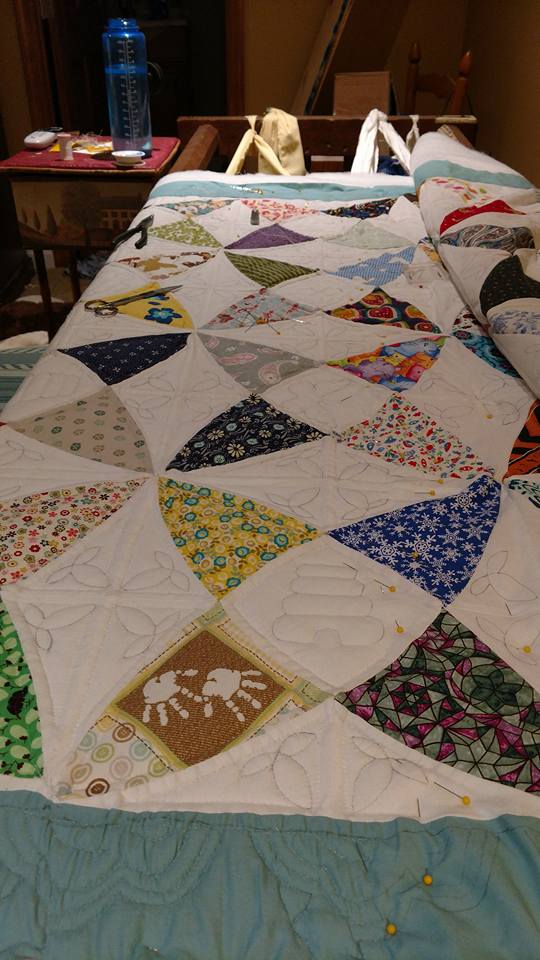
After the assembly is finished, then its time to press the whole quilt, and then to pick out the quilting design or designs. For this quilt, I chose some more whimsical designs than traditional, using rainbows, moons, and stars on the border, and flowers, beehives, and butterflies for the white areas. I trace these out on paper, then transfer to cardboard, as each time you do a pattern you may choose a different size of the quilting design, and cardboard is recyclable. So remember- Vinyl for the actual Quilt pieces, and cardboard for the quilting template. Once the templates are made and cut out, you can apply the patterns to the quilt. I use a regular #2 pencil, but some folks use any number of different washable marking tools- from chalk, to crayola washable markers, to iron off frixion pens. Trusty #2 has always worked for me.
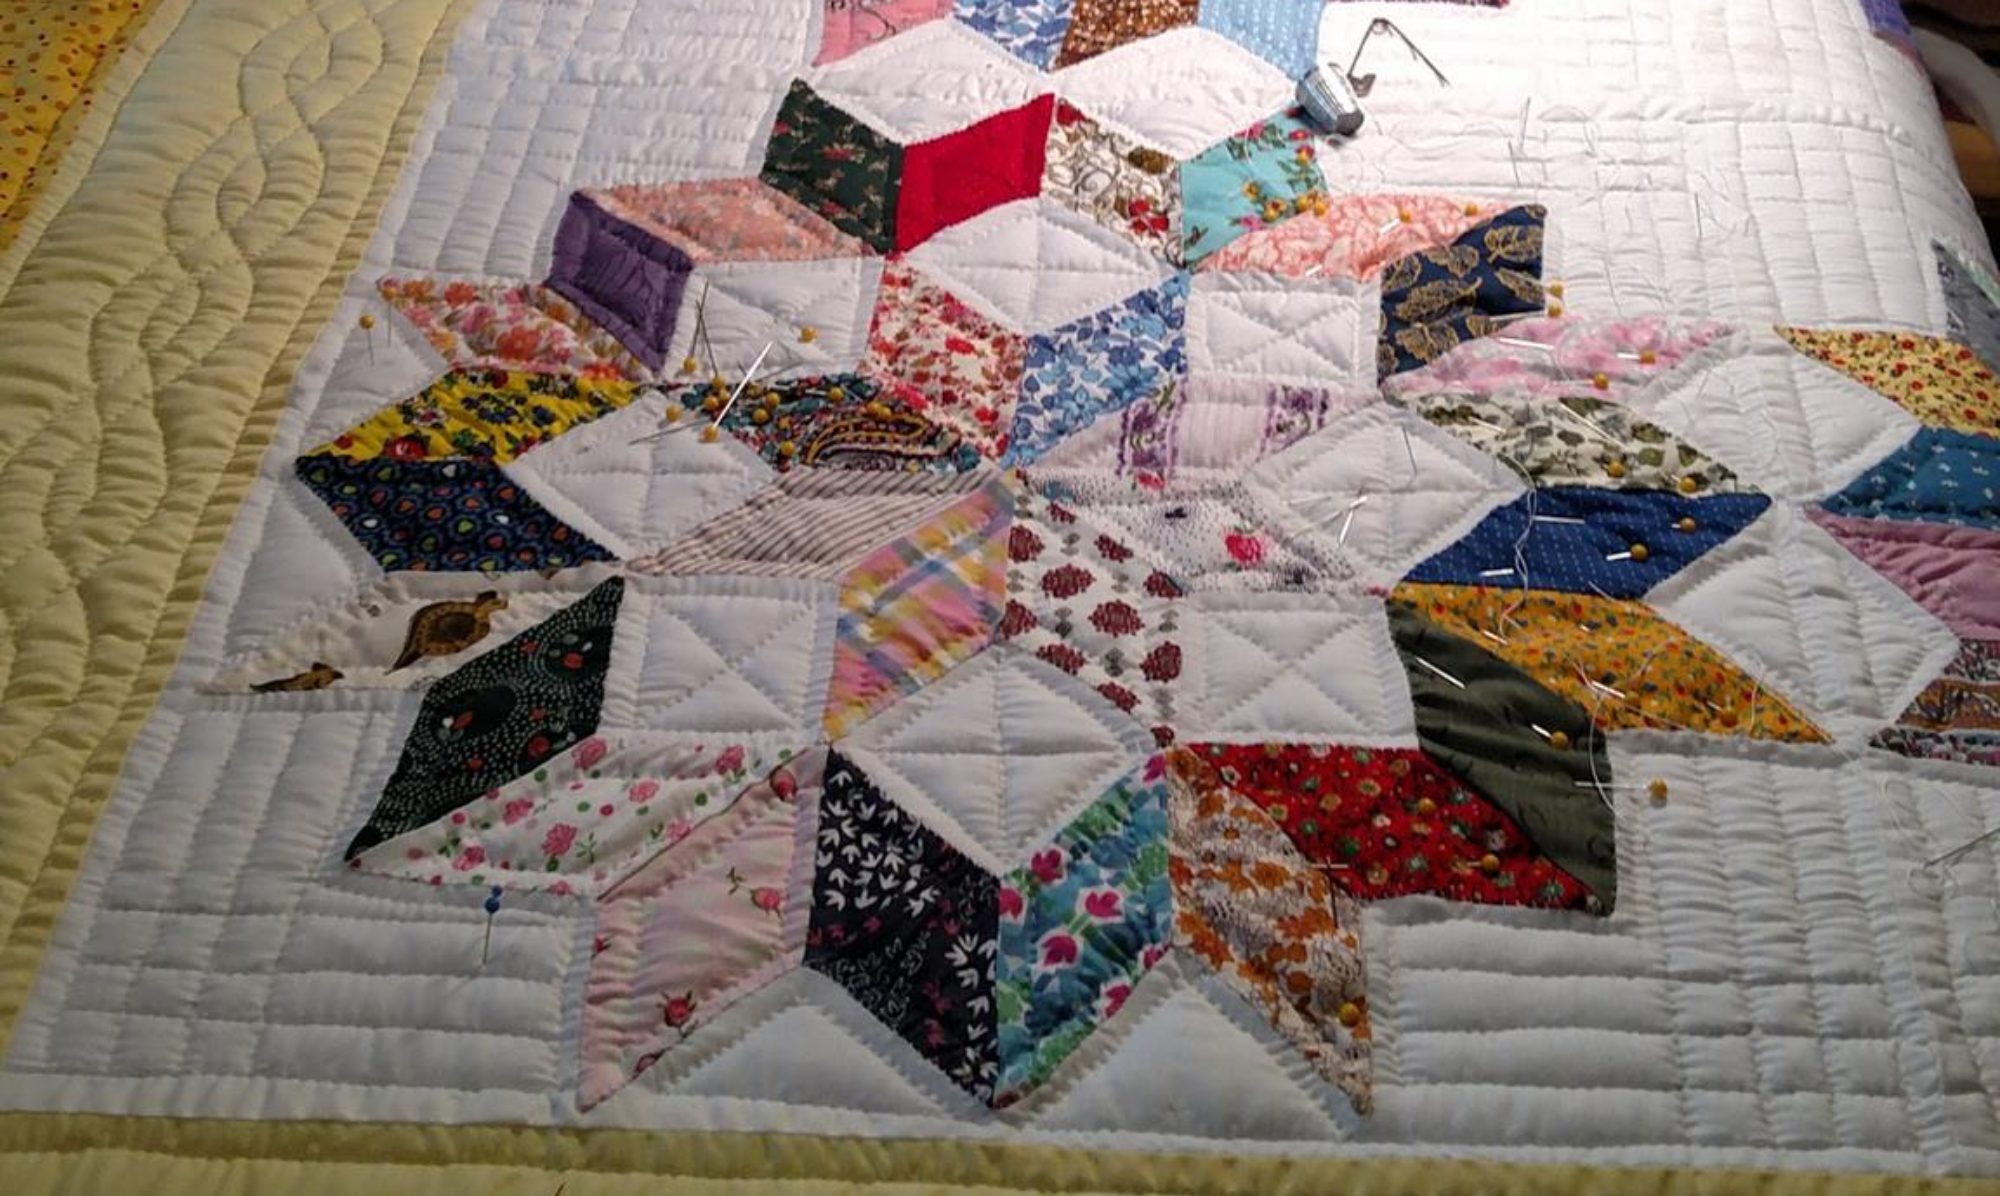
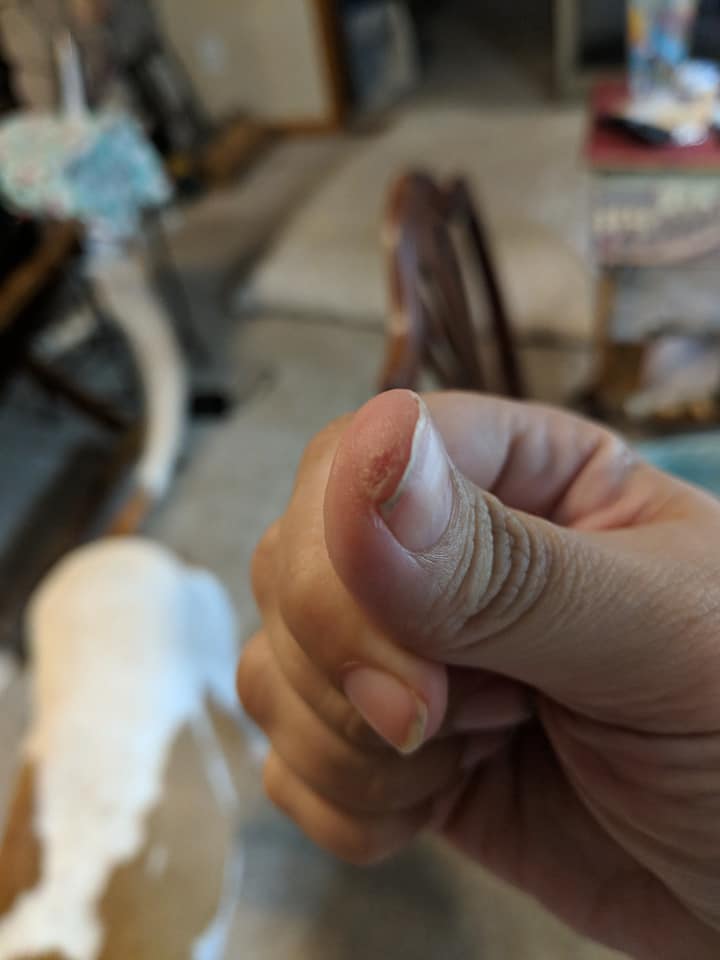
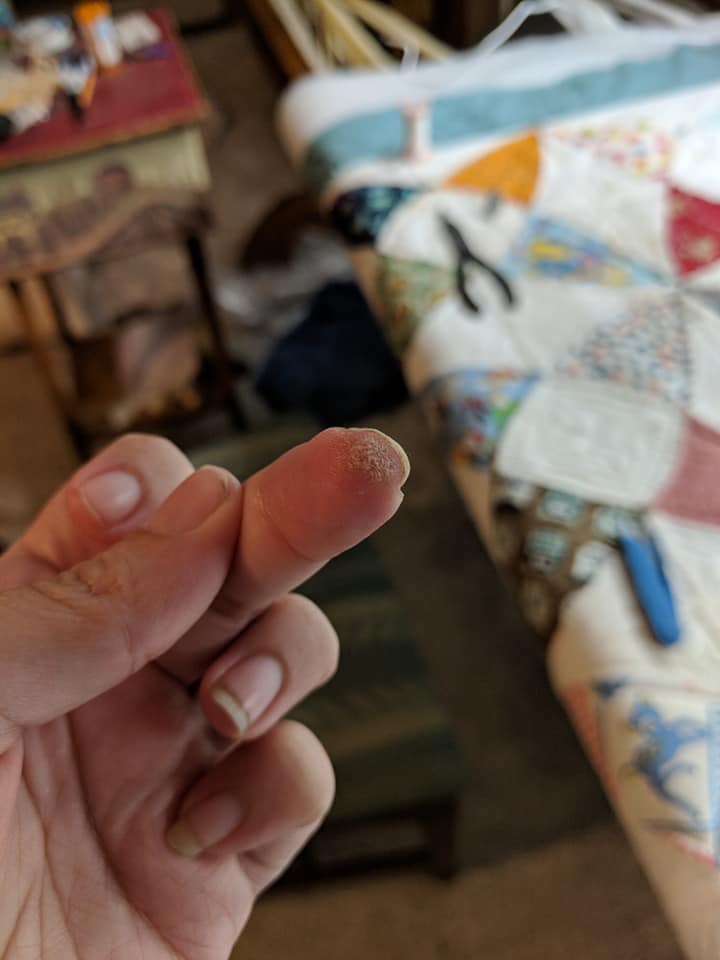
Ready to quilt now? Absolutely! Put your backing fabric in the frame, your batting on top, and the quilt on top of that. I hand quilt, so this is the longest part, and of course, the most fun, in my opinion. It took me almost a year of working on this quilt to quilt it, but again, I am not quilting for hours and hours every single day. But here are pictures of the progress.
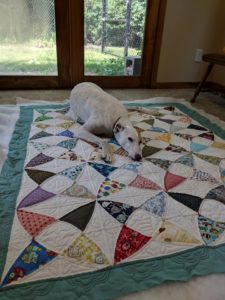
After weeks of hard work, finally you get to cut and unpin your quilt from the frame. Then trim the sides and do the binding by hand. I also tend to have at least one quilt tester, Harmony, to lay on the quilt to ensure it is comfortable.
Once the binding is completed, I wash the quilt to remove the pencil marks. Occasionally I have to wash it for 2 cycles to get all of the marks off, but I find that adding Oxyclean to the wash cycle helps immensely with reducing that need. Air dry the quilt- it keeps the batting from bunching, allows for better care of the color of the prints, and makes the quilt smell fantastic.
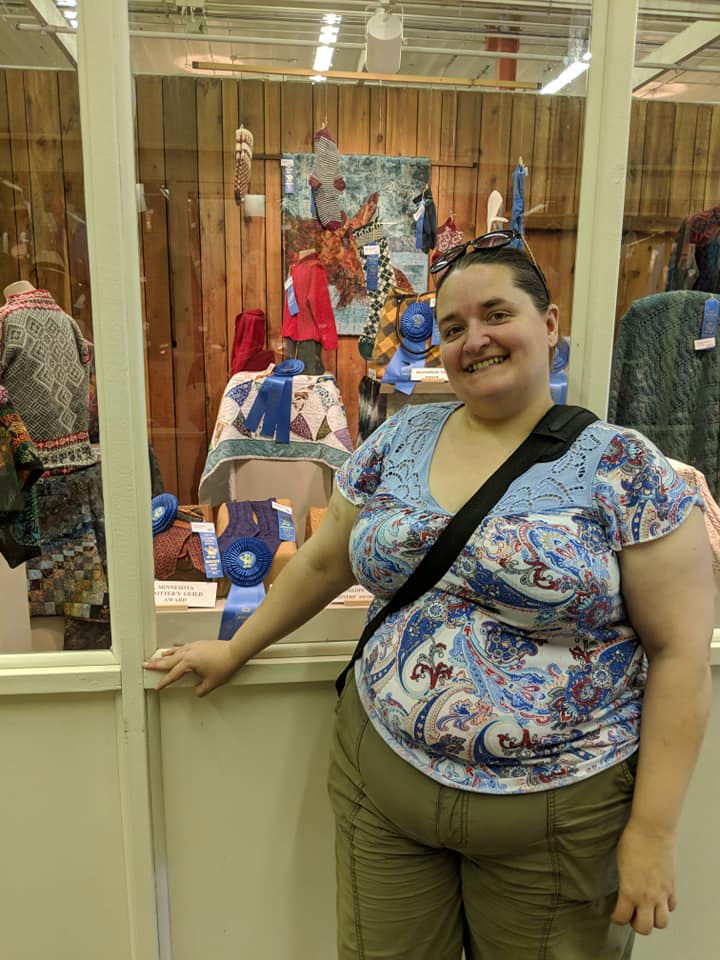
After it dries, then you can enter it into the fair, or send it off to the person its intended for, or just add it to your collection of quilts that you’ve made. For this particular quilt, I’ve entered it into the Minnesota State Fair, and while it didn’t place, it still is on display, which is wonderful for me. Once it is returned from the fair, I’ll be sending it off to my Niece to enjoy for many, many years.


Beautiful work. The birth of a quilt may seem like a long time to the creator, but this is sure to be a treasured item for many decades. I love the idea of I Spy.
I loved getting to read all the details that you put into creating your marvelous craft. Your niece will treasure this quilt of love forever.
My grandmother started this pattern years ago and I have the honor to finish it. It looked intimidating but went together easier than I expected. The instructions were few, so I struggled a bit on piecing. Would you share how you pieced it?
I started by adding the wings to the triangles, then attaching the triangles to thecenter, if I remember correctly. It takes a couple rounds to get a routine together, but then once you get into a rhythm, its just making a big square. But do the curves first, then the straights. 🙂