A Love Letter to Scrap Bags

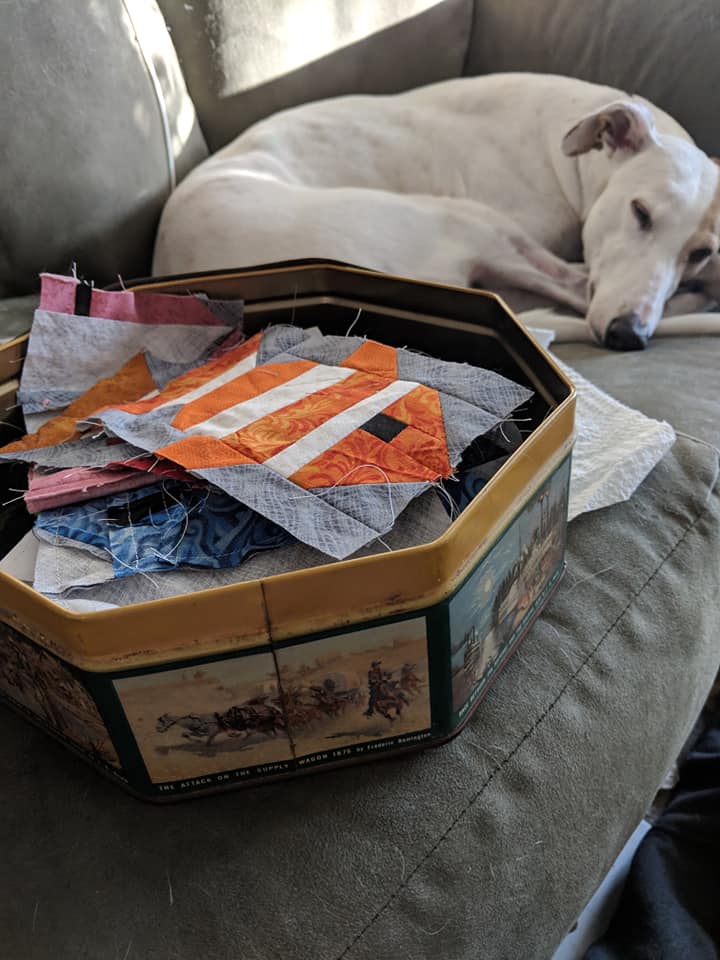
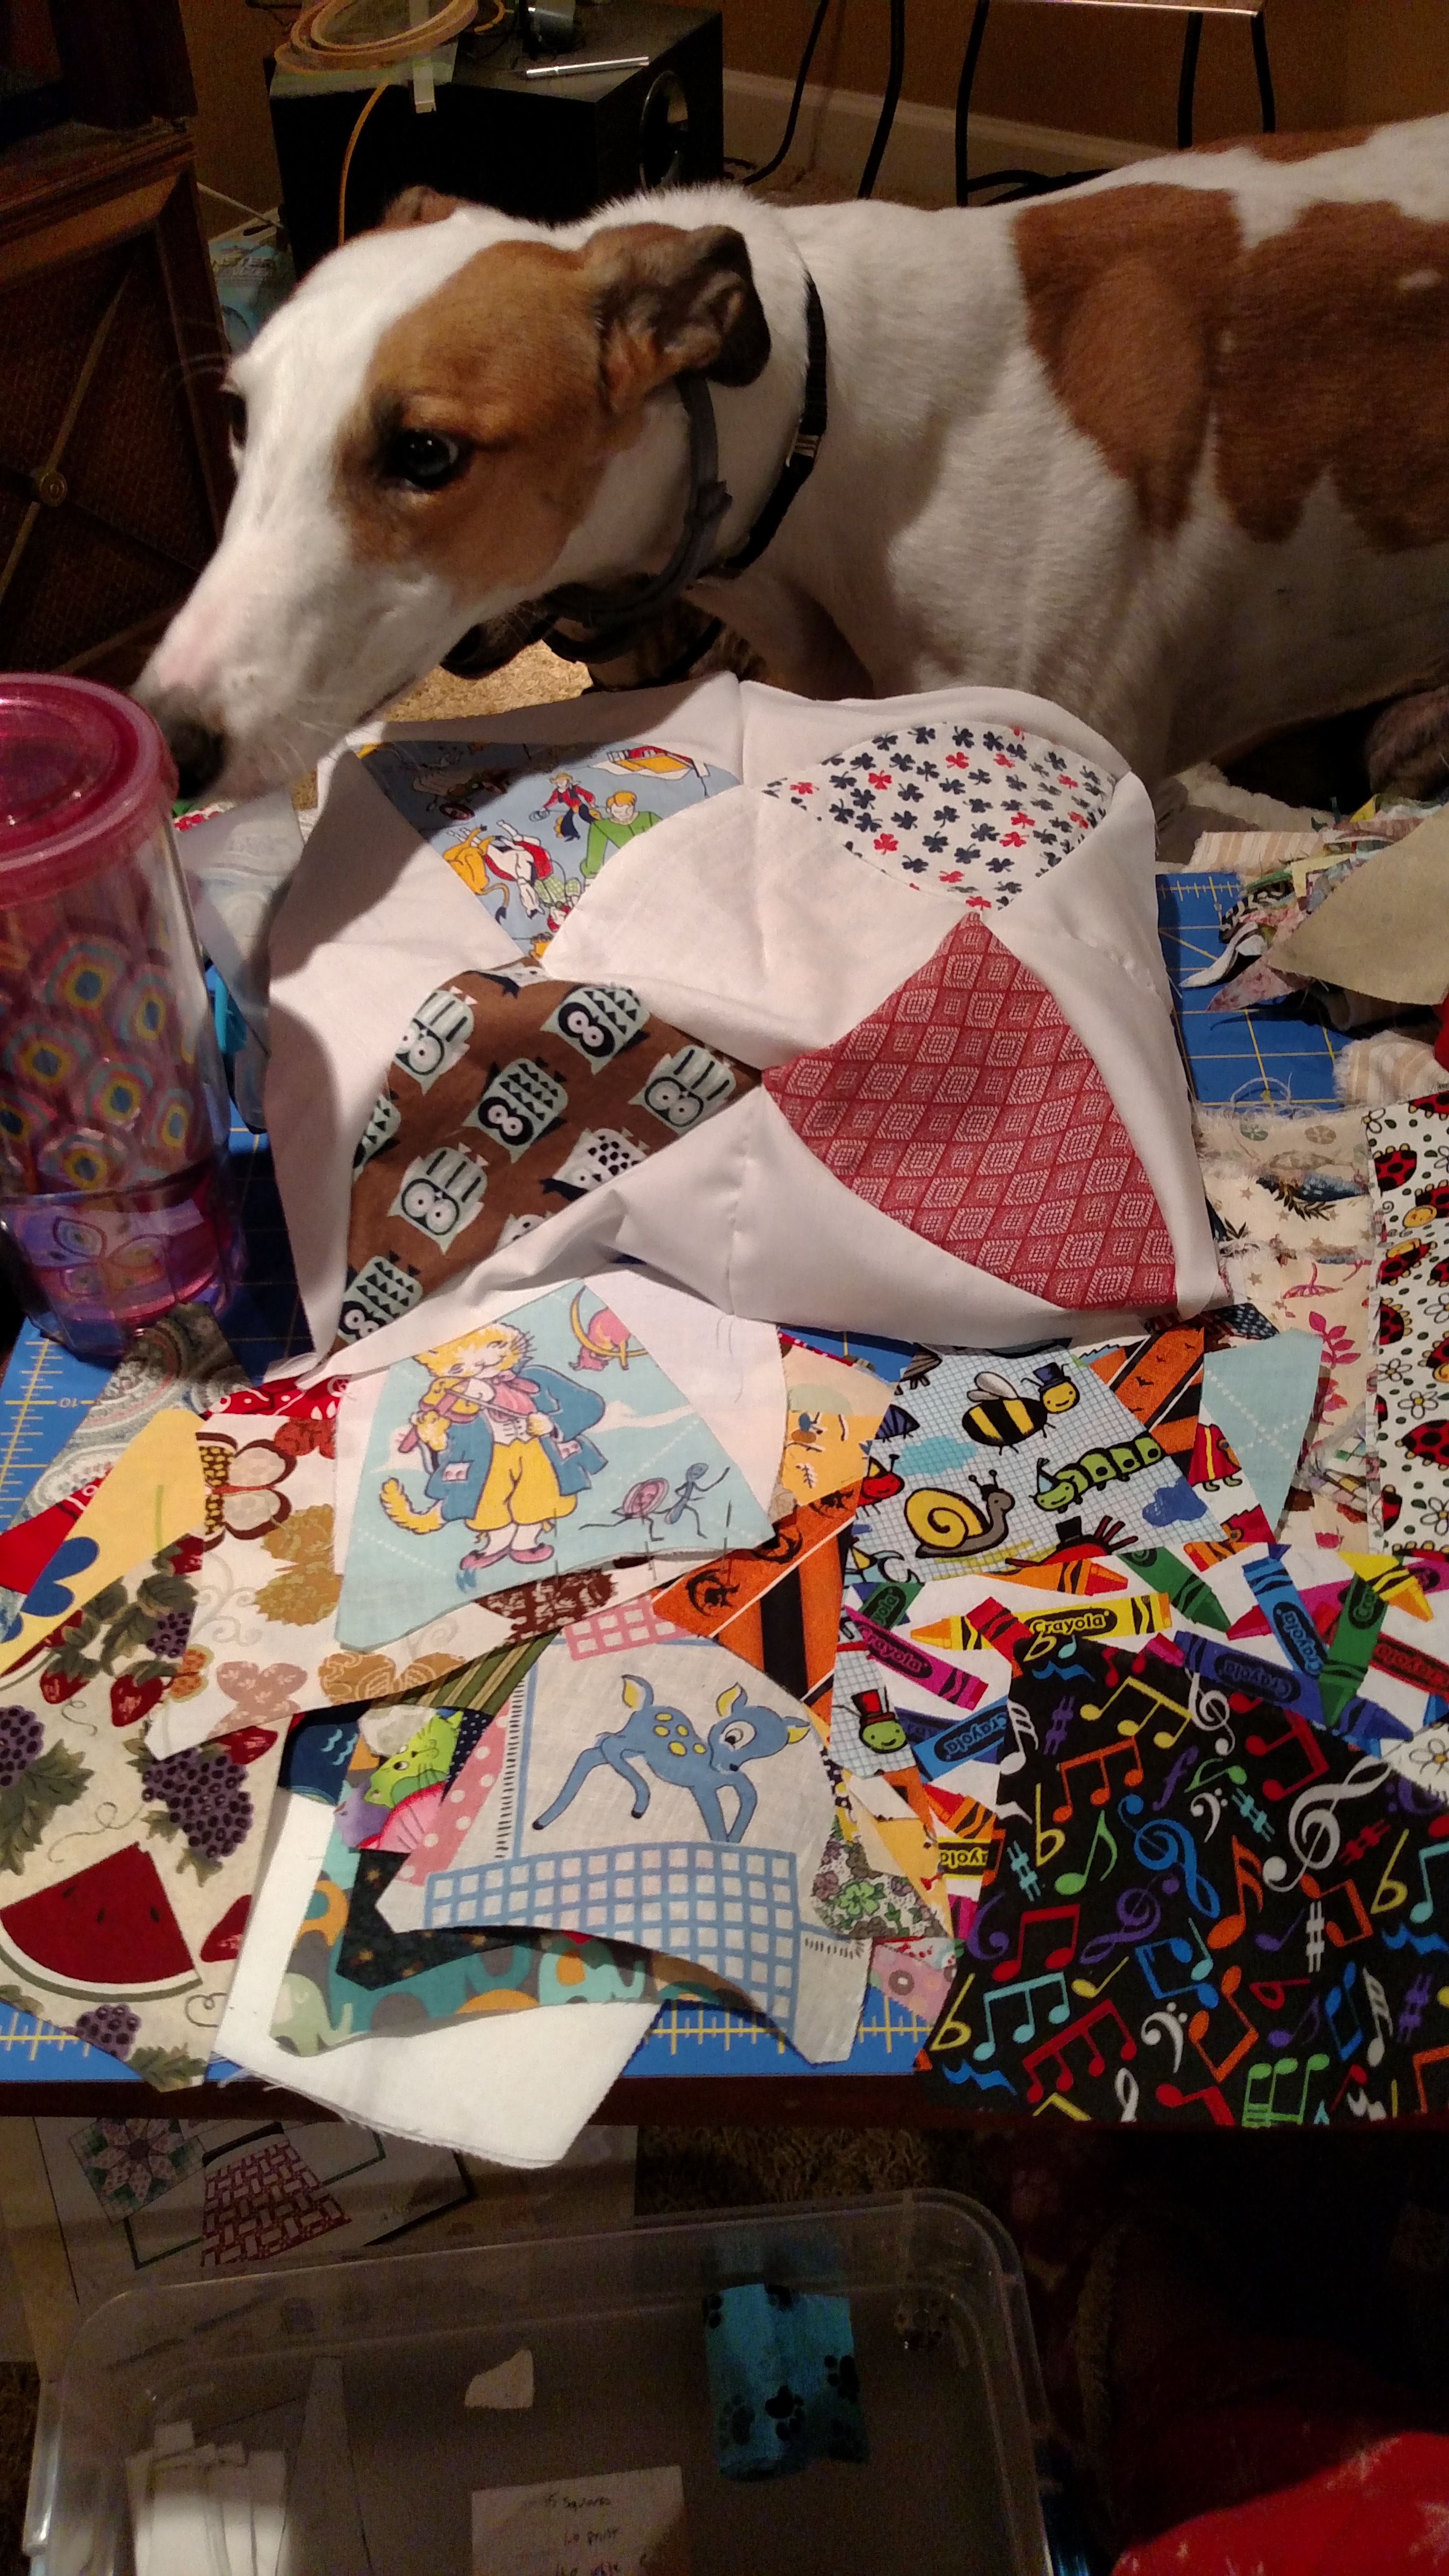
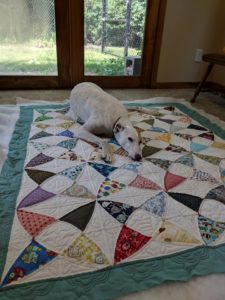
If you’ve been hanging around the blog, you can see that I love making scrappy quilts. The more variety, the happier I am when it comes to making quilts.  That means I don’t typically buy massive bolts of fabric or extensive yardages.  Fat Quarters are nice, but if you really want to spice things up, you need a bunch of different ones.  Or you need to have assembled a lot of quilts with lots of lengths left over from those quilts.  Since I hand quilt, that isn’t always the case for me.  Enter: the Scrap Bag.

Behold its beauty and wonder

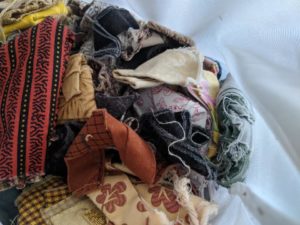
Traditions at the White Swan (Located in Hagerstown, MD) is probably my favorite quilt shop in the entire country.   Not only do they have the fabric styles I enjoy the most (Civil War Repros, 1930’s repros and feedsack repros), the owners and staff are super friendly, and they carry scrap bags.  For under 10 dollars, I get a bag stuffed full of the scraps that they couldn’t use- ends of fabric bolts, leftovers from cutting kits, leftovers from cutting fat quarters and fat eighths, etc. I am totally addicted to these little bags.  I call them Trick or Treating for Fabric, because you never know what you’re going to get inside them. While you can see some of the fabric in the bag, most of the time there’s so many different styles, prints, and designs, you don’t actually know what is fully in the bag until you open it. 

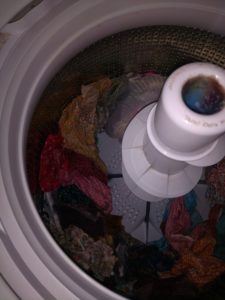
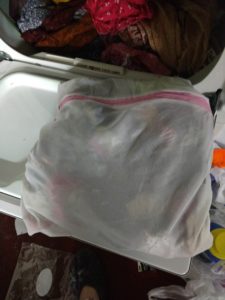
Unfortunately, with the move, the Swan is thousands of miles from me. So I can’t just go get my scrap bags on a whim.  However, I just recently went back east for the holidays, and was able to stop in.  And I purchased several scrap bags.  I may have actually had to play around with my suitcase weight because I bought so many…or it was the cookies I was bringing home.  We’ll pretend it was the cookies.  I’m hoping to save them and open them slowly, savoring each package with whats inside. How do I do that?  I wash each individual bag (or 2) in a zippered lingerie bag.  I also include color catchers in the wash of course, but the main rule is that I don’t look in the zippered bag until after the wash is finished. Then the treating begins!

This is 1 bag of scraps- in an XL Lingerie bag. Look at all those scraps waiting to be discovered!

I look through the pile of scraps in the bag, determining which ones I like and don’t like.  I am not personally a fan of Batiks, so I save those and other fabrics I’m not a super fan of, to put in the raffles at the TOGA events, or to donate to the Textile Center’s annual Garage sale. OR to use as rags, or give to friends who like batiks or other fabric styles I may not.  Then I’ll take the rest and add them to my scrap collection to be made into quilts. 

So many pretty fabrics to sort through!


Now, some folks may have to have a project in mind to get the juices flowing for such a beautiful bag of fabric. So recently, I decided to give myself a little challenge with 2 scrap bags.  How many squares of a quilt could I make?

Isn’t it an adorable pattern?

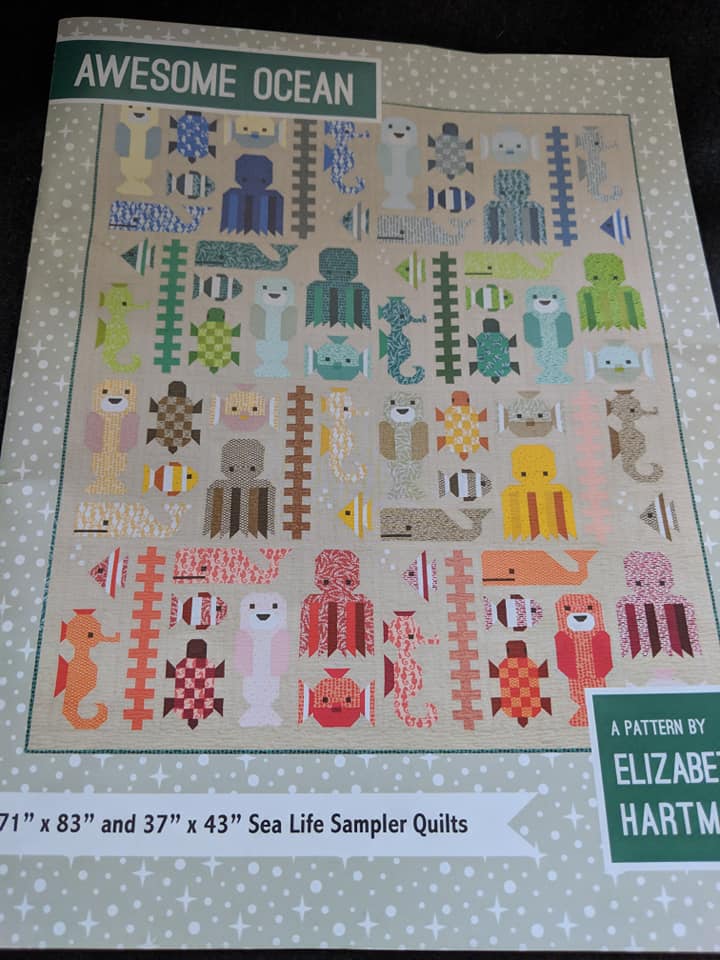
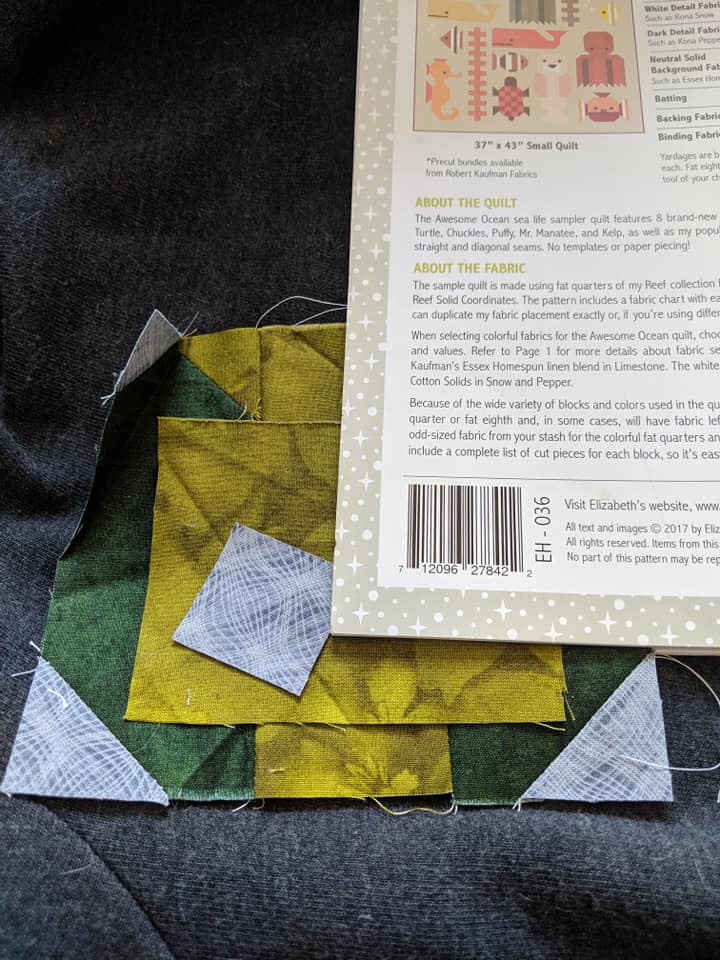
I decided to use Elizabeth Hartman’s Awesome Ocean to challenge myself. I had been wanting to try one of her patterns, and because of the variety of prints and styles she uses in her projects, I thought it would be a good fun project. Elizabeth’s patterns are mostly animal/plant based (and she has a unicorn pattern I need to get), and have both the ability to be a small quilt, or a large quilt.  Her pieces, while they look sizeable on the pattern, are actually fairly small, and some of the pieces you need to cut for some of her patterns are even only 1″x1″ – super tiny when you think of adding a 1/4″ seam to that!  So it seemed like an excellent choice.  The one exception I gave myself was that I did buy yardage for the background bit, because there wouldn’t be enough for a background.  everything else had to come from the fabrics in the scrap bag.

envelopes are in process

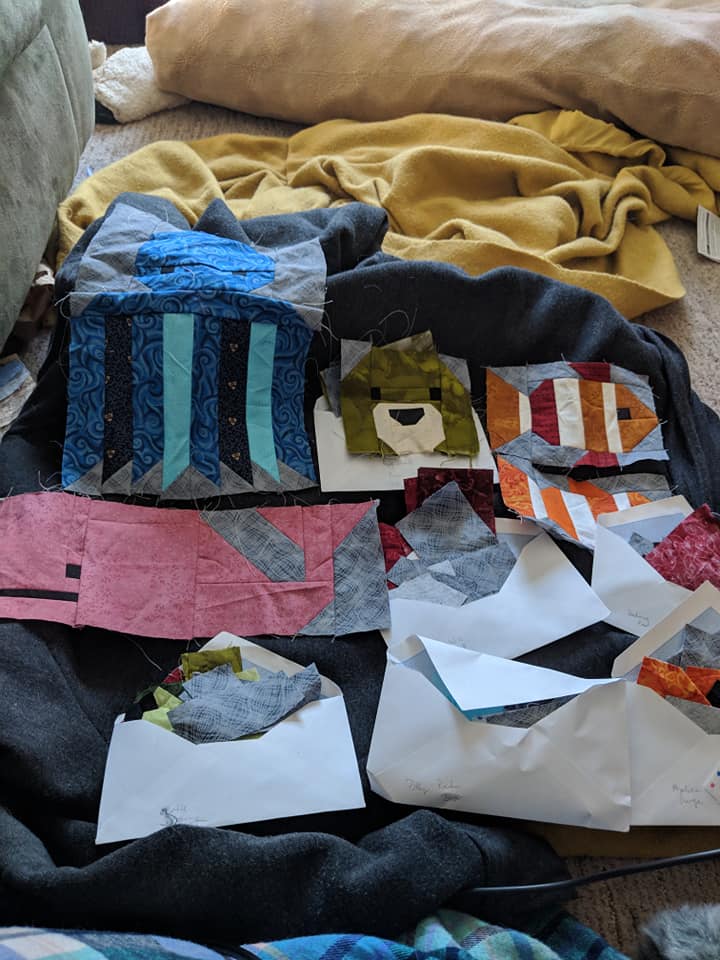
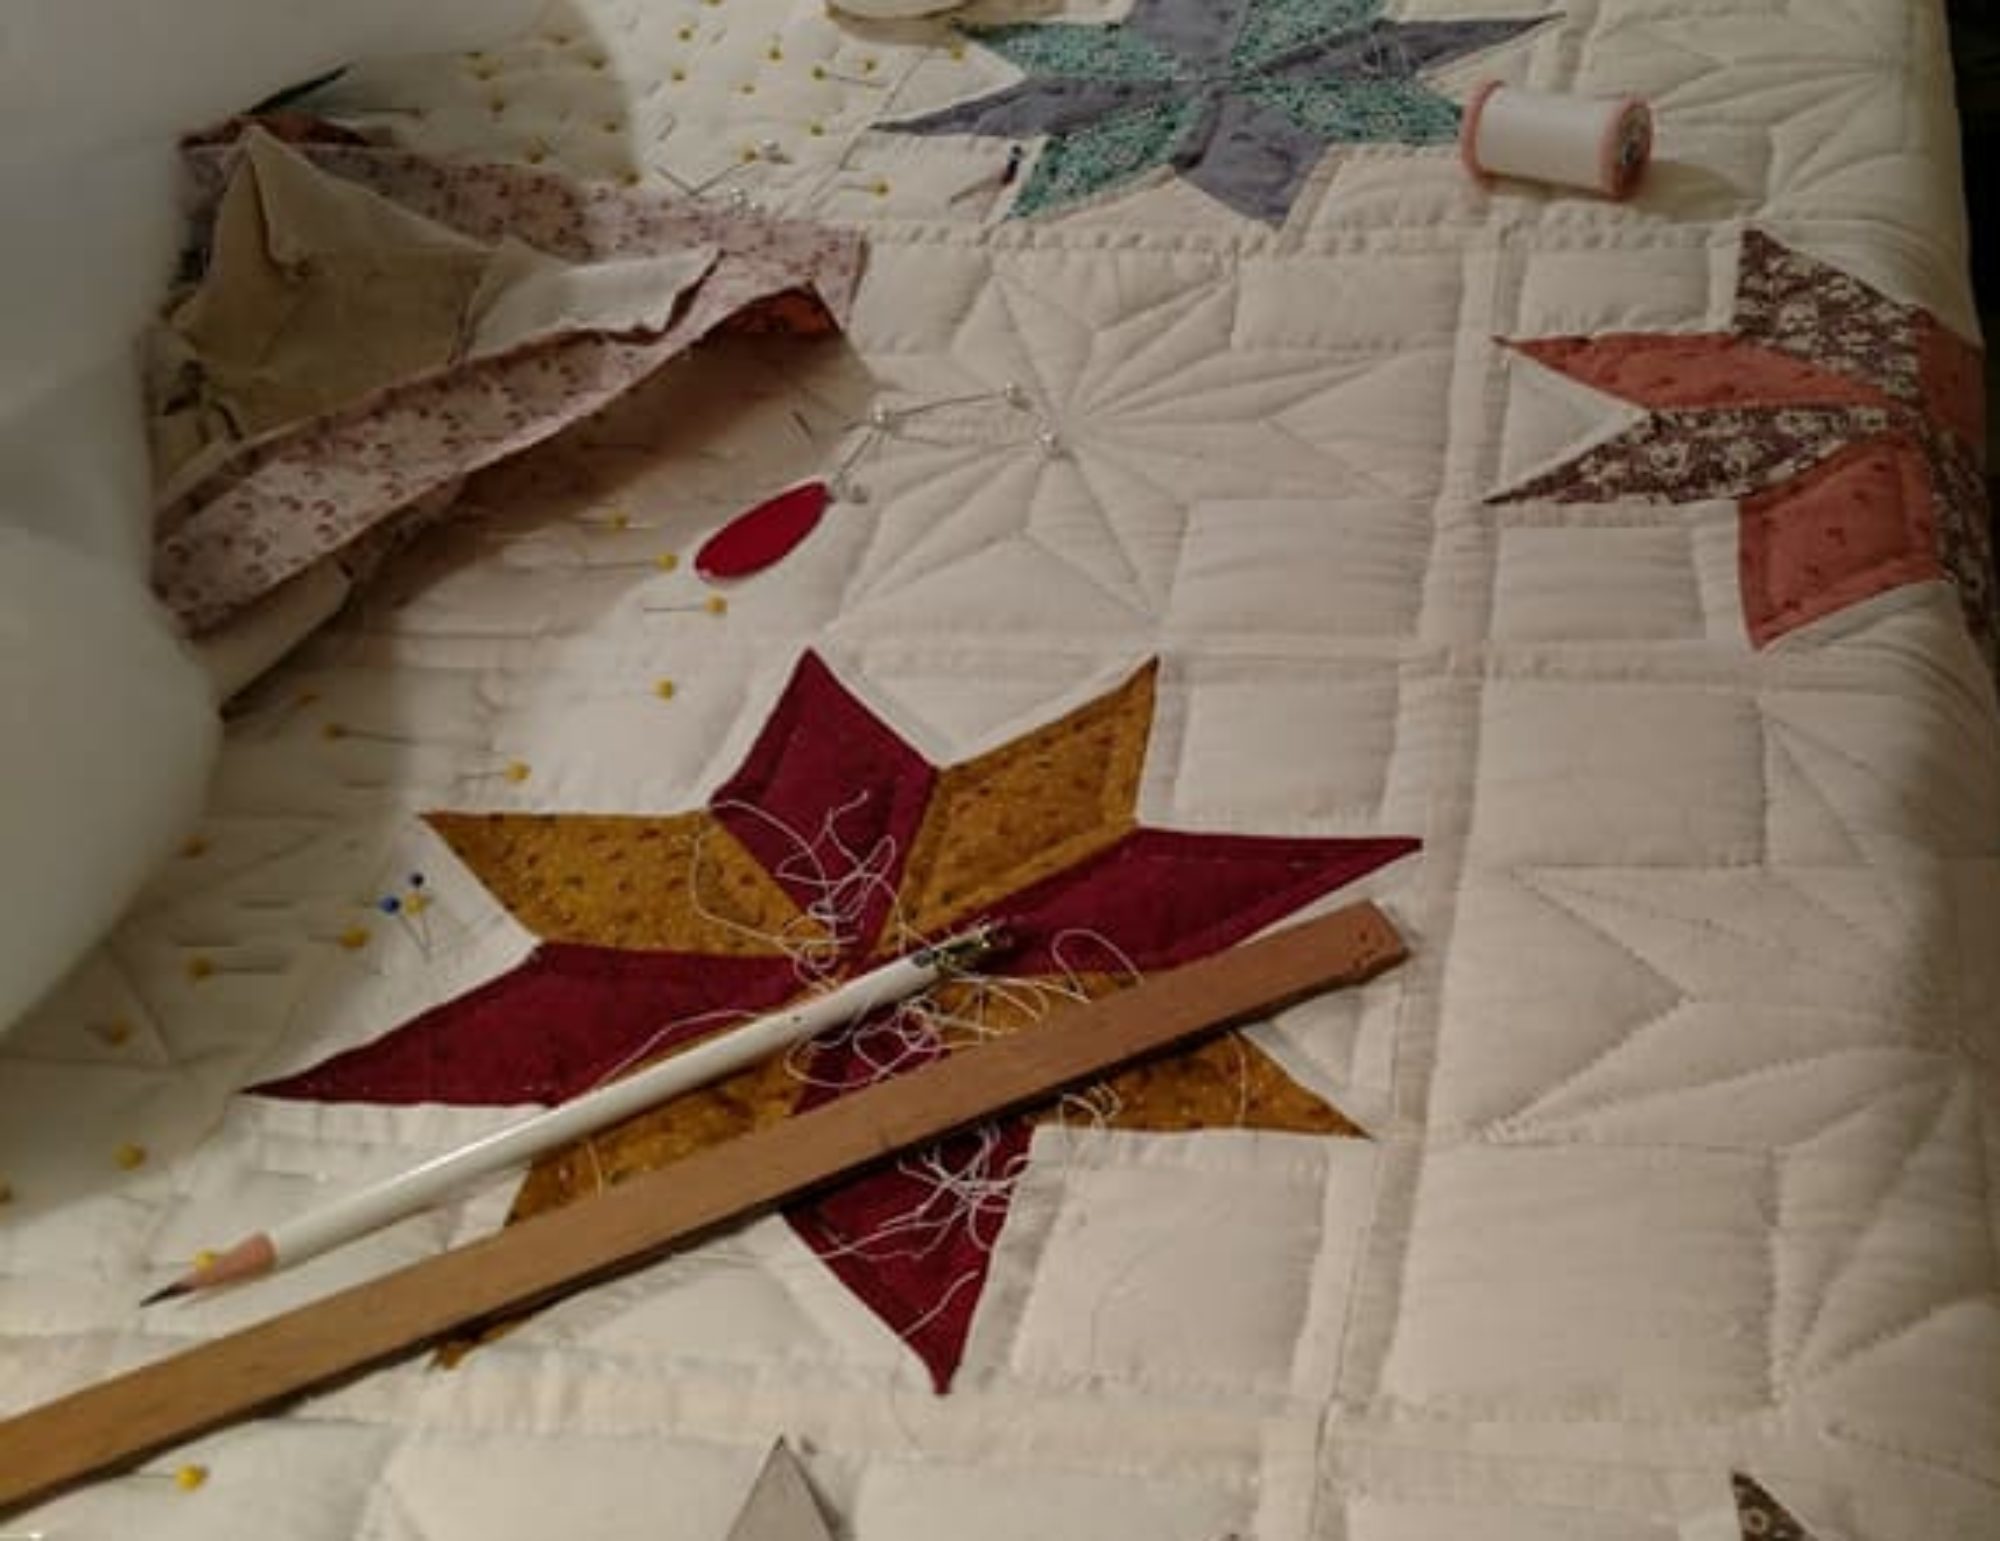
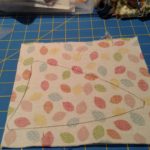
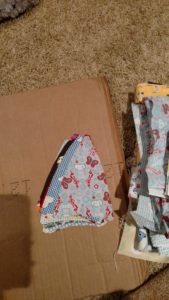
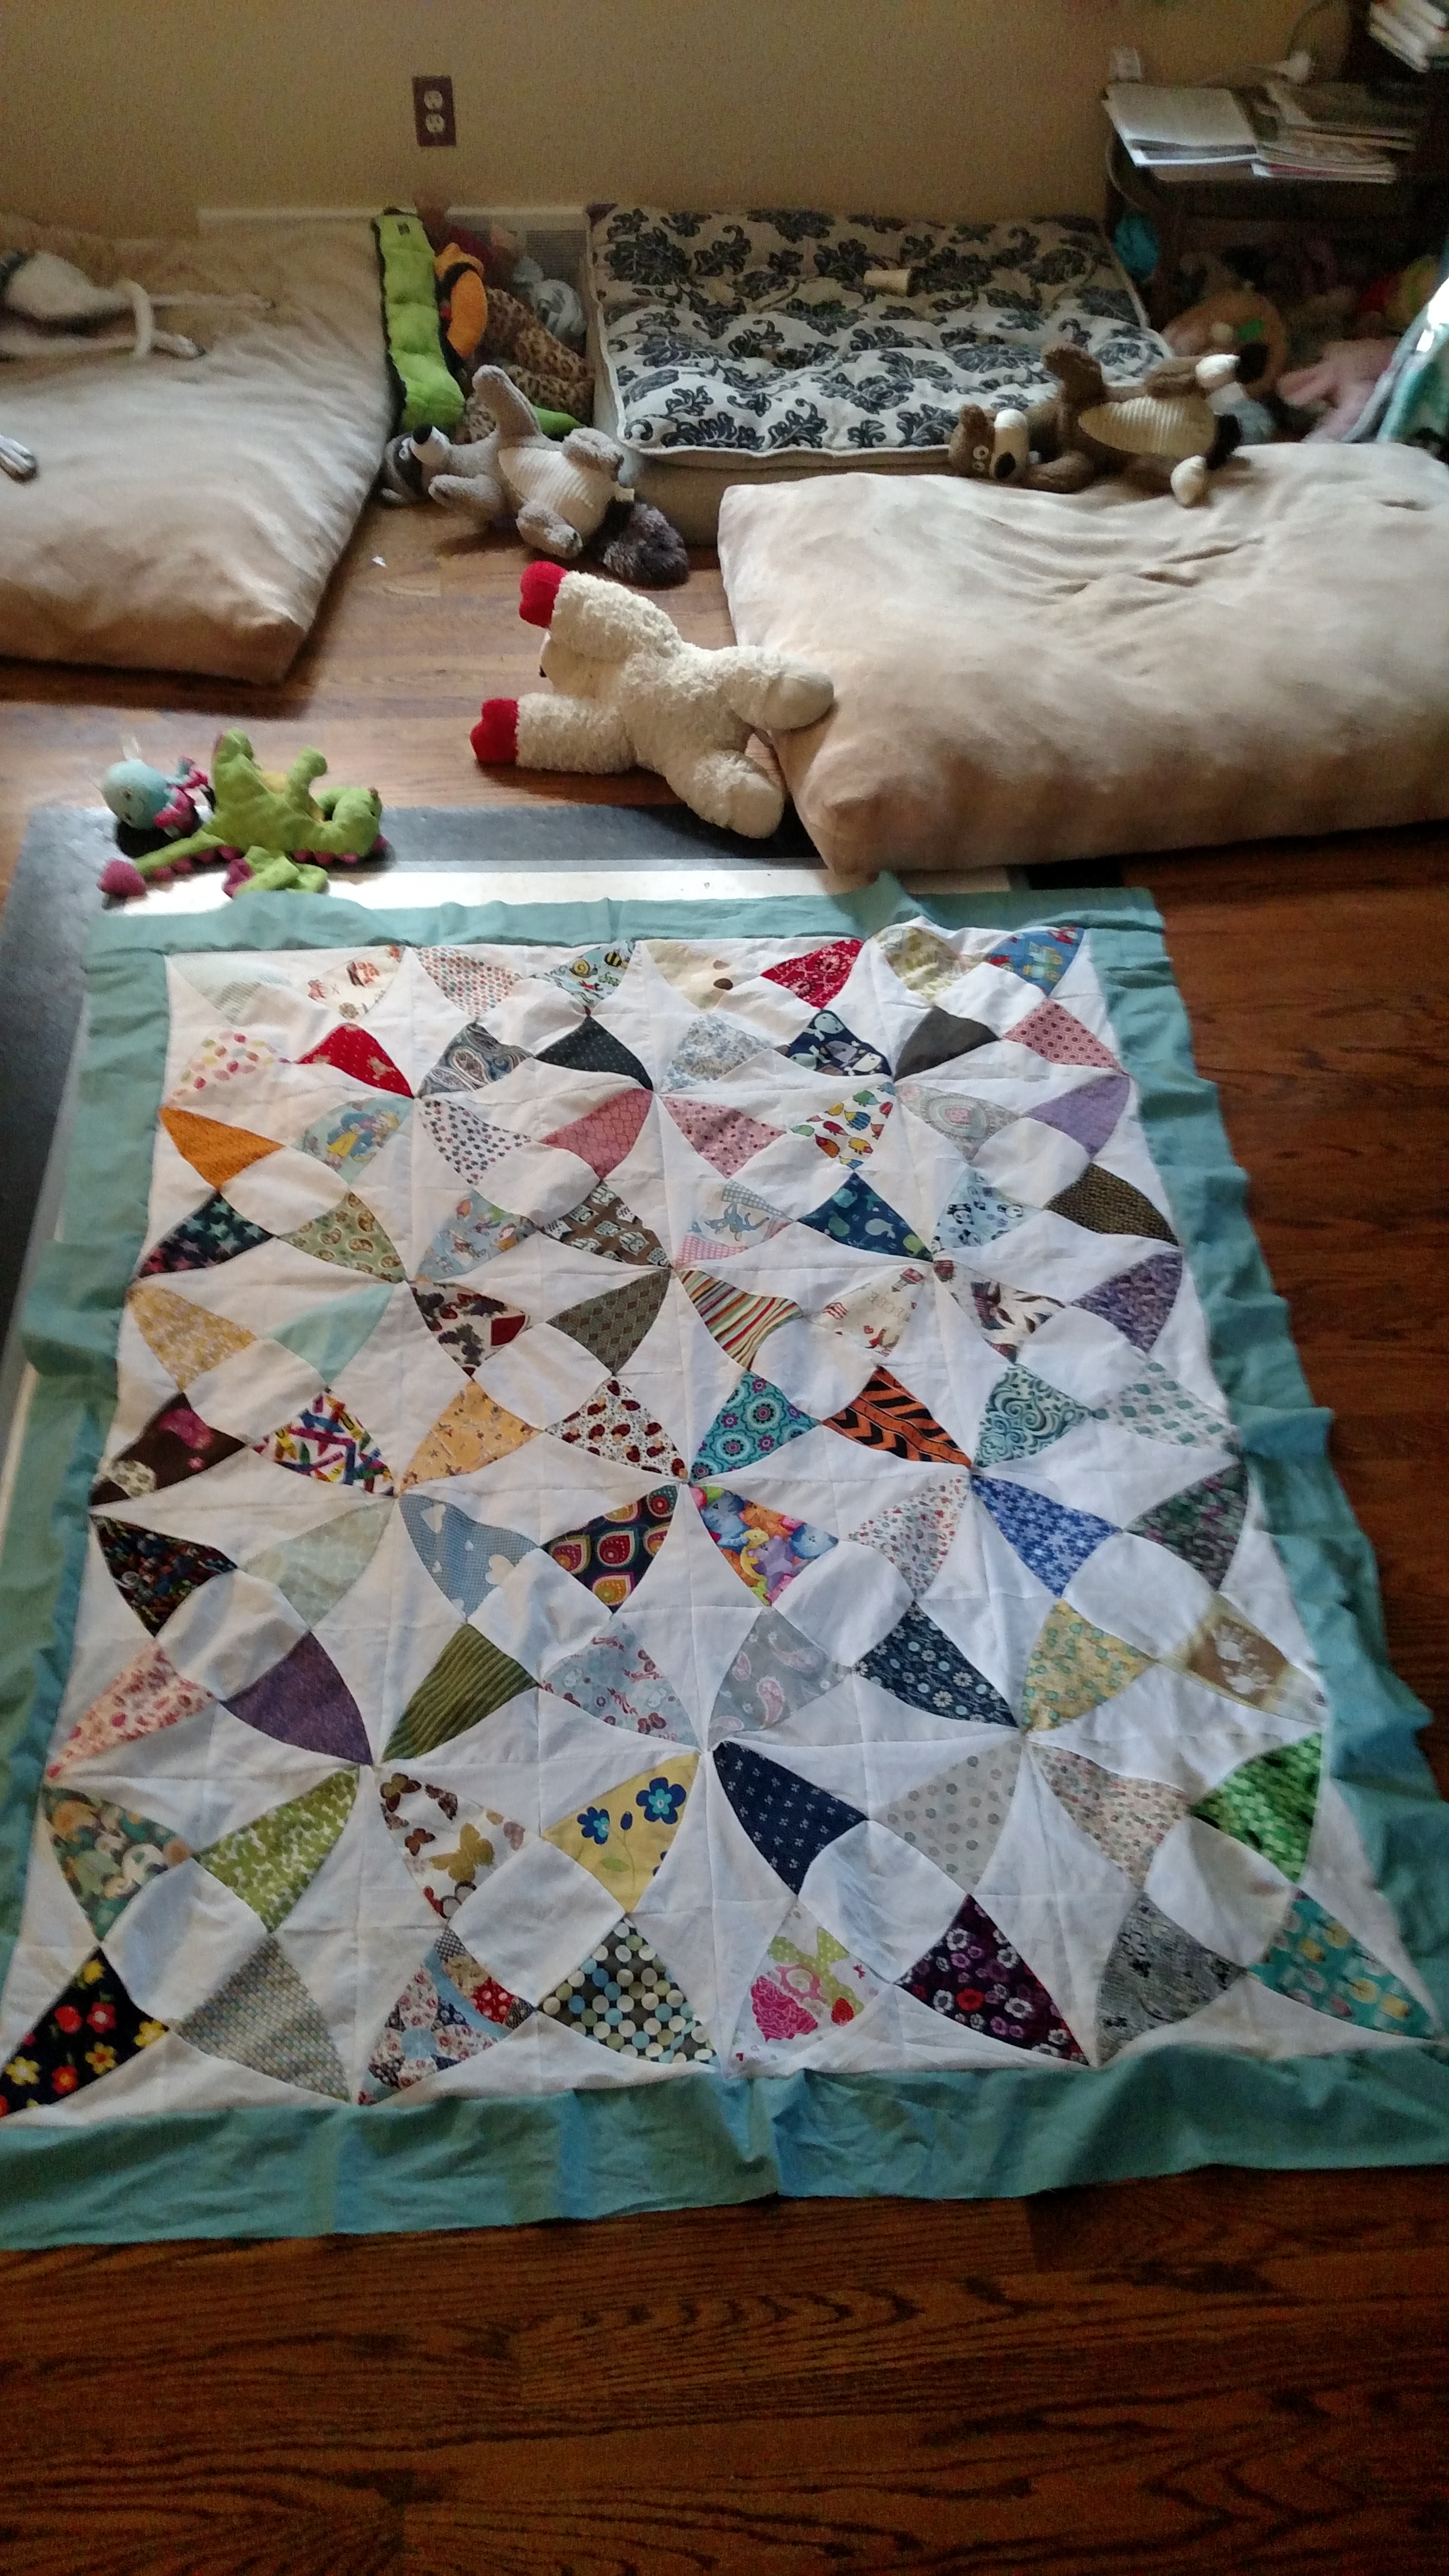
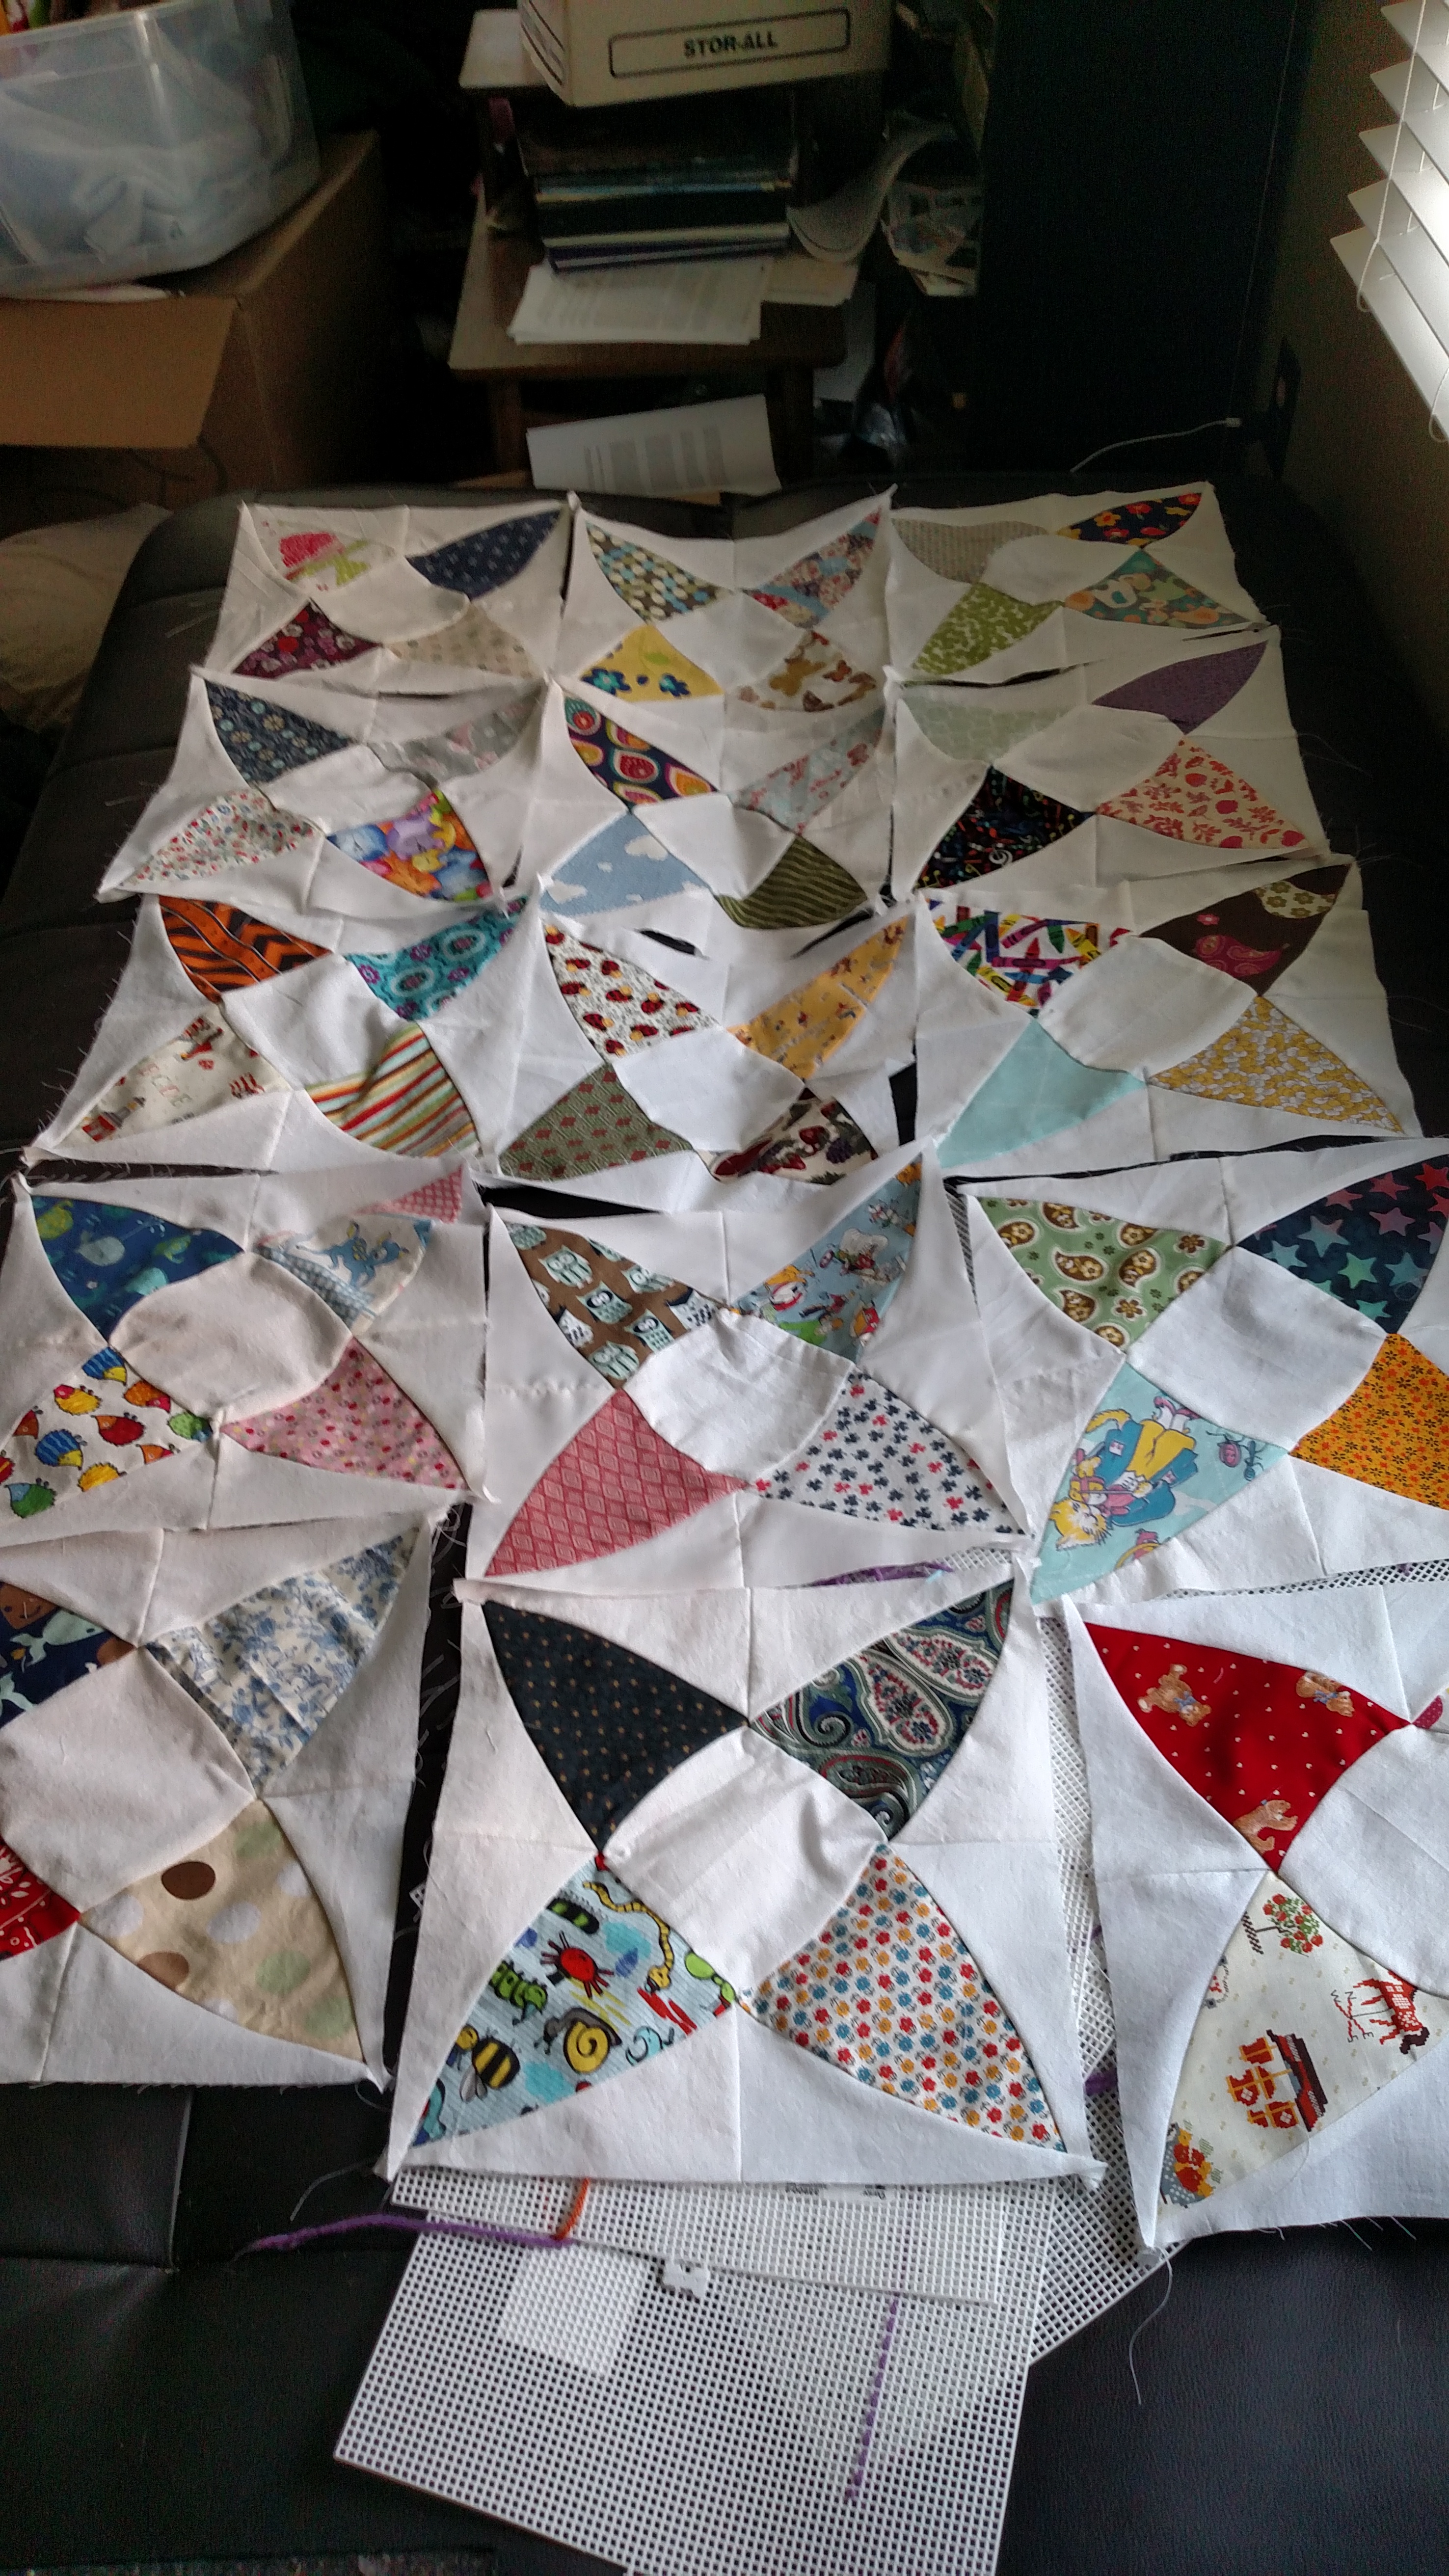
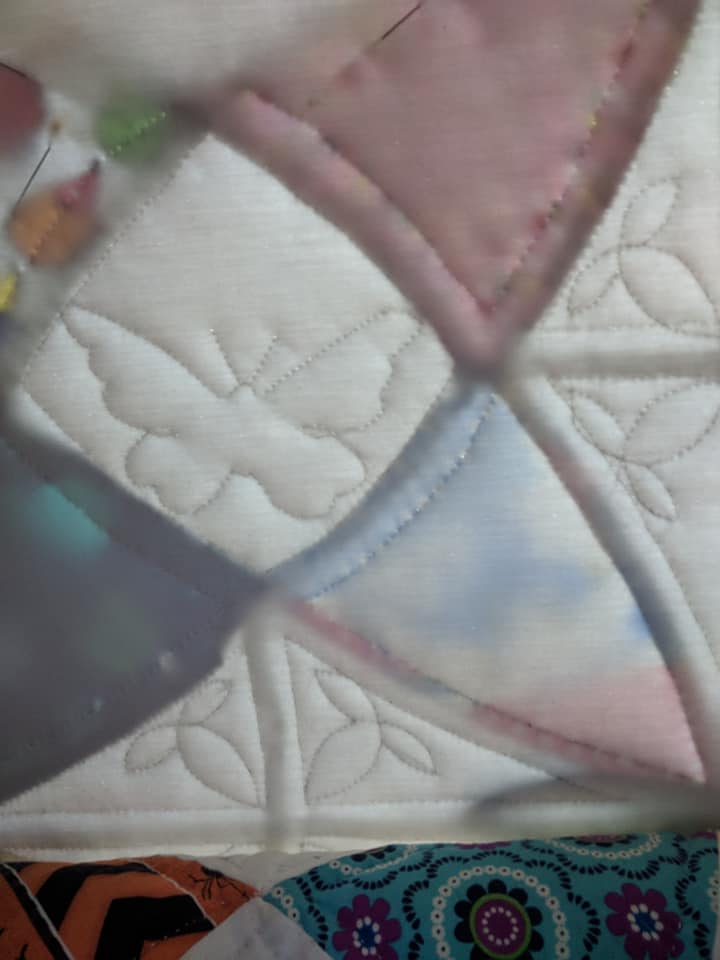
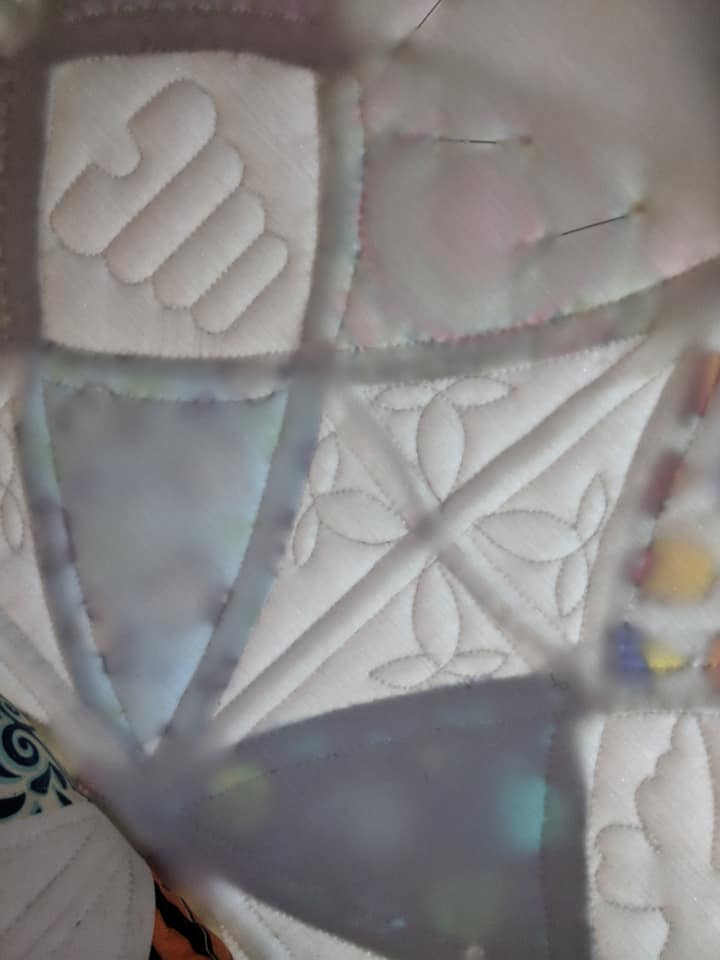
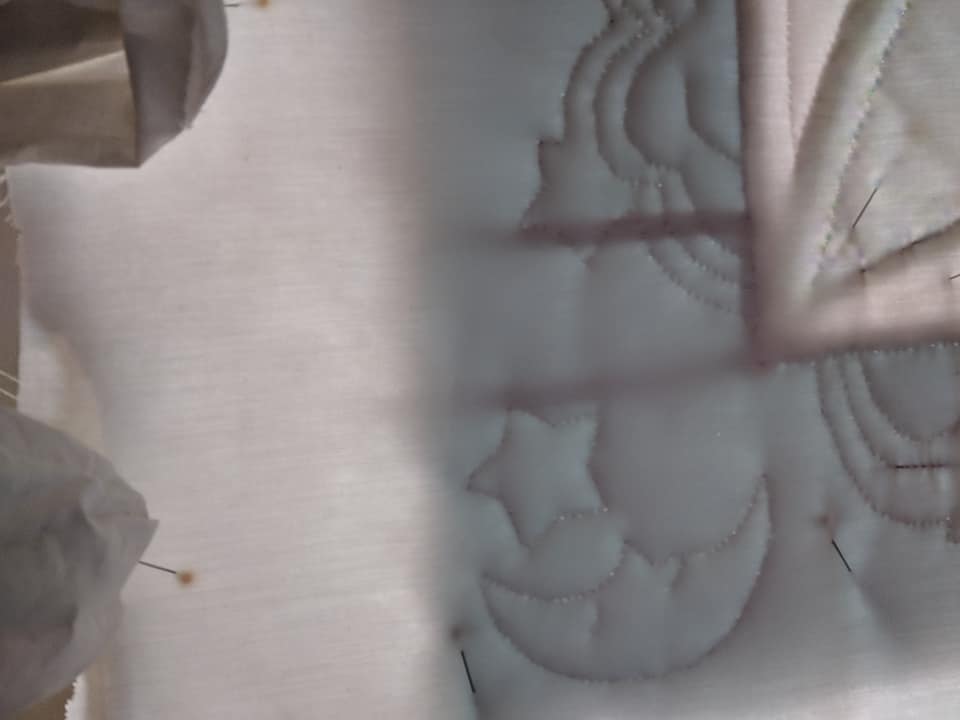
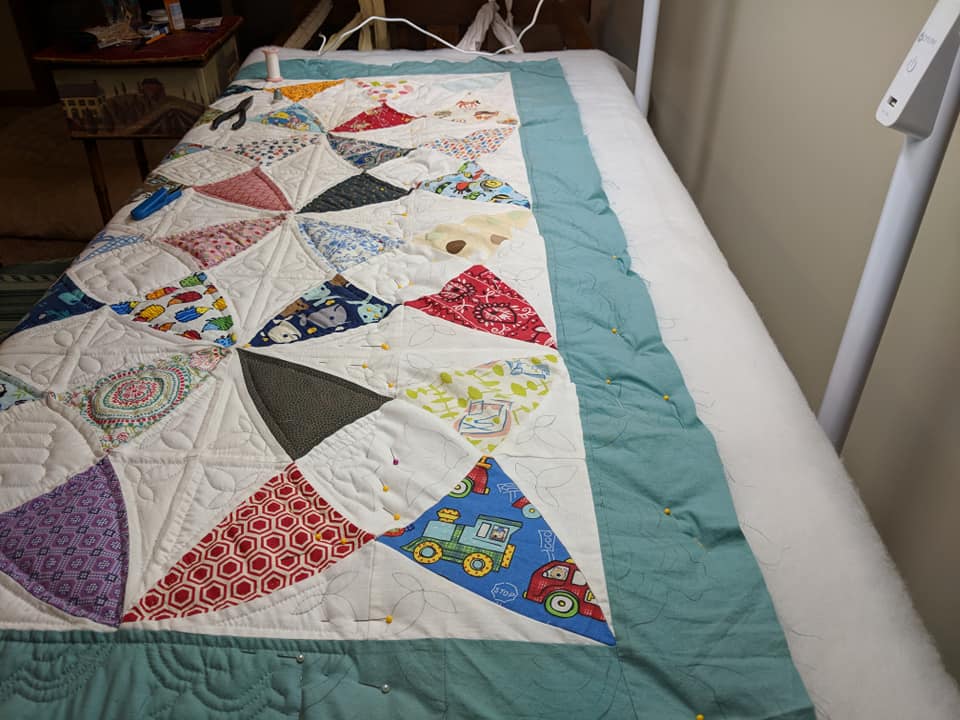
While I haven’t finished assembling everything- in addition to loving scraps, and quilting, I seem to have project attention deficit- I jump project to project and new fun thing to new fun thing- I have assembled several of the creatures, and cut out the pieces for several more.  I have 2 of each animal, currently cut or sewn.  That’s pretty impressive when you think of how many different fabrics and colors I needed. Below is a gallery of the finished pieces I have. But you can really do this pattern, or really almost any of Elizabeth’s patterns with just some scrap bags, and truly make it your own quilt.  And if you’re at Traditions, buy some scrap bags and other great stuff from them.  Or buy me some scrap bags, because they really are the gift that keeps on giving to me. 

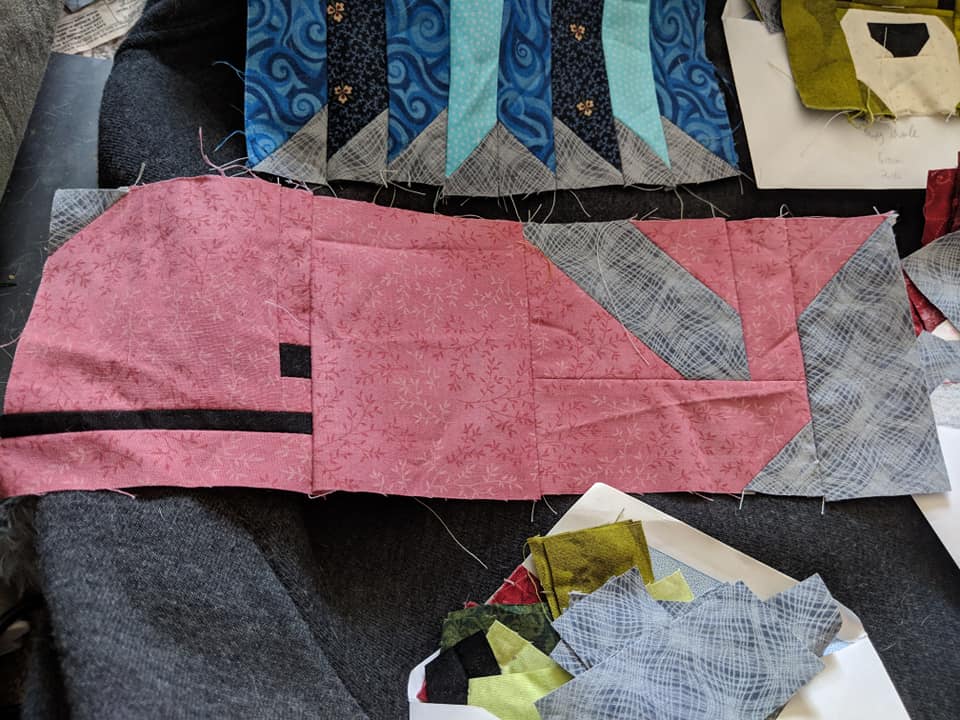
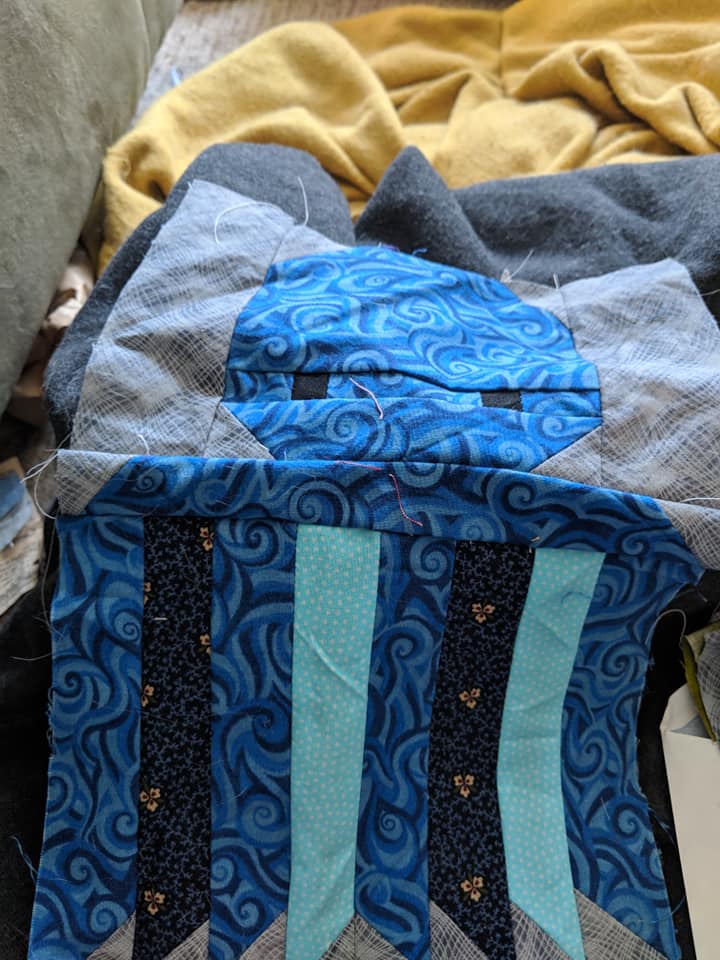
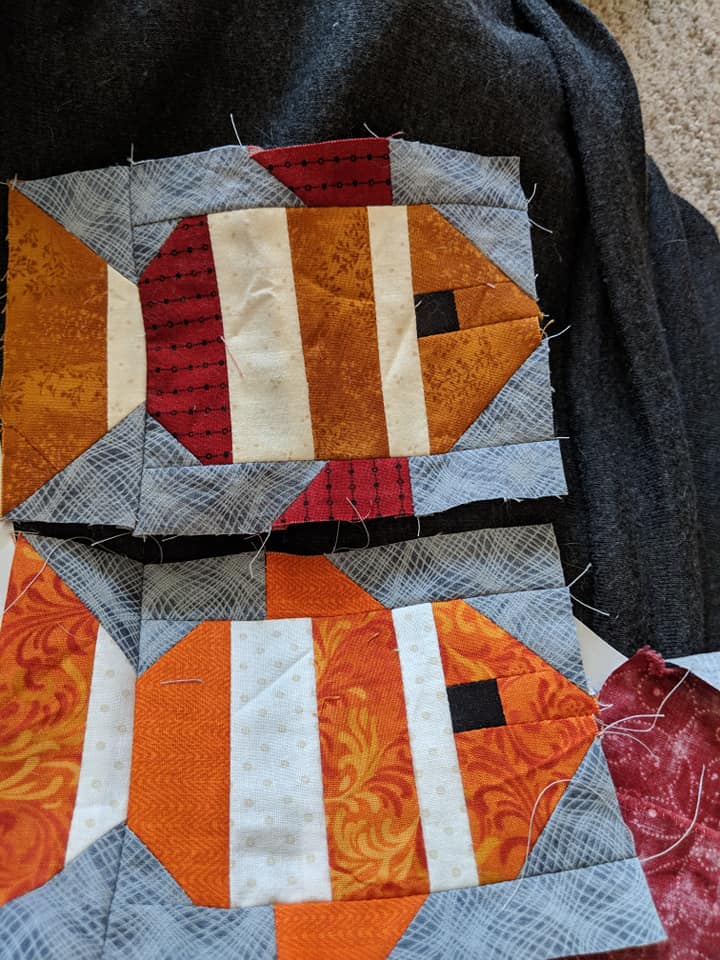
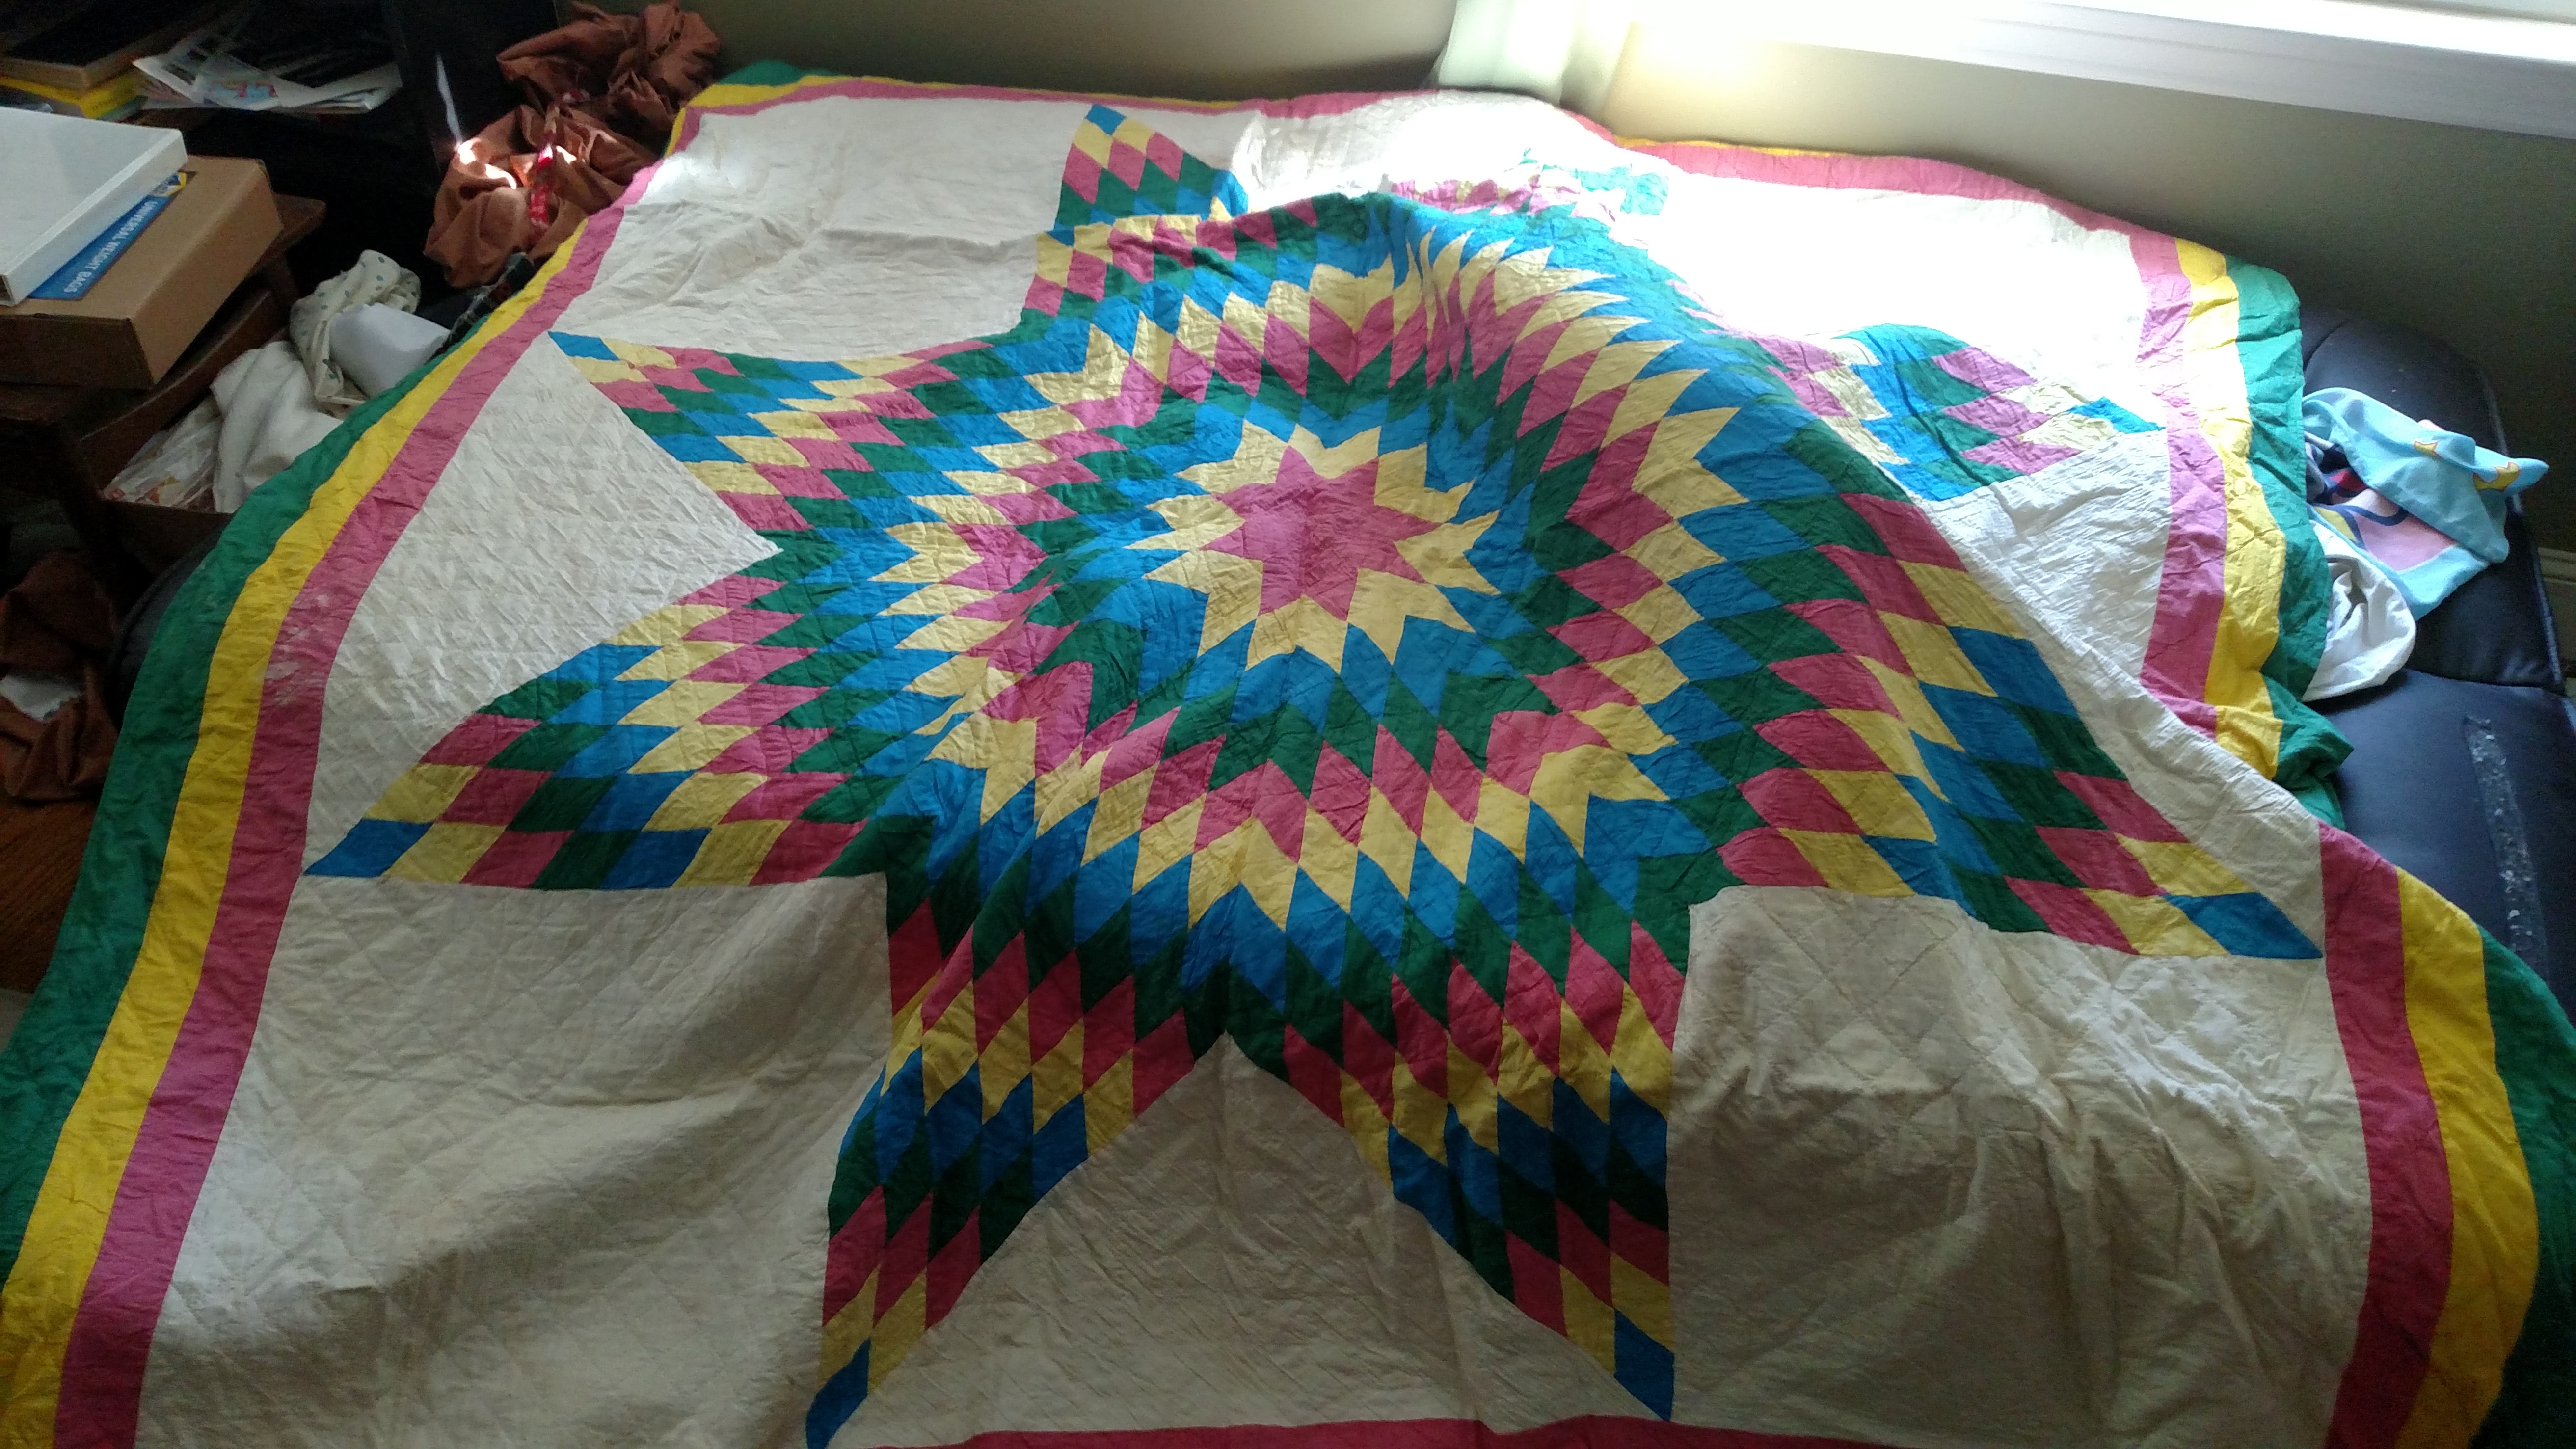
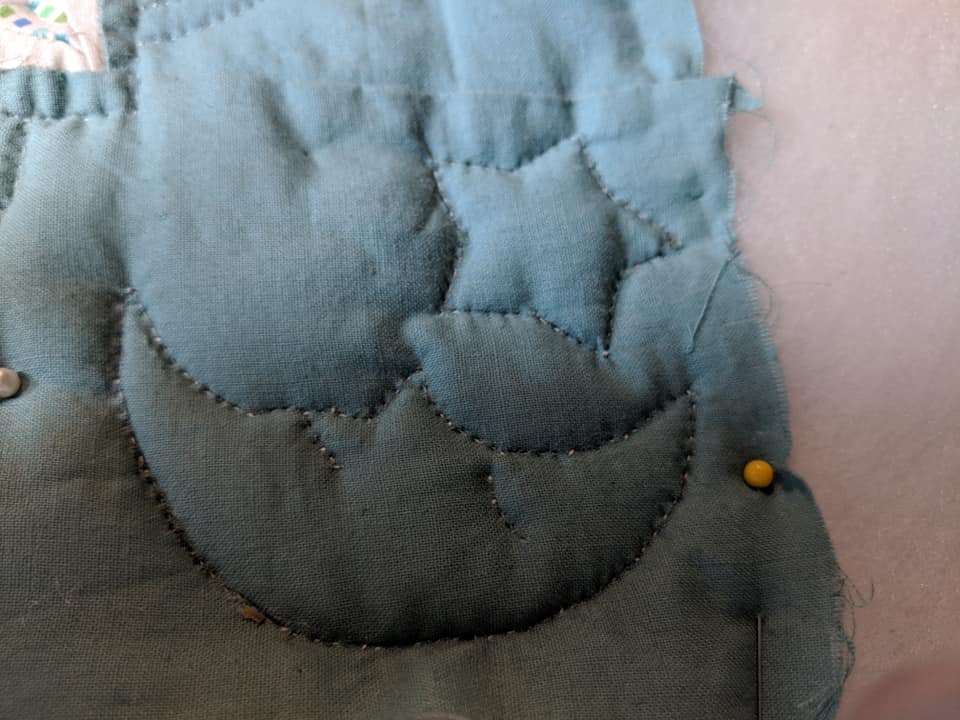
PS.  I now totally see where I messed something up.  But I think it still looks ok….how about you?  Can you spot it?

Finding your People- Treadle On Gathering and Academy (TOGAs)

Finally we got the wordpress issues resolved and I can get back to writing to everyone about the cool sewy things going on….oh wait, its Thanksgiving already?  Well dangit, I’ve missed so many opportunities to write!!

So lets go way back in time to September, when I was able to jaunt to beautiful Lake City Minnesota for the annual River Rat TOGA.  TOGA stands for TreadleOn Gathering and Academy- basically a weekend of hanging out with Vintage sewing machine enthusiasts- focusing on techniques, cleaning, sharing the passion of our machines, and of course- admiring each others beautiful pieces.  These events happen all over the United States throughout the year, and allow those of us who do have a passion for these beautiful machines (especially the people powered ones), to commune with those who enjoy them as much as we do. 

My beautiful Vickers Handcrank, piecing my exchange squares.

It seems sometimes that many folks are only into collecting them to resell them for high prices, or other reasons besides using them or restoring them to their original glory.  In my case I use my vintage machines- for piecing quilts, for embroidery, and for making small clothing projects and other crafty things.  This year I was even able to demonstrate the treadle embroidery techniques I’ve been learning from classes by Marilyn Lee online, which was so wonderful. I also got to use my Vickers hand crank and become more familiar with her workings, buy some parts for other machines, and of course, participate in the raffles that we have at the event as well.  I also presented my Feedsack lecture and display, which I’ll discuss in a bigger post at a later time. 

My favorite raffle winning this year- an awesome New Home poster. 

If you’re  vintage enthusiast like myself, you should definitely check out the TreadleOn group (treadleon.net) and one of the great TOGAs they put on.  The mailing list also does block exchanges each year, which is a great way to learn how your machine works, and learn how to do fun things like quilting or making a pin cushion, or all sorts of neat stuff. And the folks on the group are always helpful and full of incredible knowledge about all sorts of machines, needles, etc.

I really can’t wait for TOGA again next year, to see what I learn and who I get to see.  Its really like a family reunion, which I adore.

The Anatomy of a Quilt

In our world of instant gratification- Amazon NOW, Microwaves, clothing stores, et cetera, it seems as if many forget that it can sometimes take an extended period of time to complete major undertakings, like quilts.  While there are many new tools of the trade to help shorten the time it may take in some cases, it can still be a lengthy process.  In my case, I have a full time job, an active social life, as well as pets and a house to care for. Additionally, I choose to use more traditional methods of quiltmaking, so my quilts take longer as well to complete.  Recently,  I finished a quilt I had been working on for some time, so I thought I would go through what actually happens from the beginning of a quilt to the end of a quilt to show everything that goes into it.

This particular quilt was made for a Niece that was born a few years ago.  When I found out that her mom was expecting, I started right away to find a pattern, and decide colors, size, and other aspects.  The mom and dad had decided to not announce if they were having a boy or a girl until birth, so that also can sometimes put a crimp in your style for what you want to make.  In this case, as I am a primarily scrappy quilter, it wasn’t bad for me. So off to my vintage books I went. 

I found the quilt pattern I chose in Aunt Martha’s Favorite Quilts. These booklets of quilt patterns, released originally in the 60s, were prints of patterns that the Tillotson family had produced for a dime a piece in the 30s and also advertised in newspapers around the country.  There are several Aunt Martha’s books you can still purchase today, and they are full of great patterns. You can get them from this site, here

The design I chose was called “The Great Circle.” Its a large design made of rounded triangles and squares, that when looked at as a whole, becomes great circles.  Its a fascinating pattern, but also allowed for lots of white space for quilting, and allowed me to do another unique thing for my Niece- an “I-Spy” type quilt.

Part of the pattern, where you can kind of see how it makes the circle.

An I-Spy quilt is a quilt designed where fabrics are chosen with prints of items.  These can be animals, popular culture figures, insects, and so much more.  This allows the quilt to be used to play the ever fun game “I-Spy” So that not only is it a warm covering to keep you warm, or a cover for a blanket fort, it also can be used to improve vocabulary, and keep a toddler occupied on long drives.  I chose a variety of prints that I wouldn’t normally purchase- including insects, crayons, musical notes, teddy bears, and more for this quilt. For the border, I chose a turquoise- a fairly neutral color, but also one of my personal favorites. Bleached muslin would round out the pattern, which would allow me a lot of space for quilting designs, and also make the prints stand out individually. 

The next step, is of course, cutting out all those pieces. I make templates of the pattern out of vinyl sheeting.  This allows me to keep a consistent pattern, and gives me the pattern to use again if i decide I like the style.  Also, I find vinyl holds up better than paper or cardboard.  After cutting the vinyl, I use a pencil to trace around the vinyl template on the fabric.  If the fabric is dark, I have a white marking pencil.

Many of the wedges cut.

After cutting all the pieces, which takes awhile, even when doing it at night while watching television or during conference calls, then its time to start assembling. This is sewing the blocks, and making sure they all line up and look good side-by-side.  Of course, I always have extra helpers (like Fireball, my cat, and Holly, one of my Greyhounds) making sure I’m performing quality work.

After the assembly is finished, then its time to press the whole quilt, and then to pick out the quilting design or designs.  For this quilt, I chose some more whimsical designs than traditional, using rainbows, moons, and stars on the border, and flowers, beehives, and butterflies for the white areas.  I trace these out on paper, then transfer to cardboard, as each time you do a pattern you may choose a different size of the quilting design, and cardboard is recyclable. So remember- Vinyl for the actual Quilt pieces, and cardboard for the quilting template.  Once the templates are made and cut out, you can apply the patterns to the quilt.  I use a regular #2 pencil, but some folks use any number of different washable marking tools- from chalk, to crayola washable markers, to iron off frixion pens.  Trusty #2 has always worked for me.

Ready to quilt now?  Absolutely! Put your backing fabric in the frame, your batting on top, and the quilt on top of that.  I hand quilt, so this is the longest part, and of course, the most fun, in my opinion.  It took me almost a year of working on this quilt to quilt it, but again, I am not quilting for hours and hours every single day.  But here are pictures of the progress.


After weeks of hard work, finally you get to cut and unpin your quilt from the frame.  Then trim the sides and do the binding by hand.  I also tend to have at least one quilt tester, Harmony, to lay on the quilt to ensure it is comfortable.

Once the binding is completed, I wash the quilt to remove the pencil marks.  Occasionally I have to wash it for 2 cycles to get all of the marks off, but I find that adding Oxyclean to the wash cycle helps immensely with reducing that need.   Air dry the quilt- it keeps the batting from bunching, allows for better care of the color of the prints, and makes the quilt smell fantastic.

After it dries, then you can enter it into the fair, or send it off to the person its intended for, or just add it to your collection of quilts that you’ve made. For this particular quilt, I’ve entered it into the Minnesota State Fair, and while it didn’t place, it still is on display, which is wonderful for me.  Once it is returned from the fair, I’ll be sending it off to my Niece to enjoy for many, many years.

World War 1 at Fort Snelling

This past weekend, your head Sewluminati was honored to be a part of the World War 1 Centennial weekend at Historic Fort Snelling at Bdote. While not portraying an actual military persona, I was honored to be representing the “Civilian Corps of the Red Cross.”   

When war broke out, everyone banded together to help do their part.  Women all over the country aligned with the Red Cross to knit, sew, and help provide supplies to the hospitals overseas, as well as the stateside recovery hospitals.  Even McCalls and other Pattern makers rallied together to provide patterns that the average sewist could purchase and work on making hospital clothing, comfort kits, socks, bandages, and more.

Examples of the patterns from McCalls- February 1917
May Manton’s Comfort Kit Pattern

I worked on Comfort Kits, specifically. Filled with items of comfort for the soldiers- shaving soap, toothbrushes, combs, playing cards, and of course, tobacco. In Minneapolis, Minnesota, there was a Comfort Care committee, and that committee made over 20,000 of these comfort kits and sent them to men overseas during the war. They are simple kits, but I can totally imagine that the men were so grateful for these simple items, similar to care packages sent to soldiers today.

Working on attaching the tape edge to the comfort kit

In addition to working on the Comfort Kits, I had several hand crank sewing machines laid out for folks to try their hands at sewing practice sheets. Folks really seemed to enjoy the opportunity to try them, and learn that not only the men “over there” participated in the war effort. 

I find it fascinating, not just that many of the surgical clothing and recovery clothing was made by civilian ladies, most in their homes, but the fact that it was exclusively made this way- there was no industrial production of these items to meet the needs of the hospitals. Bandages were rolled by school aged children participating in the Junior Red Cross- 50% of all school age children participated in America alone!  Women formed groups in their homes, in their churches, all to help their sons, husbands, and brothers overseas.  We hear a lot about the homefront efforts during World War 2, but so little about the first world war.  To be able to honor these ladies, and share their efforts with the public in addition to bringing visibility to the “Great War” was a wonderful time.

Here’s more pictures from the weekend: 

New spaces, new places, new faces

So I’m sure y’all have missed my posts, but its been a very busy few months for me and the household.  I have moved across the country to a new home, a new sewing space, new sewing friends, and new adventures.  I had to pack up the majority of my machines, the majority of my projects, and all of my fabric during the house staging time in the old house, and then wait to unpack them all in the new house.  As of writing this, there are still a few machines waiting to be unpacked and find their place in the new house.  But all in due time.

This was when they packed all my quilting fabric into the POD. 

Messy but still in progress


Here I have plenty of space for my machines, my quilt frame, and to separate

  my clothing sewing area from my quilting and piecing areas.  Its so nice to be able to keep my straight stitch machines in an area separate from almost all my zig zag machines (one will stay downstairs for times its too hot/cold/boring in the upstairs clothing sewing room.) And of course there’s 2 treadles in the living area upstairs because i couldn’t quite fit all the treadles in the sewing room. But still- almost all the machines are home!

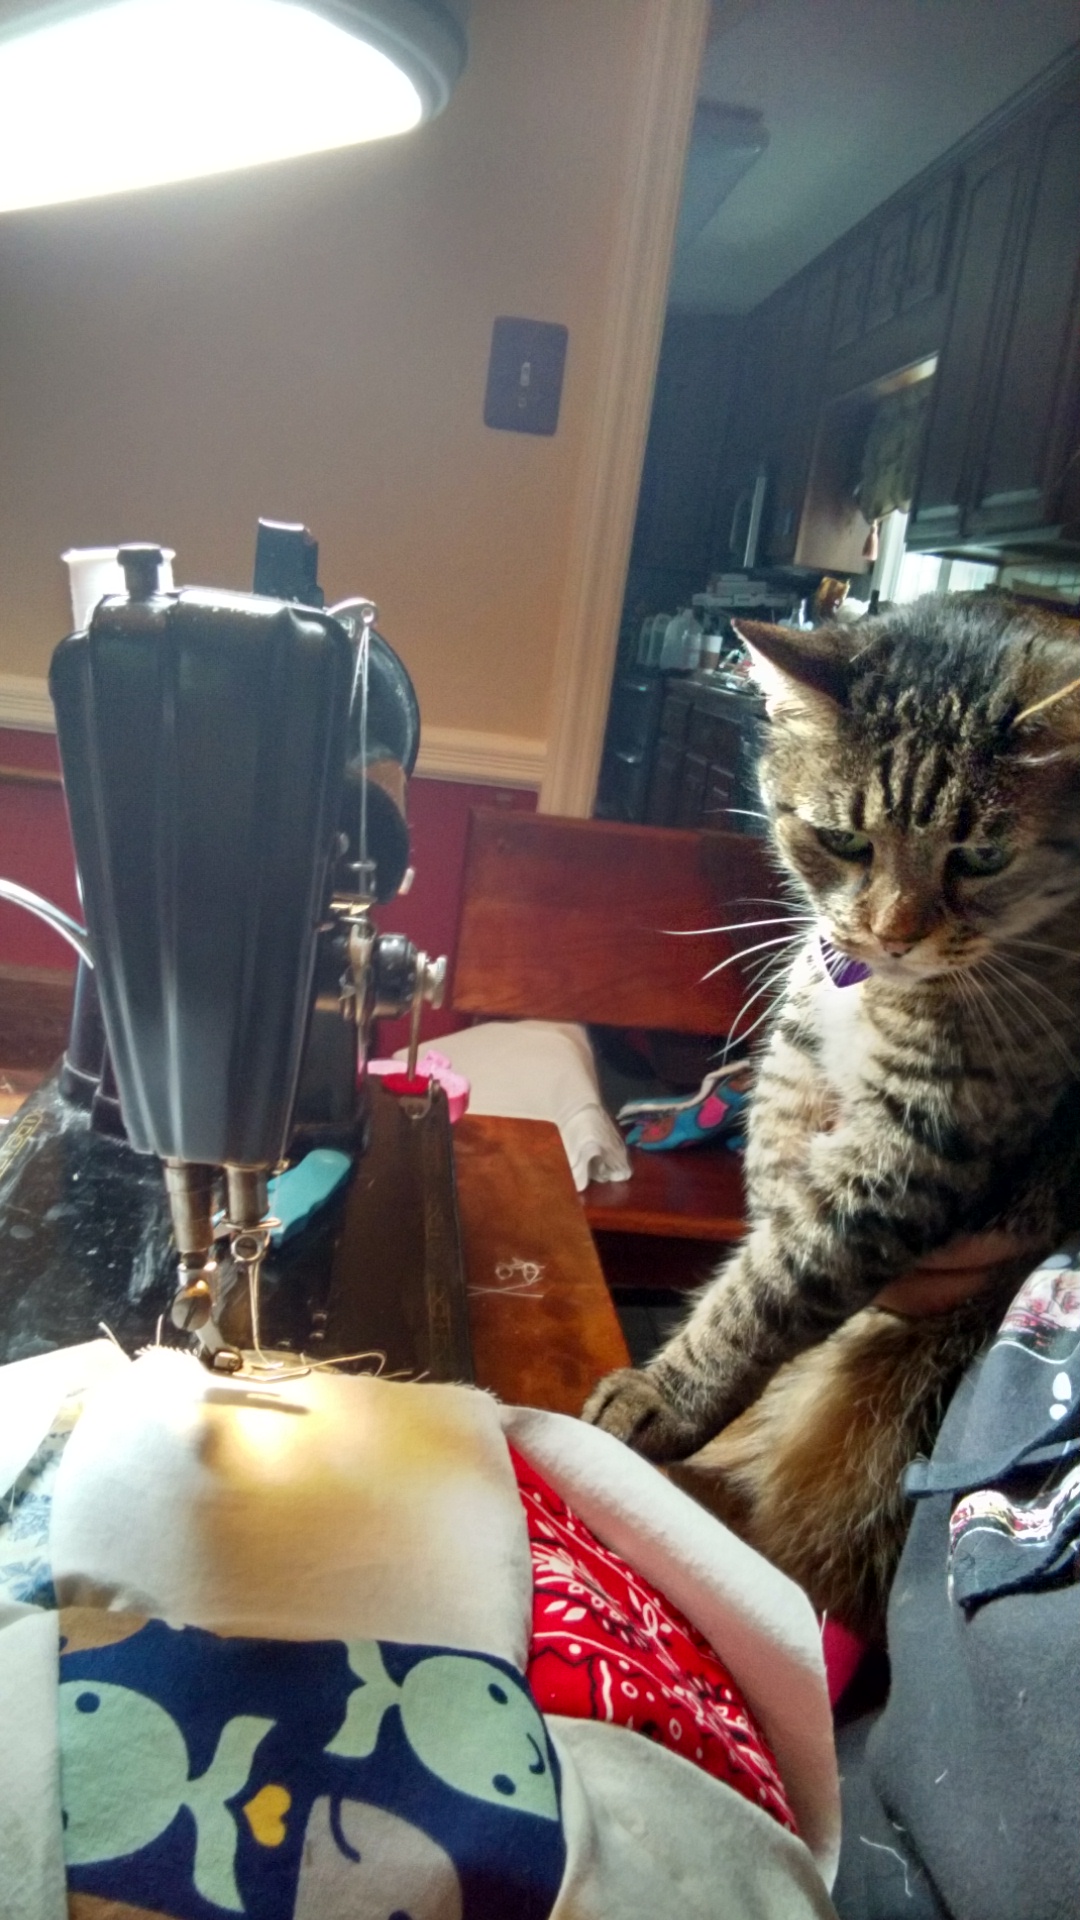
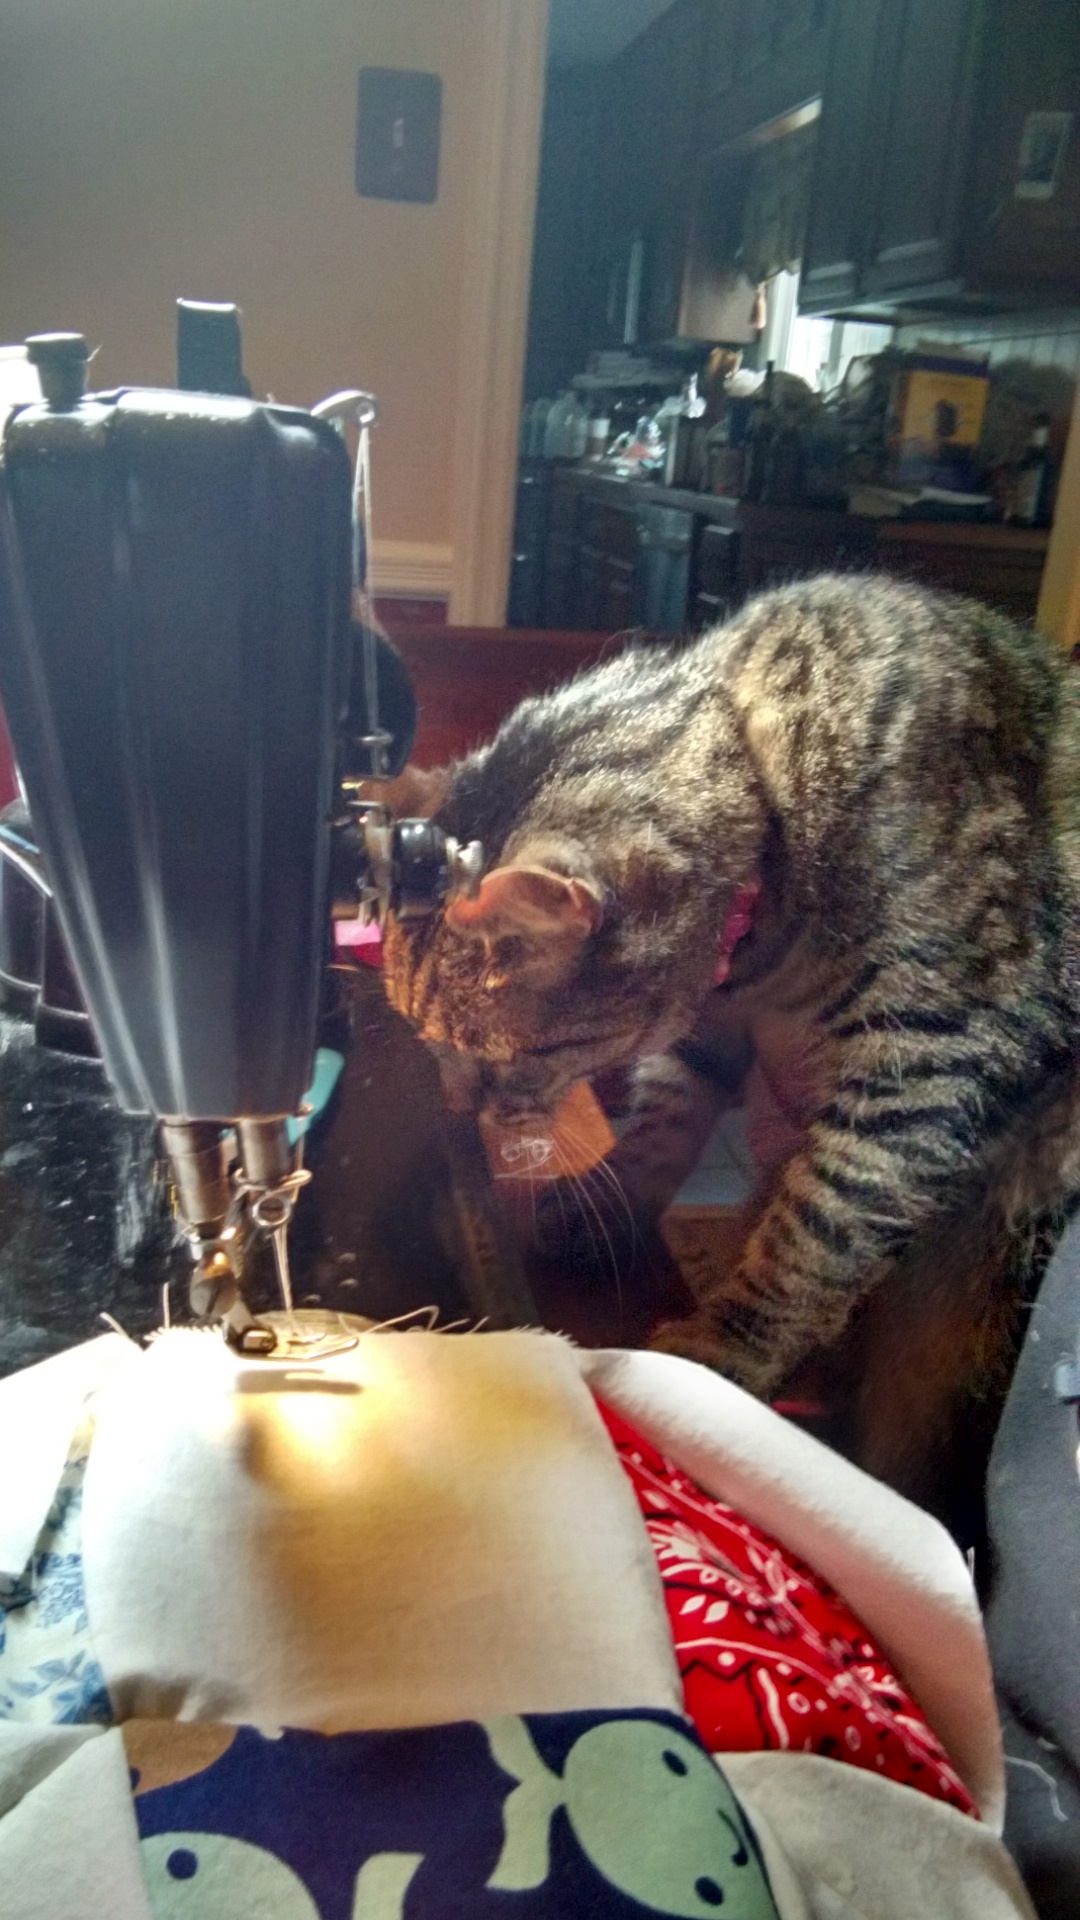
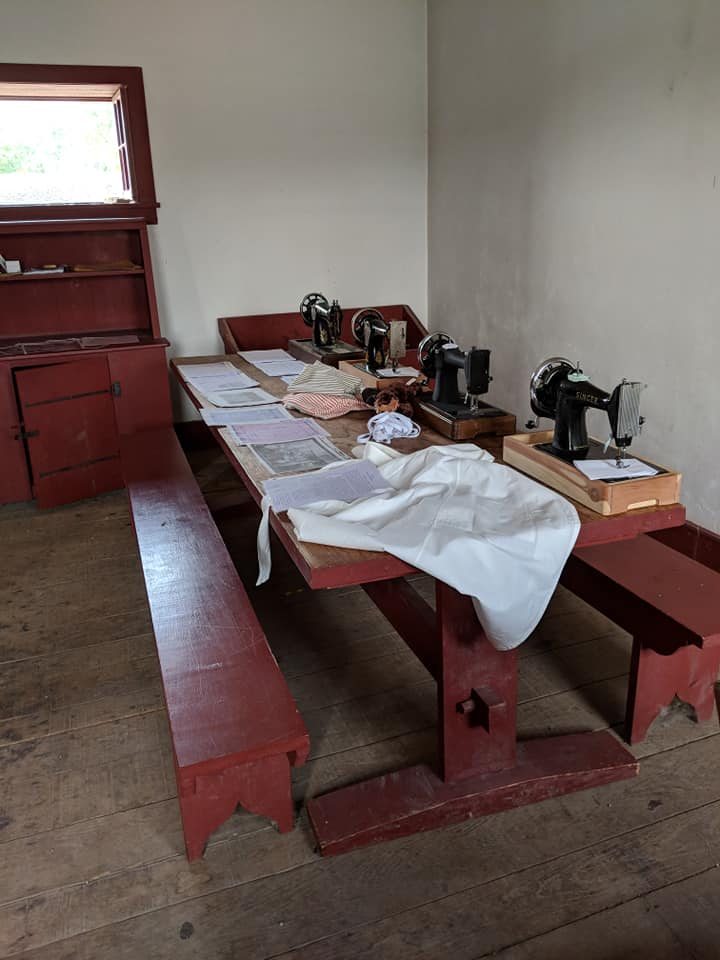
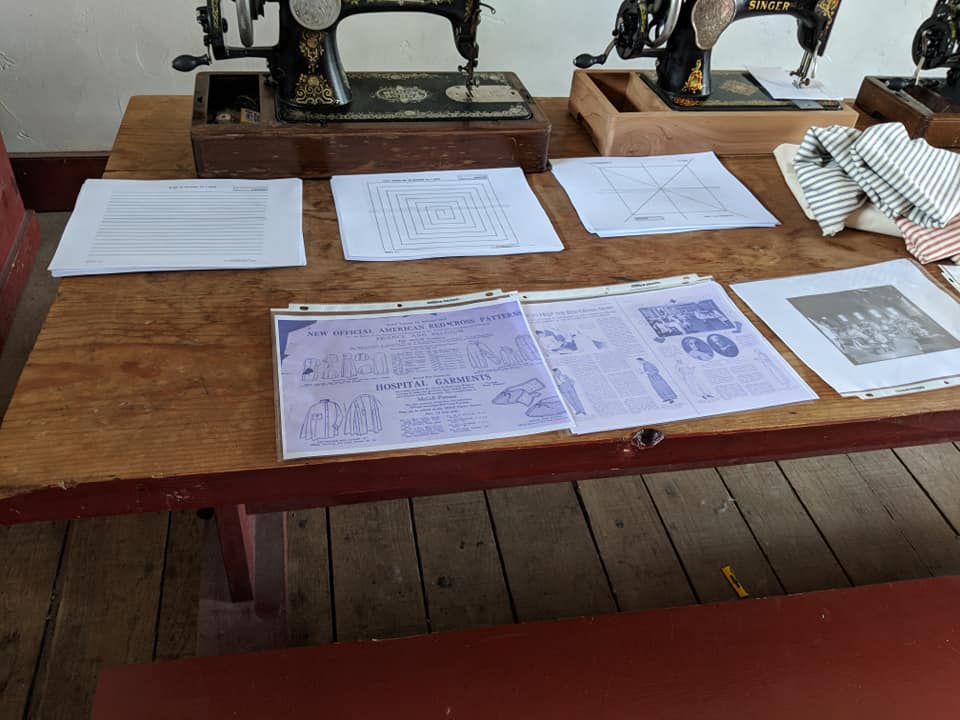
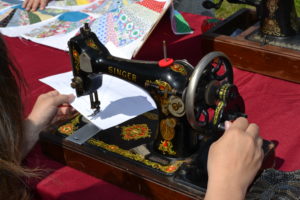
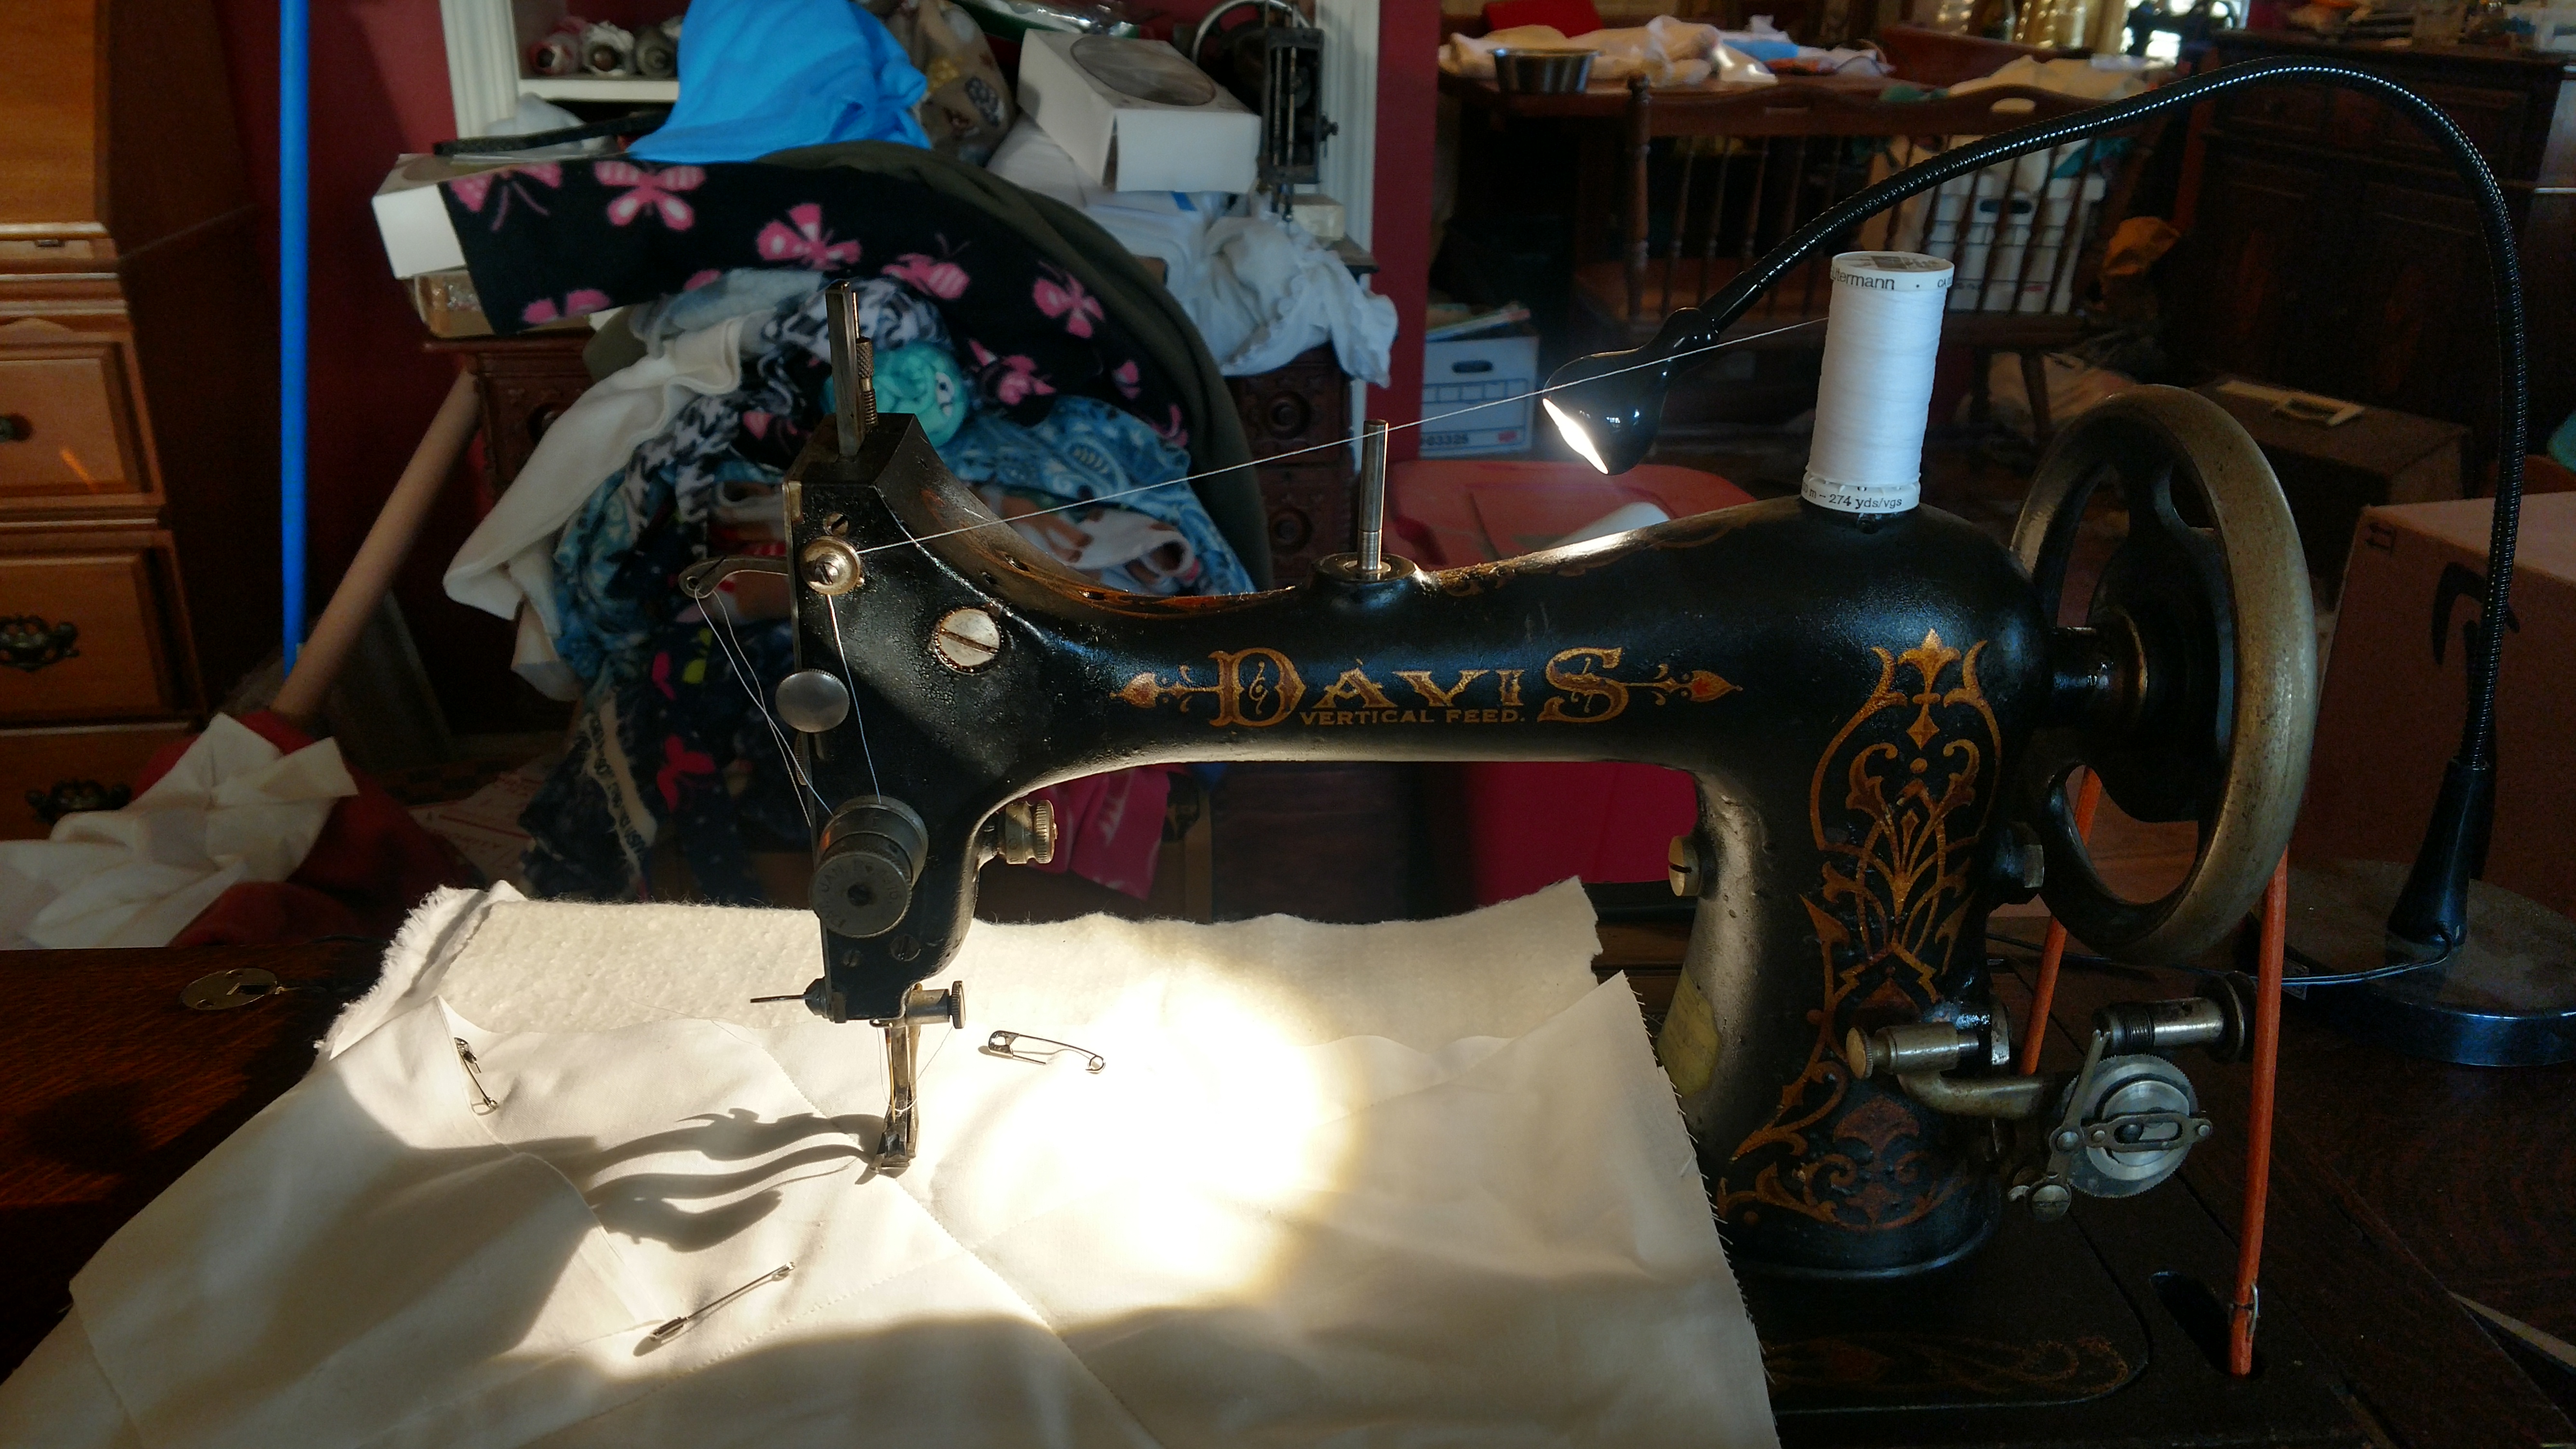
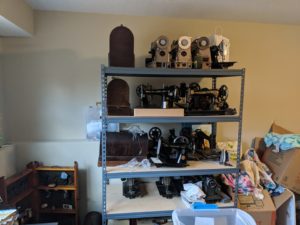
 As you can see, I still have plenty of machines.

I’ve also already done some Living History interpretation with my machines, at beautiful Lakewood Cemetery in Minneapolis.  And I had the honor of speaking about feedsacks for the Northern Material Girls quilt guild in St. Paul.  Its been great finding more people passionate about machines, and getting to share them. I’ve also been trying to finish the current quilt in the machine, so I can enter it into the Minnesota State Fair!

Your fabulous author, in her Edwardian best.

Over the next few weeks, I’ll be working on ramping the blog back up, cause I’ve missed sharing my passion with folks.  This week I’ll be checking out a history of Garment making tools class, so I’ll definitely have to talk about that, and of course, update you on all the adventures I’ve already had!

Stick with me friends, the story keeps getting better. 🙂


Why vintage sewing machines

I first sewed on a sewing machine, like many folks, in middle school.  We had a project to make a pair of shorts.  The machines were setup for us, and we had the practice sheets for learning how to work the machine and control the speed, and then cut out the shorts and sewed them. My shorts came out very small, I nearly ran over my fingers several times, and I just wasn’t impressed with sewing at all at that point.

Over the course of the next 15 or 20 years, I would try sewing one different

Artists rendering 😉

machines 3 more times.  Every time the machine would be out of my control, or I would have a project turn out so horribly.  So I gave up.  I was petrified of sewing, never even wanted to pick up a needle.  At reenactments, friends would be sewing their gowns, or handkerchiefs or the like, and I would act like a vampire seeing sunlight when they offered to let me try.

Then my aunt taught me how to quilt.  And one day, I decided I should try piecing.  So up to the local used furniture store, to look for a used sewing machine. Suprisingly, there was a gorgeous Singer in a cabinet for 35 dollars.  What a steal!  I verified it worked, and took it home. Thus began my love of machines.

What caused the change? Well for one, I’m sure it was age and patience for me personally.  I wanted everything done quickly, and as most sewists know, there’s nothing quick about any sewing.  However, comparing my used Singer to a modern machine a friend had given to me (a Husqvarna Viking), I also learned that I much preferred the feel of the vintage sewing machine’s operation.  But why?

Clearly magic sewing machine gnomes

I think that one of the big draws for me is that they are all metal.  Modern machines are primarily made of plastic gears and pieces, to allow for quick and low cost assembly.  Even though you may be paying out the nose for a state of the art machine- you’re paying for the computer within the machine, not the machine itself. Metal machines are just simple.  All the mechanisms that are in its operation are easy to understand and maintain.

The feed dogs and presser feet on metal machines, I believe control things much better than the modern machines.  I can feel the machine actually gripping the fabric and moving it.  But also I have to pay more attention to it to make sure its straight. As a bit of a control freak, I don’t mind that though.

I’m also not as afraid of breaking a vintage machine as I am a modern one.  Perhaps is because of their metal makeup, but I know its much more difficult to break these machines than it would be a plastic one.  I keep pins in when I sew, I put fabric that’s too thick for the needle in the machine sometimes, and lets not talk about how many needles I’ve broken, pushing the fabric through too fast. However I’ve never worried about breaking the machine in the process. But the plastic machines I’ve worked with, or on, I’m always so tentative and nervous that I’m going to snap a gear if I work it too much, or the little lever that changes the stitch length is going to fall apart.

What I feel like will happen when I use a modern machine

Finally, and this is mostly the sentimental side of me here, these machines were used for years by people generations before me that learned to sew on these, or whose children learned to sew on these. They were used for quilts, clothing, tablecloths, linens, and so much more.  Its continuing their legacy by using these machines for my projects, both traditional and non traditional.  So in some ways I feel as if their hands are guiding mine in my lessons on what to do/what not to do with these beauties.  In the future I hope that others will see the value in these vintage and antique pieces as well for their own sewing, and as I teach more people about sewing, perhaps they too will grab a legacy piece of their own.

And that last piece is why I have over 70 in my collection.  To pass on to future generations who wish to learn to sew.

But also because they’re all beautiful.

I mean really- how gorgeous is she

To Wash or Not To Wash?

A common theme that seems to come across many quilt groups I’m part of, in quilt guild conversations, and even in books and magazines, is the question of fabric washing.  The debate rages on, and probably will continue to, however I have felt compelled to discuss my opinions on the subject, for those looking for more reasoning behind why or why not, and a how-to for doing so as well.

The short response for me is that I do wash.  I wash all the fabrics that come into the house. The exception to this is only if I’m getting fabric from someone who I know also washes all their fabrics (or I can smell the Downy/Tide/etc.)

I know, I need to clean the fabric softener place.

I wash for several reasons. The big one is because that was what i was taught to do when learning how to quilt. My aunt pre-washes all fabrics- the fabrics for piecing and the backings- and taught me to do so as well. The washing removes any sizing/starchiness that was in the fabric, allowing it to be more accurately sized, and easier to iron and cut. It also allows the deeper colors to bleed out their extra ink, thus preventing it from happening when you finish the quilt and wash it for the first time, allowing it to bleed into the whites and other light colors that may also be in your quilt. Reds and blues bleed especially rough.

Additionally, and this is just a personal belief, I think that washing it how it will be used actually helps to condition the quilt for its life after you’ve finished it.  It may just be me, but I think it does help to  make the quilt more malleable when cutting, piecing, and quilting.  Also, you have no idea where that fabric has been, so washing it with detergent you’re comfortable with helps also to remove some of the “what if there’s something I’m allergic to in the chemicals in/on the fabric” that sometimes comes about.  This is especially true if someone else has washed it with detergent you aren’t familiar with, and you have sensitivities to perfumes, dyes, or other chemicals.

One other advantage to pre-washing is the ability to pull it from the dryer just a little damp, which helps with ironing dramatically.  Instead of spraying all over the piece and ironing, its already ready to be ironed, and this helps to pull the wrinkles and fold marks out beautifully.

So then the question becomes, how do you wash your fabrics?  The answer is pretty simple- the same way I wash my clothes.  Sometimes I even wash them together! *gasp!*

I use my usual detergent, my usual fabric softener, but I also include Color Catchers. 

Color catchers, made by Shout or Carbona, are designed to grab all the loose dyes that bleed out of those intense colors during washing.  They pull the black, red, blue, purples out of the water, so they don’t bleed into other colors. Finding these has been invaluable to me in saving fabrics- especially since a lot of my quilting includes large white spaces, and white cotton thread.

If I know that a specific fabric, or project is going to be given to someone with detergent/fabric softener sensitivities, I also have a fabulous homemade laundry detergent recipe that I use to wash instead of my typical Tide.  The recipe I use comes from this site.  I use the general cycle on my washer, which takes about 48 minutes.

Once washed, it goes straight into the dryer for about 60-70 minutes depending on the amount of fabric I’m washing. (Black Friday sometimes I have to wait and do 90 minute washes because I buy a lot of fabric. 🙂 ) I try to leave it a little damp when I pull it out , so then I can separate it and iron it, then put it away, or immediately put it to work, if it was bought for a specific project.

Now, I know some of you are probably saying- But it ends up being a knot of ends and craziness! And you’re totally right.  But I love living dangerously…and cutting those ends.  For those of you who aren’t as excited about that adventure, you can zig-zag stitch or serge the edges of your fabric before washing to prevent that fraying.

Another thing I do, especially with fat eighths and these awesome scrap bags that my local quilt shop sells, is to use a Lingerie bag to wash them. That way you’re not dealing with hundreds of tiny scraps you’re digging out of the bottom of your washer, but you’re still washing them. I have about 6 I picked up at the dollar store to use, because I’m addicted to the scrap bags at my local quilt shop.  They’re like trick or treating for awesome fabric!  I’ll discuss these more at a later time.

I have no idea what all is in here, but I can’t wait to find out!!

The one thing that I recommend not washing, are precut fabrics.  Mini charm packs, circles, anything that has already been cut to a certain size for you to use for a project.  The fabric does shrink in the wash, and washing the pre-cuts can affect the accuracy of your project.  However, in my case, I only use pre-cut mini charm packs, so this isn’t typically an issue for me.


So there ya go- my viewpoint on the whole To Wash or Not To Wash debate.  Tl;dr- Wash everything except for tiny precuts cause they shrink too much. Also, clean your washer before blogging about it.

Sharing with others

One of the things I love about quilts is how they seem to bring everyone together.  Almost everyone I talk to, when discussing how I’m a quilter, will ooh and ahh; then with a wistful look in their eyes recall a quilt their relative had or made for them.  Its a magical moment for them, and for me, because we’ve bonded over pieces of fabric and the warmth they bring us.

Because of these moments, I’ve incorporated my hand quilting into a living history demonstration and display.  So few people hand quilt anymore, and sewing in general isn’t something that happens in every household as it did 50 or 60 years ago.  So several times a year (hopefully more in the future), I put a quilt frame in the car, along with a quilt top I purchased at a yard sale or antique shop, and set it up at an event to quilt upon.  Everyone is invited to try their hand at quilting, though rarely do we ever get anyone who actually is willing to try. But I also will set out coloring pages of quilts, or lacing cards for kids to try sewing on, so that at least they’re getting to try something they may not be exposed to elsewhere.

A few years ago with sewing practice

Last year with lacing cards

One of the best things, apart from allowing the public to try their hand at a new skill, or remembering the joy in one they’ve lost, is that my Aunt B joins me on many of these demonstrations.  She is the one who taught me how to quilt,  and has been quilting for over 60 years.  This week she celebrated her 77th birthday, and tomorrow she’ll be joining me again at Middletown Heritage Festival to share her quilts and her passion.  She really enjoys getting out and quilting, and talking to others about their quilts, families, etc.  While the history part is my area of expertise, she’s invaluable in talking about how she learned, how to teach others, and showing people how its done.  Also showing folks that you’re never too old to get out and have fun.

Aunt B and I at Barnstormers 2016.

While some might call our work traditional, I love the lines and love that just call from every one of Aunt B’s quilts.  From the time she taught me, we now have this connection – we talk on the phone about weekly, and everytime I come down she shows me what she has in the frame, and what she’s been working on.  And I then start piecing something similar because I love how it looks, and want the challenge.  Which is why I now have several tops waiting to go into the frame.  Aunt B displays her work at the events we do, and hearing people admire it I think also makes her glow a little more than she usually does too.  I love that, and I love that I’m able to do that for her.

A quilt in Aunt B’s Frame

Some of Aunt B’s finished work


In addition to quilting demos, we also will bring out hand crank sewing machines, to let children and adults alike try their hand at using a sewing machine.  So many times I’ve heard of people (myself included) being afraid or intimidated by sewing machines.  This is a great way to have people gain familiarity with the machines, and perhaps even be interested in trying to sew on their own, or take a class.  Hand cranks allow for better control of the machine, and also keeps little fingers from getting under the needle better than having a motorized machine or treadle available for them to use.  I also have practice sheets made of paper for folks to try before trying to use actual fabric, unless they’ve said they’re a long time sewer.  One event, I had a lady spend 20 minutes making quilt blocks on one of the hand cranks because she enjoyed it so much!

A visitor trying a handcrank

If you’re interested in trying a handcrank, seeing some quilting, or even trying to hand quilt, Aunt B and I will be found at the following places in the next month:

Saturday September 30- Middletown Heritage Festival Middletown, MD

Saturday October 7- Harvest Festival – Montgomery County Agricultural Farm Park

Saturday October 21- Centreville Day – Centreville, VA.  We’ll be in the Sears house.


And if your quilt guild, historical organization, historical site, homeschool group, etc would like to have us do our demo or have a hand crank sewing class, please feel free to contact us with the information on the contact us page!

Keep stitching!

Projects in progress

I recently went to join a bunch of awesome sewing enthusiasts for a retreat in the wilds of Minnesota.  They’re all members of a group that enjoy using people powered machines ( Treadles and Handcranked sewing machines.) So I’m trying to get some things together for that, and realized I need to keep a running tally of the projects I have in progress.  My goal is to share the patterns and progress of my projects as they go along, so a master list is probably a really good idea, and now is a great time to start that as I left with several projects in tow, and returned with a ton more fabric for more projects!

My Davis Vertical Feed is my favorite Treadle right now.

As a hand quilter, I don’t tend to work projects as fast as some of my counterparts who use machines to quilt, or have a longarming service perform their quilting.  So a lot of my projects are  in stages.  But I also have other projects I’m starting that aren’t related quite to quilting, so I’ll be listing them as well.

Project 1 – The Great Circle Quilt

Currently in the quilting frame is a quilt for a dear friend’s daughter, who is almost 2.  This quilt is the size of a regular single bed, so hopefully it’ll last her for several years.  It is a pattern from a book called “Aunt Martha’s Favorite Quilts” which my aunt gave me, but you can still purchase it  from Colonial Patterns.

The Great Circle in progress on the quilt frame

Project 2- Grandmother’s Fan

Another fantastic quilt that I have finished piecing, but still needs the border put on.  This will be the next quilt to go into the frame.  Most of the pieces in this are from my feedsack collection, and I’m really excited to quilt it.  Another one from an Aunt Martha’s book, but I was inspired to put it high on my list to complete thanks to Aunt Becky’s work on hers.

Aunt Becky’s finished Grandmother’s Fan


My Grandmother’s Fan- piecing finished.


project 3 – Summer Days

This quilt is in the assembly stage, but its also special because I’m trying to do it all on my treadle machines, which is a first for me.  The pattern was purchased at Traditions at the White Swan in Hagerstown, but you can also find it online at Timeless Traditions.  Here’s what it will look like when piecing is finished.

Summer Days Quilt Pattern

Project 4- hummingbirds

This pattern was found by my Aunt Becky in a stack of unfinished projects/ pieces that belonged to either my Grandmother or Great Grandmother (she’s not sure which.)  She made a copy of the pattern for me and it is my first hand piecing project, which I take with me on travel and when I’m going somewhere to sit and listen for a long time.   This will be a long term project because of the hand piecing and then the hand quilting.

Hummingbird squares

What’s neat about this quilt block is that its very small, but also looks like a Snowball quilt, but it isn’t.  The colored pieces are more like arrows, and dart into the center, which is why I call it the Hummingbird.


Project 5- the Feedsack database

This is a pet project of mine, that I’m currently working on in my spare time (ha-ha.)  I am taking all of my feedsacks, scanning the pattern into Jpgs, and saving them in  a file to later be recorded in a database.  At present I have over 350 feedsacks recorded, but I still have many more pieces of feedsacks in my collection to continue scanning in.  As I have a passion for these fabrics, and teach a history lesson/trunk display of them (see my Classes page for more information.)  So this is an ongoing labor of love, so to speak for me.  I’ll be delving more into Feedsacks at a later time.

Project 6- cutting new quilts

I currently have several quilts in the cutting stage.  I tend to be a very scrappy quilter, so curring for me can be done for multiple quilts at the same time.  Whether or not these quilts will be completed is totally a yet to be determined, but they’re being done.

Quilts in the cutting stage:

  • Joseph’s Coat
  • Nosegay
  • Starflower
  • Faithful Circle
  • Kaleidoscope
  • Mayflower
  • Draped Dresdens, or Ferris Wheel.
  • Baby quilt for a friend

Cutting is one of those things I can do while watching Television in the evenings when my fingers are sore from hand quilting and I’m not in the mood to sit behind a sewing machine all night. I tend to not be a rotary cutter type person, preferring to use a pencil and a vinyl pattern piece to trace and cut. I’ll go into that on another blog post too.


So as you can see,  in addition to working on my blog posts here, I have a lot of projects on my plate, but I’m excited to share their progress with everyone and hopefully encourage you to work on your UFO collection!

A Cool Ass History of Quilting

There are ridiculous amounts of articles out there referring to the history of quilting.  I was going to write a super elegant one of my own as well, but in reality, that’s what Wikipedia, and your parents teaching you to “look it up” is for, right?  However, there are some really awesome points and projects that I think are awesome to share, regardless of how many times its been posted that the origin of the word quilt is the latin word Culcita, meaning a cushion or mattress that has been stuffed.

For those that know me, history is an awesome thing for me, so I’m focusing on some high level cool stuff from ancient history to share. For example, the oldest evidence of a quilted object is from Ancient Egypt, circa 3400BC.  There’s an ivory statue of a Pharoah (its not in the best of shape if you look at the Avril Colby book Quilting from the 30’s it is a pretty broken up statue, and that’s probably why I can’t find a picture of it on the Internet.) The statue is wearing a tunic that looks to be quilted in a diamond within a diamond pattern.  Pretty epic, right?

Lets Fast forward a little bit to the 1st Century BC, and move wayy north of Egypt, to the Scythians.  Found by Russian Archaeologists in the 1920s, a funeral cavern contained what is believed to be the oldest quilted object known in the world- a quilted funerary carpet.  Again, pictures of it are scarce, but thanks to a friend, I found some.

Seriously, those are spirals in the center, and fighting animals on the border picture.  While a lot of it is stuffed quilting, a la trapunto or cord quilting, its still gorgeous and over 2000 years old.

Forward to 1395.  For the 12th through 16th centuries, most of what we see in quilting, is in clothing for under armor pieces, there is this phenomenal piece held by the Victoria and Albert museum in London of the Tristan and Usolde story.  The work on this linen quilt is exceptional

The whole thing

A closeup of one square

Gorgeous, right?

Again, we go forward to one of my favorite centuries, the 18th.  While we still see most of the quilting of this period to be functional, we also start to see some embellishment being done to clothing by way of quilting. From about 1730-1770 quilting on petticoats and waistcoats seems to be especially popular, as evidenced from pieces in the Colonial Williamsburg collection.

A drawing of the quilting on a quilted petticoat from 1755.

Quilted Waistcoat

Two deer that may “inadvertently” look like they’re humping.

As you can see, the detail in the quilting and the stitching of the period is quite exquisite, and shows the artistic nature of quilters, even during a utilitarian period.

The 18th century is the first extant examples of what we identify today as patchwork.  While these are paper pieced (which provides its own neat time capsule of writings of the period within it), and normally just attached to a linen backing as more of a coverlet, it does show our roots of patchwork and piecework that many of us have come to love today.

One such piece is also in the Collection of Colonial Williamsburg, and dates to about 1720.  Its pieced

There’s some amazing work in this whole coverlet.

in silks.


From there we move forward to the 19th century, which is where most people start talking about the modern  brings us Applique in the form of the Baltimore Albums, and of course piecework during the Civil War by the Sanitation commissions and ladies societies.  We also see the advent of the sewing machine in 1840, which revolutionizes quilting and sewing as we know it today.

Then the 20th century, with cheap cottons, the Great Depression, and of course our eras of Make Do and Mend of the 2 World Wars.  All of these have been, and will continue to be talked at length about (even on this blog in the future!) So I will leave them as a passing note for future expounding upon.   

I chose to focus on those older pieces because so few people talk about quilting as a needlecraft, sewing aspect, or hobby prior to the 19th century.  While the 18th century has gained some notoriety of recent note thanks to the Quilted clothing exhibit at Colonial Williamsburg, there was such little talk about ancient societal quilting, or even some of the beautiful display pieces, like the Tristan quilt. So there, Sewluminati, is your ancient quilting history lesson for today.